Many people know the feeling: a couple of kilos gained, an evening bloat, or even a hot wash cycle, and suddenly the waistband refuses to cooperate. Rather than angrily moving up a size, you can widen the waist of many trousers by several centimetres with a simple sewing trick-without ruining the shape across the hips or seat.
Why tight trousers don’t belong straight in the bin
Trousers often get donated far too soon, even though the fabric, cut and style are still spot on. In most cases, the only problem is the waistband: 1 centimetre more here, 2 centimetres there-and the button won’t close anymore.
"With a targeted alteration at the waistband, many trousers can be increased in waist circumference by up to five centimetres-quickly and almost invisibly."
That’s exactly where this approach comes in. Instead of reshaping the entire garment, you focus on the area under the greatest strain-the waistband seam. The trousers keep their familiar fit; it’s simply the tightness that disappears.
The weak point is the waistband construction
On classic trousers, the waistband is usually a fairly rigid strip of fabric with very little give. As your stomach subtly rounds during the day, pressure builds at the button and centre front. It’s not just uncomfortable-it can also stretch out the zip or strain the button over time.
If you redistribute those forces, you gain breathing space. Rather than forcing all tension into the front, you create a small “buffer zone” at the side or back. This zone flexes with you while the rest of the waistband holds its shape.
The key method for trousers: an elastic insert in the waistband
The quickest solution is to add an elastic insert in the waistband. Think of it as a small stretch segment: placed cleverly-such as in the centre-back seam or a side seam-it’s barely noticeable from the outside.
"A short intervention on a discreet seam, a small elastic insert-and the trousers become noticeably more comfortable without losing their look."
What you’ll need
- A pair of trousers that are too tight (jeans, tailored trousers, or chinos)
- Flat elastic, at least 3 cm wide, or a firm stretch fabric
- Seam ripper (or small scissors)
- Sewing machine with a zigzag stitch, or a needle and strong thread
- Pins or clips
- Tape measure and a pen or tailor’s chalk
A firm but stretchy insert is ideal. It should give when you move, but not become floppy-otherwise the trousers may slip later on.
Step by step: up to five centimetres more room
This method is particularly suited to jeans and trousers with a structured, non-stretch waistband.
1. Create an opening in the right place
Turn the trousers inside out. Using a seam ripper, open a side seam or the centre-back seam by roughly four to five centimetres downwards. Important: also open the waistband along that same seam so you end up with a V-shaped gap.
This opening is the space where the elastic insert in the waistband will sit. The longer the opening, the more you can gain-although in practice, just a few centimetres is usually enough.
2. Cut triangular inserts
Next, cut two small triangles from the elastic or stretch fabric. The wide edge equals the extra width you want at the waistband; the point runs down towards the hips or seat.
| Desired increase | Insert width (top) |
|---|---|
| approx. 2 cm | approx. 1 cm per side |
| approx. 3–4 cm | approx. 1.5–2 cm per side |
| up to approx. 5 cm | maximum approx. 2.5 cm per side |
Exact measurements depend on the specific trousers. A quick try-on with the inserts pinned in place makes it much easier to settle on the right width.
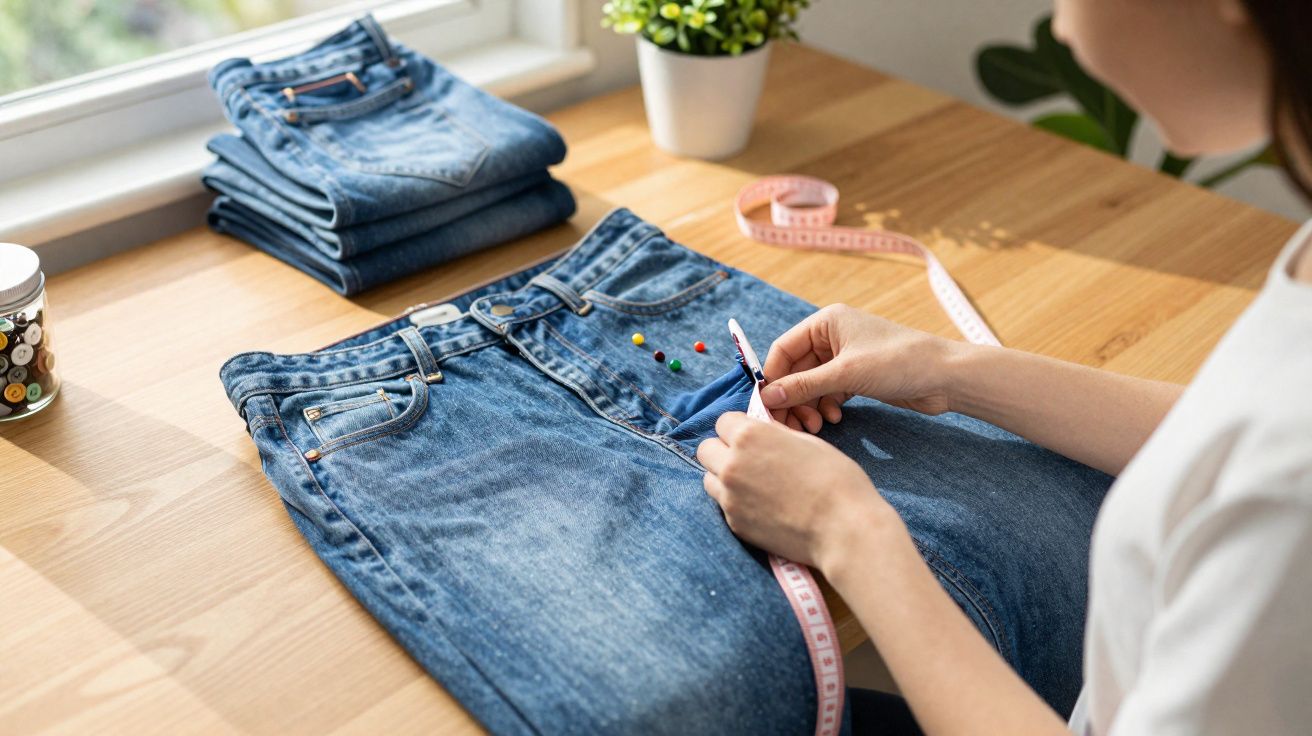
3. Pin, try on, then stitch permanently
Place the triangles into the V-shaped opening: the wide edge sits directly at the waistband and the point faces down. Pin or clip them, then turn the trousers right side out.
Now do a proper test: put them on, fasten them, move around, sit down. If nothing pulls and everything looks symmetrical, sew the inserts in with a zigzag stitch. This stitch keeps the elasticity that the insert is meant to provide.
If you don’t have a sewing machine, you can sew by hand with strong thread-just take tight, careful stitches so the seam won’t split.
A version without elastic: stretch created by fabric alone
If you’d rather avoid synthetic fibres, you can use a scrap of old trouser fabric in a similar colour. The key is how you cut it: cut the piece on the bias (the diagonal grain). In that direction, even woven fabric has a little give and behaves slightly elastically.
The process stays the same: a four to five centimetre opening, triangular inserts, pin in place, check the fit, then stitch down. The amount of stretch is slightly less than with flat elastic, but in many cases it still provides 1 to 2 centimetres of added comfort.
Especially useful during life stages with fluctuating weight
Many people notice clear changes around the waist during the menopause, after pregnancy, or during certain treatments-often within a short space of time. A favourite pair of trousers may feel acceptable in the morning, then by evening every movement can feel like a corset.
"An elastic insert makes trousers practical for everyday wear when the body changes over the course of a day or over the years-without having to buy a new pair each time."
Jeans that fitted perfectly for years don’t lose their style value just because you’ve had one or two tighter years. Two small inserts at the sides-hidden under a jumper or top-can bring real relief, especially when sitting, and keep the trousers in rotation for much longer.
Sustainable impact: less waste, more money left in your pocket
The textile industry places a heavy burden on the environment and climate. Every pair of trousers worn for a few extra years saves raw materials, water and energy. Small, targeted alterations like this fall under “upcycling”: adapting what you already own instead of replacing it.
There’s a financial upside too. Choosing needle and thread (or using an alterations service) instead of shopping again can permanently reduce what you spend on clothing. That’s particularly worthwhile for high-quality jeans or smart work trousers.
When the trick makes sense-and when it doesn’t
This method works best for: - Jeans with a firm waistband that just won’t quite fasten - Tailored trousers that are only too tight at the waistband - Trousers that still fit well at the hips and legs
It’s less suitable if the trousers feel tight in several places-such as across the thighs as well-or if the zip is already heavily rippling. In those cases, the garment needs a more comprehensive alteration, or it simply no longer suits your current shape.
For everything else, the rule of thumb is simple: half an hour, a piece of flat elastic, and a little confidence are often enough to turn a supposed “wrong size” back into wearable favourite trousers. If you’re unsure, practise on an older pair first-then move on to the beloved pair you really want to save.


Comments
No comments yet. Be the first to comment!
Leave a Comment