Last Tuesday morning, I watched my colleague Sarah desperately tuck her hands under the desk during our team meeting. Her supposedly “professional” gel manicure from the weekend had already chipped along the tips, and one nail had lifted so much it looked like a tiny garage door. We’ve all felt that drop in the stomach when a fresh set starts letting you down before the week has even started. The salon had charged her £45 for what was meant to be a three-week investment-yet, just 72 hours later, she was embarrassed and picking at the peeling edges. Most of us have quietly accepted the idea that salon-quality nails are impossible to achieve at home. But what if the problem was never your technique in the first place?
Home Gel Manicures: The Real Reason Your Results Don’t Last
Walk down the beauty aisle in any chemist and you’ll see countless gel polish kits claiming “salon-quality” results. And yet, for most people, home gel manicures still end up looking like a wonky craft experiment within a few days. The issue usually isn’t shaky hands or bargain polish-it’s the prep work that almost nobody explains properly.
My neighbour Emma spent over £200 on gel supplies last year because she was determined to learn. Her first five attempts lasted around four days before the lifting began. She was ready to abandon the whole idea until her sister (a nail tech) visited and watched her routine. The diagnosis was immediate: Emma was missing three crucial preparation steps that salons rarely talk about-but always do.
Long wear comes from building the right base for the product to bond to. It’s like painting a house: you wouldn’t paint straight over dirty, unprepared cladding and expect it to survive winter rain and wind. Nails need the same kind of groundwork, but many tutorials skim past these unglamorous (yet essential) details because they don’t make for good social media content.
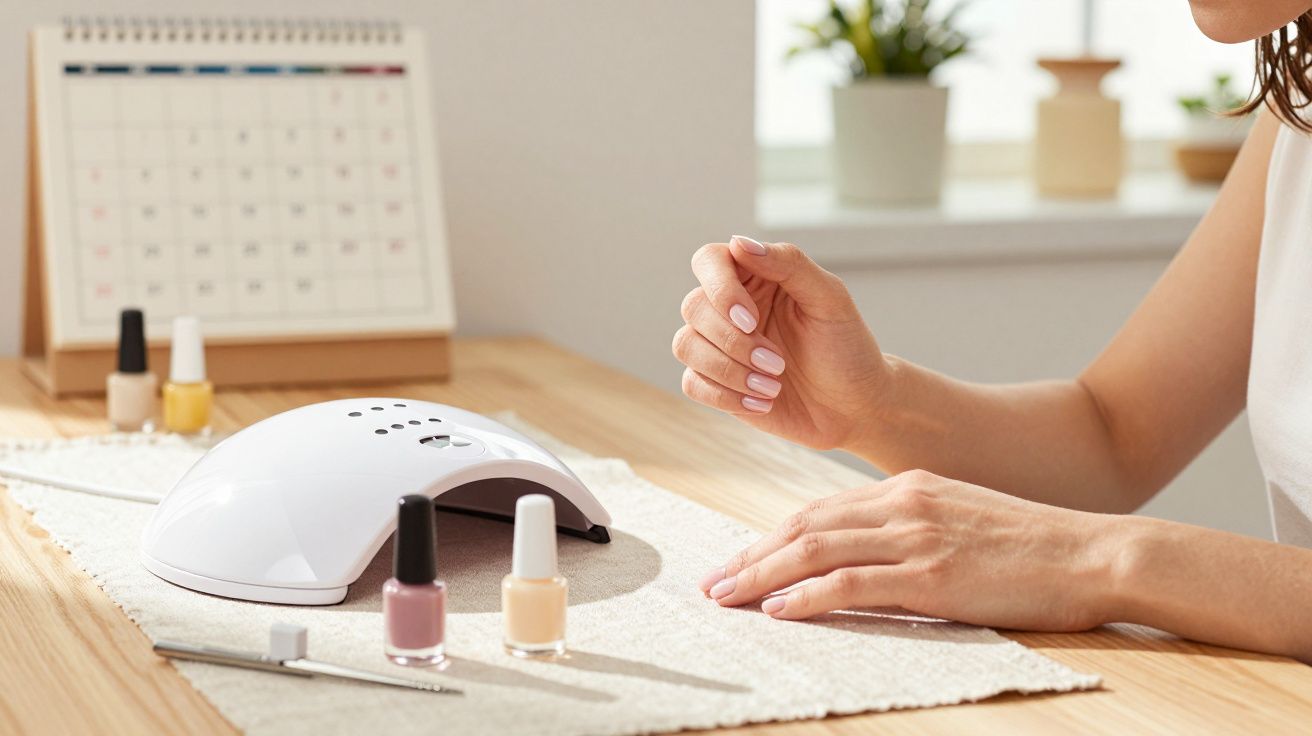
The Three-Week Method That Actually Works (Salon-Quality at Home)
Begin with nails that are completely clean and free from product. Push back your cuticles using a metal pusher, not wooden sticks. Next comes the step that changes everything: take a 180-grit file and lightly buff the surface of each nail until it feels just slightly rough. That tiny, almost invisible texture gives the base coat something to lock on to-think of it as Velcro for polish.
Where most people slip up is the dehydration stage, usually because they rush it. After buffing, wipe each nail with 70% isopropyl alcohol and leave them to air-dry fully. It can feel over the top, but those extra couple of minutes help prevent the moisture that leads to lifting. Don’t use acetone for this step-it’s too aggressive and can contribute to fine cracking in the nail plate.
“The difference between a three-day manicure and a three-week manicure isn’t the polish quality-it’s respecting the chemistry of adhesion,” explains Jessica Chen, a nail technician with fifteen years of salon experience.
Non-negotiables for long-lasting home gel manicures
- Thin coats only - two thin layers consistently outlast one thick one
- Cap the free edge of each nail with every coat
- Cure each layer for the full recommended time
- Apply cuticle oil daily after day three
Two Extras Salons Rely On (That Most DIY Guides Miss)
The first is lamp compatibility. Even if you follow every step perfectly, the wrong lamp can undermine your cure. Check whether your gel is designed for UV, LED, or UV/LED, and stick to the curing times stated for that formula. When in doubt, curing slightly longer is safer than under-curing, because soft product is far more likely to peel.
The second is keeping your nail surface clean during application. After you’ve dehydrated with 70% isopropyl alcohol, avoid touching your nails-skin oils transfer instantly. If you accidentally brush a nail with your fingertip, re-wipe it before applying the next layer. That tiny habit alone can be the difference between a smooth three-week finish and lifting at the edges by day four.
Why This Changes Everything
Once you get this method right, it’s hard not to wonder why you ever paid salon prices for something you can master at home. Knowing your manicure will still look polished weeks later changes how you show up-whether it’s a job interview, a client meeting, or a night out. Your hands become something you’re happy to gesture with, rather than something you keep hidden until you can book the next appointment.
Key points at a glance
| Key point | Detail | Value for the reader |
|---|---|---|
| Surface preparation | Gentle buffing creates grip texture | Eliminates 90% of lifting issues |
| Alcohol dehydration | 70% isopropyl alcohol removes lingering moisture | Prevents premature polish failure |
| Edge capping technique | Sealing nail tips with each coat | Stops chips from spreading upward |
FAQ
Can I use regular nail polish instead of gel?
Regular polish won’t deliver three-week wear, even with perfect application. The formula simply isn’t made for that level of durability.What’s the minimum curing time under a UV lamp?
Never less than 30 seconds per coat, but 60 seconds is a safer baseline for most brands. Under-cured gel stays soft and tends to peel.Should I file my nails before or after the base coat?
Always before. Filing after applying the base coat can create microscopic tears that encourage splitting.How do I fix a small chip without redoing everything?
Clean the chipped area, apply a thin layer of matching gel, then seal with top coat. It won’t be completely invisible, but it can buy you several extra days.Why do my cuticles look worse after gel application?
Gel can make dryness stand out more. Starting three days after application, daily cuticle oil helps keep cuticles healthy and makes the manicure look more professional.


Comments
No comments yet. Be the first to comment!
Leave a Comment