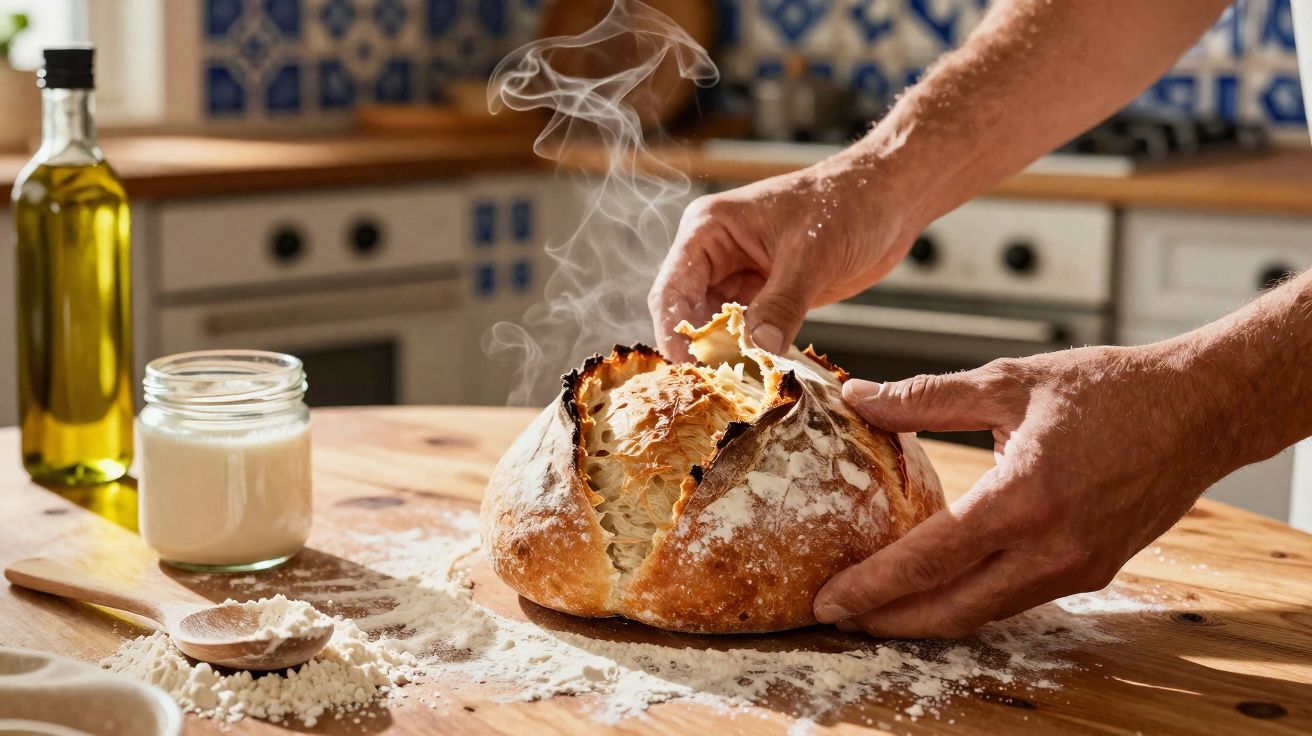
On hectic weekdays and unhurried Sundays alike, the same small routine often returns: a loaf of warm, home-baked bread set down on the table.
Rather than picking up supermarket loaves, growing numbers of people are opting for an extremely straightforward homemade bread recipe that uses only a few everyday cupboard staples. It may seem a touch old-fashioned, yet it suits modern kitchens and time-pressed diaries better than you might expect.
Why easy homemade bread is suddenly everywhere
From New York to small towns in the Midwest, basic bread recipes are trending again across social media and search results. Higher costs in the bakery aisle, alongside a stronger interest in what food is actually made from, are both pushing the shift.
At the centre of this return is a single style of dough: simple, fluffy homemade bread that most people can manage without a mixer or any specialist kit. Flour, warm water and yeast form the foundation, while sugar, salt and oil play supporting-yet essential-parts.
"This new wave of home baking focuses less on perfection and more on reliability: a loaf that works, every time, without drama."
The attraction is easy to understand. The hands-on time is only a few minutes; the rest is largely waiting while the dough rises quietly in a bowl, freeing you up for other jobs-or for doing nothing at all.
The basic formula: what goes into fluffy homemade bread
The current “internet favourite” keeps things short, familiar and practical. One batch often begins with about half a kilo of wheat flour and typically bakes into one sizeable loaf or a few smaller rolls.
The core ingredients and what they actually do
- Wheat flour (around 500 g): provides the framework and holds the gas produced by the yeast.
- Instant or dry yeast (around 10 g): delivers the lift and a lighter texture.
- Salt (about 10 g): rounds out flavour and helps keep fermentation in check.
- Sugar (around 50 g): nourishes the yeast and lends a mild sweetness.
- Warm water (about 300 ml): moistens the flour and helps activate the yeast.
- Vegetable oil (around 50 ml): keeps the crumb soft and the crust more tender.
For many home bakers, these are already in the cupboard. Because eggs, butter and milk are not required, the recipe stays both budget-friendly and suitable for people with certain dietary restrictions.
"The combination of warm water, time and a bit of kneading does most of the heavy lifting; the ingredient list stays almost minimalist."
Step-by-step: how easy homemade bread comes together without fuss
The process sticks to a classic, almost traditional pattern: mix, knead, rest, shape, then bake. Each stage shapes the end result, from a lighter crumb to a thin, golden crust.
1. Mixing a simple, workable dough
Most people begin with a large bowl. Flour, sugar and salt are combined first to create an even dry mix. Next comes the dry yeast, followed by warm water poured in gradually. The mixture moves from powdery to shaggy, then into a rough dough as it takes up the liquid. The oil is usually added last, coating the dough and making it easier to handle and knead by hand.
Water temperature is more important than many expect. Lukewarm water-roughly like a warm bath-generally wakes the yeast gently. Water that is too hot can kill it, leaving you with a dense, flat loaf.
2. Hand-kneading for elasticity
When the dough has come together, it is commonly turned out on to a lightly floured work surface. For this type of bread, about 10 minutes of kneading is typically enough. The repeated stretching develops gluten, transforming a lumpy lump into a smoother, elastic dough with a slight spring.
"A properly kneaded dough feels alive under the hands: it resists a little, then yields, and slowly bounces back."
If you would rather use a machine, a stand mixer fitted with a dough hook can achieve the same result in less time. Even so, plenty of home bakers prefer doing it by hand, treating kneading as a brief, tactile pause from screens.
3. The first rise: when patience does the work
After kneading, the dough is returned to a bowl and covered with a clean tea towel or a reusable wrap. It then sits for around an hour in a warm place away from draughts. During this period, yeast converts sugar into gas and the dough often doubles in size.
This rest shapes both flavour and texture. If the rise is hurried, the slices tend to be heavy. Given enough time, the baked loaf is usually lighter, with a more developed, slightly fermented aroma.
4. Shaping and the second rest
Once it has risen, the dough naturally deflates a little as it is tipped out. It can then be formed into a standard loaf, a plaited shape or smaller buns. The shaped dough is placed into a greased tin or on a tray lined with baking parchment, then left for another 30 minutes so it can relax and puff up again.
Although shorter, this second rise still makes a difference. It helps even out the crumb and boosts volume, which often translates into softer slices for toast or sandwiches.
5. Baking to a light, golden crust
For this style of loaf, ovens are commonly set to around 180°C. The dough bakes for roughly half an hour, with the surface shifting from pale to an even light gold. A familiar at-home check is to tap the underside; a hollow sound usually means it is baked through.
"A gentle crust and a soft interior depend more on timing and temperature than on any secret ingredient."
Some households brush the top with a little oil or milk before baking to deepen the colour. Others place a small tray of hot water at the bottom of the oven to create steam, helping produce a thinner, shinier crust.
How this bread fits today’s kitchens and budgets
Alongside the pleasure of warm slices, the recipe reflects broader changes in eating habits. Many families want to reduce spending without losing the comfort of everyday staples. Flour, yeast and oil can often go further than packaged bread from the corner shop.
Homemade loaves can also be stretched across the week. Bread is usually at its best over the first two days. After that, storing it in an airtight container helps slow drying. Some people slice what is left and freeze individual pieces, which can be toasted straight from frozen in just a few minutes.
| Storage method | Approximate shelf life | Best use |
|---|---|---|
| Room temperature, wrapped | 1–2 days | Sandwiches, breakfast toast |
| Airtight box or bag | 2–3 days | Grilled cheese, garlic bread |
| Sliced and frozen | Up to 2 months | Quick toast, breadcrumbs |
What changes most with time is the texture. Slightly stale bread still works brilliantly for French toast, bread pudding, or crunchy croutons for soups and salads. That versatility can reduce food waste, something many households now keep a closer eye on.
Simple variations: herbs, cheese and whole grains
After bakers gain confidence with the base loaf, they often start adjusting it. The same ratios can take a range of additions while remaining dependable.
Adding herbs and aromatics
Dried oregano, thyme or mixed Italian herbs can be stirred into the flour at the start. Fresh rosemary or chopped chives create a different flavour profile. Adding one or two crushed garlic cloves can shift the loaf towards a more savoury, tear-and-share style.
Cheese-rich versions
Grated hard cheeses such as cheddar or parmesan can be folded into the dough during the final minutes of mixing. Another approach is to scatter cheese over the top for the last 10 minutes in the oven, creating a thin, bubbling layer. Both options keep close to the original method but nudge the flavour in a more snack-like direction.
Bringing in wholemeal flour
For anyone after more fibre, some of the white flour can be swapped for wholemeal. A common first step is a 70/30 split: mostly white flour to keep it light, with a smaller proportion of wholemeal for a nuttier flavour and a slightly denser crumb. Whole grains often need a little more water, as they absorb more moisture.
What new bakers tend to get wrong, and how to avoid it
People starting out tend to run into the same few problems: heavy loaves, a bland flavour, or dough that hardly rises. In most cases, the cause is something simple.
- Water that is too hot, which damages the yeast.
- Not kneading enough, so the gluten remains underdeveloped.
- Shortening the rise because the dough “looks big enough”.
- Using too much extra flour during kneading, which dries the dough out.
"Checking dough by feel - soft, elastic, slightly tacky - often works better than chasing exact minute-by-minute rules."
Room temperature matters too. In a cold kitchen, the dough may need longer than an hour to double. Some people place the bowl in an oven that is switched off with the light on, or nearby (but not on) a warm radiator, to help it rise steadily.
Beyond the recipe: why this bread taps into a wider trend
This straightforward loaf ties into bigger concerns about food, the cost of living and everyday routines. Making a batch can create hands-on time for families, from children dusting flour to adults lifting the hot tin at the end.
It can also be a stepping stone to more involved baking. Once someone succeeds with this no-fuss bread, sourdough, enriched brioche or seeded loaves often feel more achievable. Learning how yeast behaves, what properly developed dough feels like and how crust forms lays the groundwork for later experiments.
For now, many households are happy with the essentials: flour, warm water, yeast, a little time on the worktop, and that familiar smell from the oven that signals another loaf is ready to slice.


Comments
No comments yet. Be the first to comment!
Leave a Comment