Last Tuesday evening I was in the supermarket’s soap aisle, doing that familiar double-take at a £9.50 bar of “artisanal” shea butter and lavender soap. The label made my eyes water-especially because I knew it would be gone in about three weeks. In that moment, the obvious question landed: why am I paying boutique prices for something I can make myself?
The ingredients list wasn’t exactly a state secret, and I still remember watching my grandmother make soap when I was small. Back then she used lye, and in my childhood mind it felt like dangerous wizardry. Now, though, it seems far more sensible to strip away the mystery around this old skill and see whether I could produce something that outperforms what the fancy shops are selling. Sometimes the most practical answer really is right in front of you.
The Cold Process Revolution: Why Your Kitchen Is the New Soap Factory
Cold process soap making turns an ordinary kitchen into a small-scale workshop-without the factory price tag. Rather than using a melt-and-pour base, you make soap from the beginning with oils and lye. The science is simpler than it sounds: oils combine with sodium hydroxide, saponification does its work, and you end up with real, proper soap.
If you look at the economics, the appeal is hard to ignore. That £9.50 boutique bar likely costs under £1.60 to produce. A friend who makes shea butter and lavender soap worked out that her bars come in at roughly £1.20 each, including packaging. After two years, she reckons she’s saved more than £250, and she prefers the way her bars last compared with many commercial options.
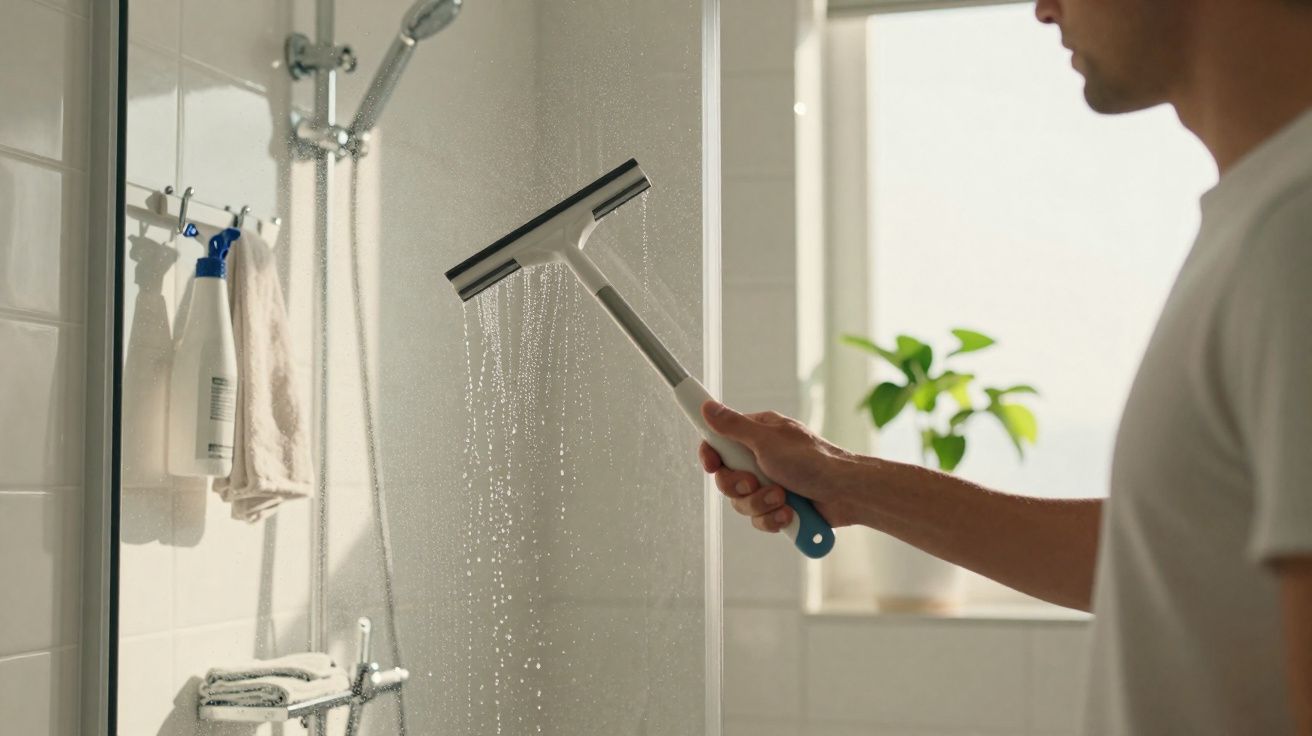
What makes the difference is time. The real transformation happens as the soap cures: water slowly evaporates and the structure of the bar fully settles. The result is a firmer bar, a better lather, and a longer lifespan than most mass-produced soaps can manage. Once you get used to it, shop-bought soap can feel like choosing instant coffee when you know you could be drinking espresso.
Your Step-by-Step Journey to Cold Process Soap Making (with Shea Butter & Lavender Soap)
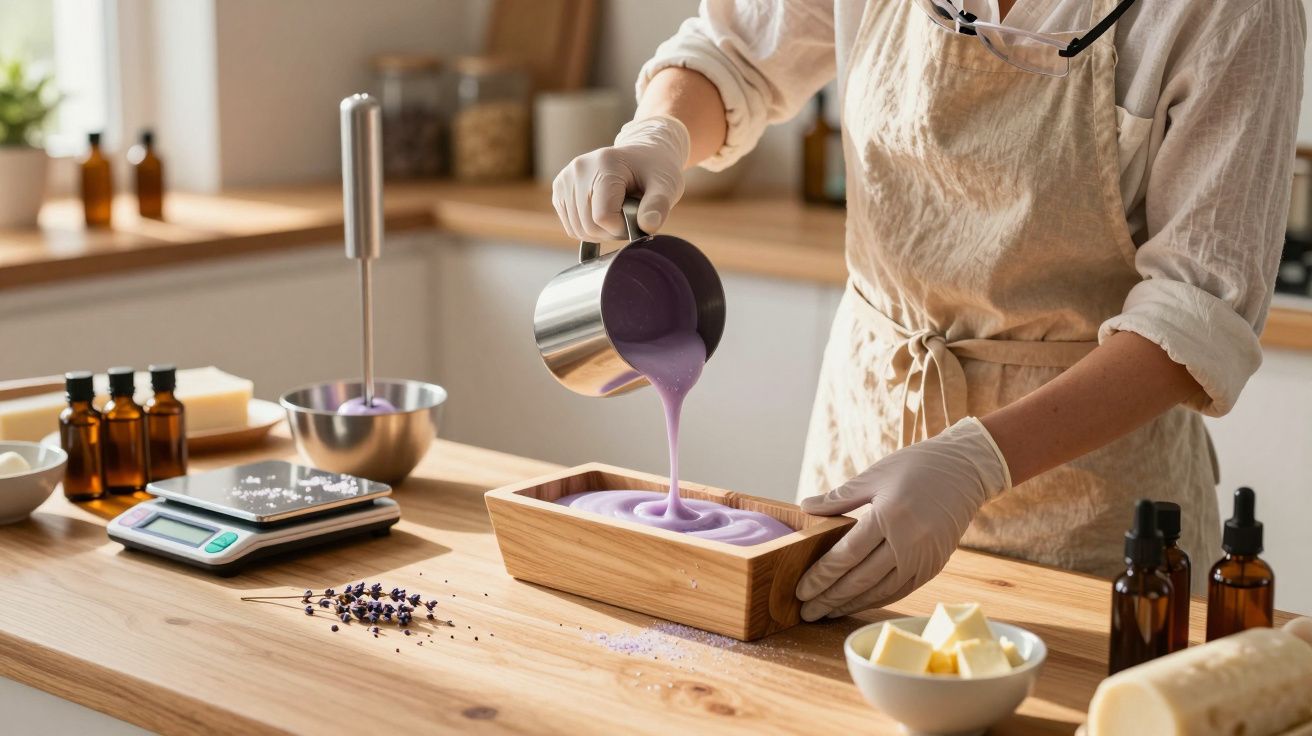
Start with safety, because lye is not something to treat casually. Gloves, eye protection, and long sleeves are essential. Mix your lye solution outside or by an open window with strong ventilation, and always add lye to water-never water to lye. Expect the mixture to heat up sharply; give it time to cool rather than trying to force the pace.
While the lye solution cools, prepare your oils. A classic, reliable base is coconut oil, olive oil, and shea butter. Melt and combine them, then bring both the oils and the lye solution to a similar temperature before blending them together.
One common mistake is trying to hurry “trace”-the stage where the mixture thickens to something like custard or light pudding. It’s the point where your soap batter starts holding a visible trail on the surface. When nothing seems to be happening, beginners sometimes panic and consider adding more lye. Don’t. Follow your recipe weights exactly and trust the process. Under-blending is usually easier to recover from than over-blending, which can make the mixture seize so quickly you barely have time to add lavender.
“The real appeal of cold process soap isn’t only the bar you unmould at the end-it’s the satisfaction of taking part in one of humanity’s oldest practical crafts, making something that looks after both skin and spirit.”
Essential supplies you’ll need:
- Digital kitchen scale (precision is non-negotiable)
- Immersion blender / stick blender (the fastest route to trace)
- Silicone moulds (far easier to release than rigid plastic)
- Thermometer to keep an eye on temperatures
- Non-reactive containers (glass or stainless steel only)
A note on ingredients, sourcing, and skin sensitivities
If you’re making soap regularly, it’s worth thinking about where your oils come from and how your choices affect both cost and quality. Buying olive oil or coconut oil in larger quantities can reduce the per-bar price dramatically, and choosing reputable suppliers helps you avoid unexpected additives that can throw off a batch.
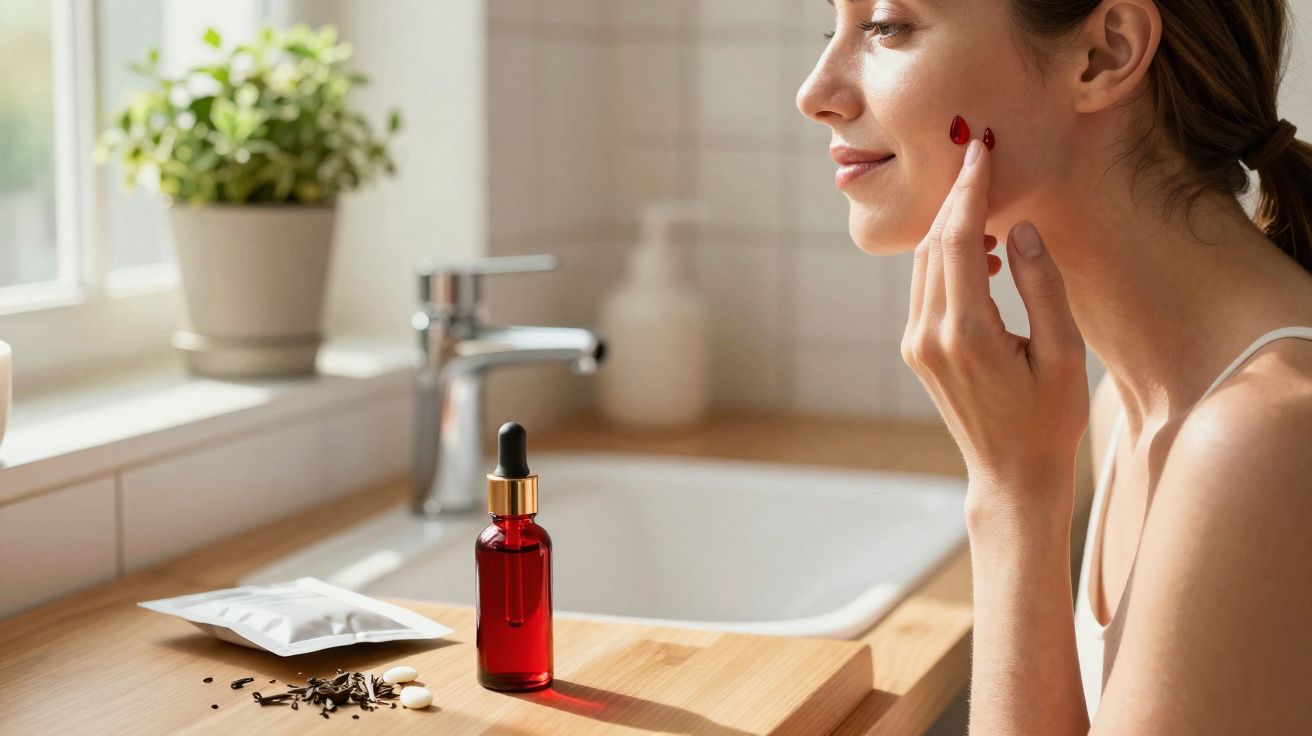
It’s also wise to consider sensitivities. Essential oils like lavender can be lovely, but fragrance strength is personal-and some skin types prefer a lighter scent. Keeping a simple batch log (dates, oil weights, scent amounts, and any changes you make) gives you a clear path to repeat a success or fix a problem next time.
The Art of Timing and the Science of Patience
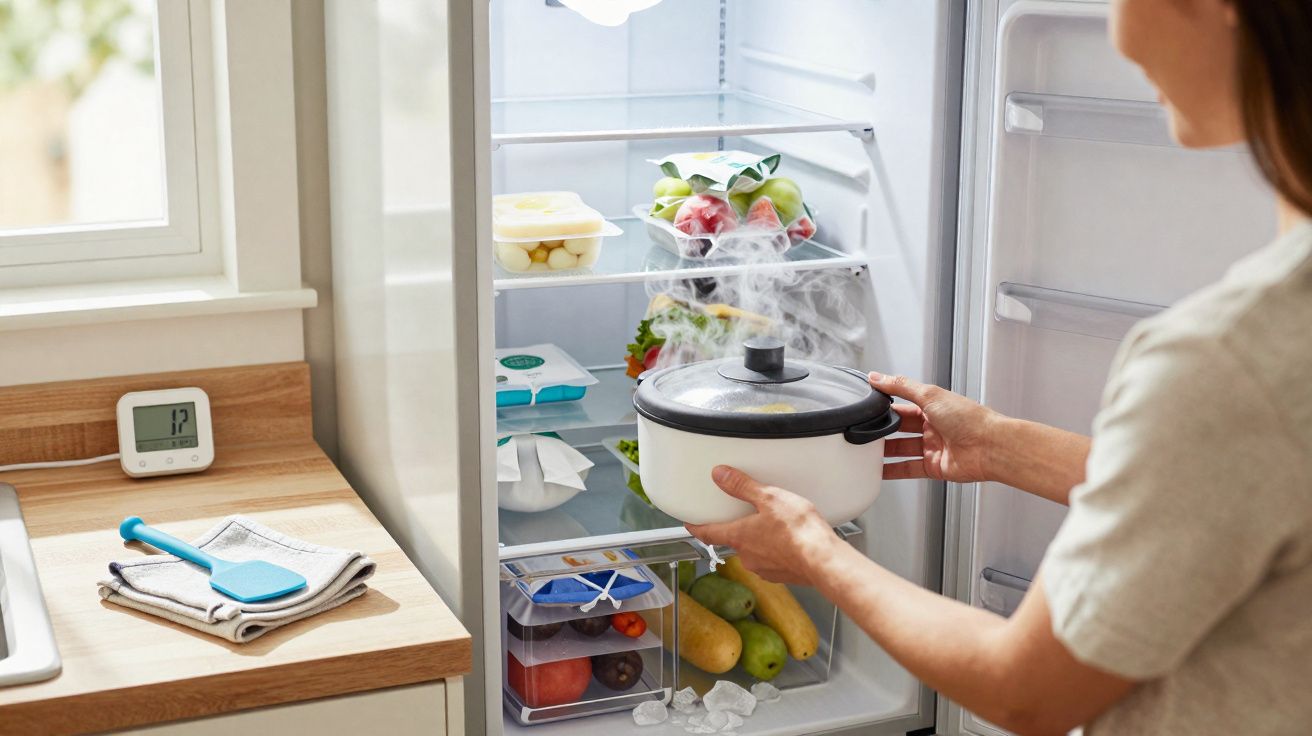
Curing transforms soap from a soft, potentially harsh block into a mild, luxurious bar. The 4–6 week wait is the part that tests everyone, because there’s no genuine shortcut. During curing, water evaporates and the bar becomes harder and longer-lasting as the chemistry finishes settling. It’s much like ageing cheese or letting wine mature: time is part of the process, not an inconvenience.
Your homemade shea butter and lavender soap will develop noticeable “personality” as it cures. The fragrance softens and becomes more rounded, the texture firms up properly, and the conditioning feel from shea butter becomes more apparent. Some people even say the bars seem to “breathe” as they cure, and checking them weekly can become a surprisingly calm, satisfying ritual.
There’s another advantage that often gets overlooked: homemade soap can be a quieter, more sustainable habit. Reusing boxes for storage, choosing minimal packaging, and making only what you’ll use can cut down on waste compared with regularly buying individually wrapped bars. It’s a small change, but it adds up-especially if you’re making soap for family and friends.
Every bar you make is a practical object you created yourself: useful, personal, and far more connected to real craftsmanship than most of what we buy day to day.
| Key point | Detail | Value for the reader |
|---|---|---|
| Cost savings | ~£1.20 per bar vs ~£9.50 shop price | ~87% cost reduction per bar |
| Quality control | You select the exact ingredients and weights | No mystery chemicals or harsh additives |
| Customisation | Change scent intensity and adjust oil ratios | Soap that suits your skin type |
FAQ
Is lye dangerous to work with at home?
Lye needs careful handling and proper protective gear, but it’s comparable to strong household cleaners. Stick to safety steps and you can work confidently.How long does homemade soap actually last?
Well-made, properly cured cold process soap commonly keeps for 12–18 months, and it often outlasts commercial bars because it can be richer in oils.Can I substitute ingredients in soap recipes?
Soap making is chemistry, so swaps require recalculating the lye amount. Begin with tested recipes before you experiment.Why does my soap need to cure for so long?
Curing lets moisture evaporate and allows the process to finish settling, producing a milder, harder bar that lasts longer in the shower.What if my soap doesn’t reach trace?
Keep blending in short bursts. Some oil combinations can take 15–20 minutes to reach trace, particularly in cooler weather.


Comments
No comments yet. Be the first to comment!
Leave a Comment