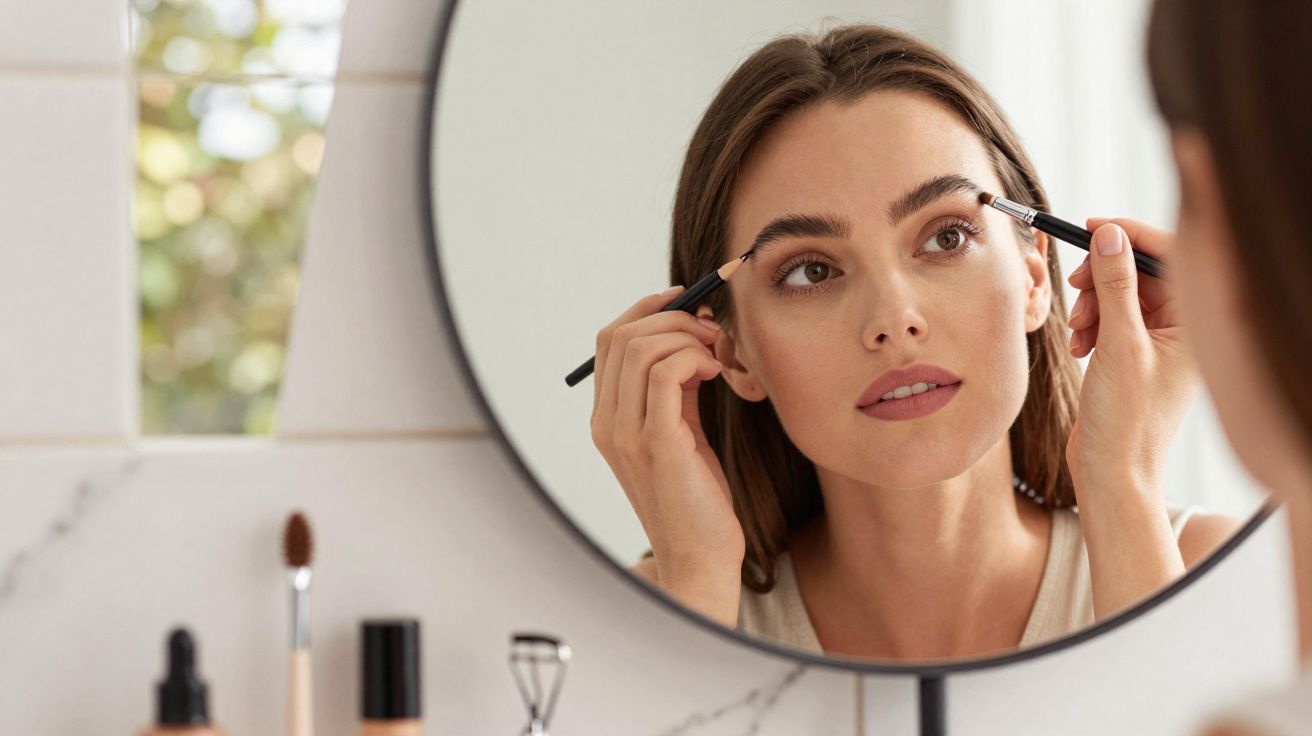
The woman staring back from the mirror didn’t look devastated, or like she’d been crying. She just had that muted, end-of-week weariness that gathers around the eyes after too many late nights and one too many doom-scrolls. Her skin looked decent. Her mascara was still there. Yet the top half of her face seemed to be whispering, I could do with a lie-in.
A friend who’s a make-up artist stepped in, took one quick look, and ignored the concealer and lashes entirely. She went straight to the eyebrows. Two tiny adjustments - not even a minute of effort.
When the woman looked up again, she actually laughed. Same face, same products, but suddenly she looked like she’d slept for nine hours and grabbed a green juice on the way out.
The difference came down to one simple technique artists swear by: the awake look hack.
The tiny eyebrow adjustment that makes your whole face look awake
Once you clock it, you start noticing it everywhere: people who naturally read as “fresh” often have brows that lift the eye area rather than weighing it down. Not sky-high arches, not overdrawn - just a slightly raised tail and a cleaner finish at the outer end. That small visual change increases the space between lid and brow, and our brains interpret the extra openness as rested.
When we feel tired, most of us reach for the usual suspects: concealer to erase, mascara to define. But the brow line frames the eyes just as powerfully. A low, drooping brow can undo the brightest corrector. A subtly lifted, structured brow can make even a bare face look like it made the early train with time to spare.
A Paris-based make-up artist calls this her “coffee without coffee” move. A client arrived for a corporate headshot looking washed out from jet lag and convinced the photos were beyond saving. Instead of layering on foundation, the artist brushed the brows up, snipped only the hairs that stuck outside the natural outline, and then lightly filled the upper edge from the arch outwards.
No harsh, blocky Instagram brow. No reflective stripe of highlighter. Just a touch more height through the outer third, plus a tidy underside near the tail. Later, the photographer asked what skincare “miracle” they’d used. He hadn’t noticed the brows - he was responding to the illusion of brighter, larger-looking eyes.
There’s a straightforward reason it works: when the brow tail angles slightly upwards rather than downwards, the eye reads as less hooded and the outer corner looks less pulled down. With more room between the lid and brow bone, light reflects better - and that registers as alertness.
We’re wired to associate lifted outer corners with energy and youth. Heavy, low-set lines signal fatigue. So a tiny change in direction - brushing hairs up instead of flat, and placing the tail a fraction higher - can flip that subconscious “tired” message almost instantly.
That’s the awake look hack in its simplest form: not more make-up, just better geometry.
The exact “awake look” eyebrow hack, step by step (eyebrow technique)
Begin with brows completely free of product, even if the rest of your make-up is already done. Using a spoolie, brush the hairs straight upwards from the inner corner towards the arch. This immediately shows where your brow is naturally dense and where it starts to collapse or thin out.
Next, as you move into the tail, don’t keep brushing straight out. Tilt the spoolie upwards by roughly 10–15 degrees. You’re not aiming for a dramatic arch - you’re simply encouraging the outer third to sit slightly higher, so the eye area looks less heavy straight away.
Now pick up a fine brow pencil or a slim-tipped pen that matches your natural brow colour as closely as possible. Avoid going two shades deeper or noticeably warmer. With short, hairlike strokes, add pigment only where the top edge looks sparse - mainly from just after the arch through to the tail. Think of it as drawing a soft “roof” slightly above your existing line, rather than thickening the underside.
Most of us know the moment it goes wrong: you keep filling and suddenly the brows look stern and overbearing. That usually happens when colour builds at the front of the brow or along the bottom edge, which visually drags the whole eye area down. Aim for a lifted top line, not a dense lower block.
The other half of this trick is knowing what to remove - and what not to touch. Over-plucking beneath the arch can ruin your natural lift and leave a flat bar pressing visually into the lid space. And long hairs pointing down at the tail can do the same thing, tugging the outer corner “south” even if the rest of your make-up is flawless.
Realistically, no one does this perfectly every day. But on the mornings when your face needs a quick reset, a tiny trim and a small change in direction can make a bigger impact than another coat of mascara.
“People always ask what concealer I use to make clients look awake,” laughs London make-up artist Sienna B. “Half the time it isn’t the concealer at all - it’s the brow doing the heavy lifting. Literally.”
- Brush the inner brow hairs upwards, not sideways
- Add definition along the top edge from arch to tail using short, light strokes
- Keep the front of the brow softer and less sharply outlined
- Snip only the longest hairs that droop down at the tail
- Fix everything in place with a clear or tinted gel, combing slightly upwards
Two extras that make the awake look hack work even better
If you’re doing this in a rush, check your brows in the same lighting you’ll be seen in. Harsh bathroom downlights can exaggerate shadows under the brow and make you over-correct. Natural daylight (near a window) gives the most accurate sense of whether your lift looks subtle and believable.
It also helps to match the brow texture to your skin finish. If your base is dewy, a tinted gel can keep the brow looking soft and flexible. If you’re wearing a matte base, a pencil with a dry, fine point tends to look more natural than anything too creamy or glossy.
Beyond the hack: when you suddenly look more like you
Something interesting happens when you try this on a low-energy day. You expect to see a more “made-up” version of yourself - and instead you see a face that simply looks more alive. Not overly polished, not filtered, just closer to how you look after a week of decent sleep and minimal stress.
For many people, this small brow lift becomes the one step they keep even when they drop contour, eyeliner, or lipstick. It’s quick, it’s fairly low-risk, and it works with your real features rather than fighting them. One minute of brushing and a few careful strokes along the top edge can be enough to stop you wanting to hide behind oversized glasses or your fringe.
You may start noticing it on other people too. The colleague who always looks switched on in Monday meetings? Look at her brows: they often sit slightly lifted and clean through the arch, without a heavy, downward tail. The friend who looks exhausted despite perfect foundation? Often her brows lie low and straight, casting extra shadow over the upper lid.
The awake look hack is small, but once you understand it, you can tailor it to your mood, your age, and your style: a stronger gel hold and a clearer angle for nights out; a barely-there brush-up for make-up-free Sundays. There isn’t one universally “correct” brow - just a smarter way to place yours so your eyes do the talking first.
| Key point | Detail | Value for the reader |
|---|---|---|
| Lift the outer third | Concentrate brushing and product from arch to tail, with a slight upward direction | Eyes look more open without adding more make-up |
| Build the top line | Fill sparse areas on the upper edge rather than packing colour underneath | Creates lift instead of a heavy, drooping brow effect |
| Light, hairlike strokes | Use a thin pencil or pen and mimic real hairs | Keeps the finish natural, soft, and wearable day to day |
FAQ
How can I tell if my brows are making my eyes look droopy?
Take a straight-on selfie with a relaxed expression. If your brow tail sits lower than the outer corner of your eye - or if the back half of your brow looks much heavier than the front - a slight lift at the tail using pencil and gel can make a noticeable difference.Will this work if my brows are very sparse or have been over-plucked?
Yes, but keep it subtle. Sketch a light top line from arch to tail, then brush a tinted gel upwards. Avoid creating a solid, thick block - the aim is openness and “air” around the eye area.What if I have thick, bushy brows - do I still need the awake look hack?
Often you do. With fuller brows, the priority is trimming long hairs that drop over the tail and brushing the whole shape slightly upwards and out. You’re refining the shape, not making the brows smaller.Do I need highlighter under the brow to look more awake?
Not always. A matte or satin shadow close to your skin tone under the arch is usually enough. Very frosty or glittery highlight can emphasise puffiness and make the area look more swollen.How long should the “awake look” eyebrow hack take?
After a few tries, the full routine - brushing up, filling the top edge, occasional trimming, then setting with gel - takes about 60–90 seconds. A small time cost for a face that looks like it actually slept.


Comments
No comments yet. Be the first to comment!
Leave a Comment