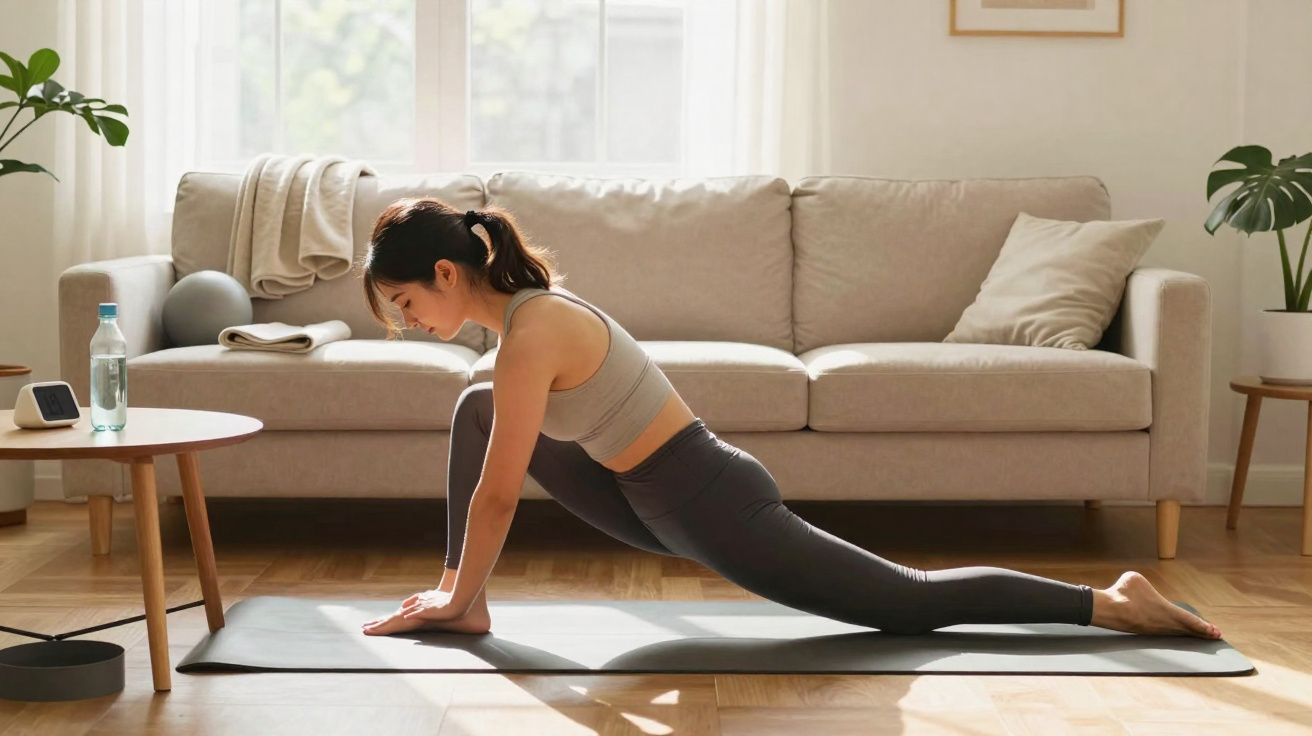
A flatter stomach without miserable sit-ups: a Pilates coach shares a simple living-room routine that can deliver visible changes in just a few weeks.
Many people know the feeling: your trousers dig in, your stomach feels tight after eating, and classic crunches leave you with neck ache rather than sore abs. That’s exactly where a targeted Pilates routine comes in-created by an experienced coach. With five focused exercises, just a mat and a few minutes, the aim is to switch on the deep abdominal muscles and help your waist look more defined week by week.
Why Pilates can make your stomach look flatter
When people think of abdominal training, they often picture visible muscles-the classic “six-pack”. Anatomically, however, a different layer is often more important for a flatter-looking stomach: the deep abdominal muscles.
Sports scientists broadly distinguish between:
- Superficial abdominal muscles – mainly the rectus abdominis and the obliques, responsible for bending and rotating the torso.
- Deep musculature – especially the transverse abdominis (transversus), which works like an internal corset.
This “internal corset” sits at the heart of many Pilates exercises. Coaches repeat the same cue for a reason: exhale first, gently draw the abdomen inwards, activate the pelvic floor-and only then move. Done this way, you’re not only working the muscles you can see, but also the supportive deep layer.
If, as you exhale, you gently draw your navel towards your spine, you activate the deep abdominal muscles-this is the core of the Pilates effect for a flatter stomach.
Another major benefit: as the whole trunk becomes more stable, the lower back is often less strained. Many people notice improved posture and a less pronounced arch in the lower back. The result is a silhouette that looks longer and more lifted-even if the number on the scales doesn’t change.
Before you begin, it’s worth doing a quick “set-up” check: lie on your back, soften your ribs, and imagine your pelvis as a bowl of water you don’t want to tip. That simple awareness can make the difference between feeling the work in your core and feeling it in your hip flexors or lower back.
The coach’s 5 favourite Pilates exercises for a strong core and flatter stomach
From the huge range of Pilates moves, the coach has picked five go-to favourites. You can do them at home with no equipment-ideally on a non-slip mat:
- Single Leg Stretch
- Double Leg Stretch
- Double Leg Lower Lifts
- Shoulder Bridge with Kick
- Scissors
Pilates routine: technique notes for each of the 5 moves
Single Leg Stretch: an entry point to deep core engagement
Start lying on your back. Draw both knees towards your chest, lift your head and shoulders slightly, and look towards your thighs. Then extend one leg forward while the other stays drawn in. Switch legs smoothly.
- Activates: transverse abdominis and obliques
- Training effect: maintains core tension and improves body control
- Tip: keep the range smaller if needed and press your lower back firmly into the mat
Double Leg Stretch: the classic Pilates all-rounder
Again, lie on your back with your head and shoulders slightly lifted. Arms and legs begin close to the body. As you inhale, stretch the legs forward and the arms back overhead; as you exhale, bring both back towards the centre.
Although it looks straightforward, it challenges the entire midsection because arms and legs act as counterweights. With clean breathing, you’ll quickly feel how hard the deep muscles have to work to keep the spine steady.
Double Leg Lower Lifts: emphasis on the lower abdominals
This variation is designed to target the area below the navel. From your back, lift both straight legs up into a “V” shape. Lower them slowly towards the floor, then lift them back up again.
The more controlled the descent, the harder the lower abdominals must stabilise-this is where it becomes clear that good technique matters more than a big range of motion.
The key point: keep the lower back heavy on the mat at all times. If your back starts to arch, reduce the range immediately or take a short break.
Shoulder Bridge with Kick: a bridge for glutes, back and core
A shoulder bridge traditionally strengthens the glutes and the backs of the legs. In the Pilates version with a kick, you add a bigger stability challenge for the core. Start on your back with feet hip-width apart and knees bent. Lift your pelvis until your thighs and torso form a straight line.
Then extend one leg up towards the ceiling and “kick” it back under control to the height of the other knee. Keep the hips as level as possible without dropping to one side. Holding that steadiness quietly trains the whole centre of the body.
Scissors: dynamic legs for hip mobility and a strong centre
Scissors add tempo. Lying on your back, bring both straight legs up. Lower one leg towards the floor while the other reaches towards the ceiling. With every switch, keep the abdomen gently drawn in.
Many Pilates teachers use small pulses here: the top leg is supported with two small drawing actions while breathing stays deliberate. If your neck tends to complain, keep your head and shoulders on the floor and put all your attention on the trunk.
How to fit the routine into everyday life (realistically)
To keep things simple, the coach suggests sticking to a fixed order so you don’t waste time deciding what to do:
- Single Leg Stretch
- Double Leg Stretch
- Double Leg Lower Lifts
- Shoulder Bridge with Kick
- Scissors
To begin with, 8–10 repetitions per exercise are enough. Keep the pace relatively slow and prioritise breathing and control. If you’re new, take a short breather between exercises rather than forcing your way through as if it’s a punishing strength circuit.
| Training level | Repetitions per exercise | Frequency per week |
|---|---|---|
| Beginner | 8–10 | 2–3 sessions |
| Advanced | 12–15 | 3–4 sessions |
Some people report noticeable changes after around three weeks: more tone through the stomach, a lighter feeling in the morning, and less pulling in the lower back. The deciding factors are consistency and solid technique-not achieving a “perfect” body in record time.
A useful addition is a brief cool-down: a gentle spinal twist or knees-to-chest breathing for 60–90 seconds can help your back settle and reinforces the calm, controlled style that makes Pilates so effective.
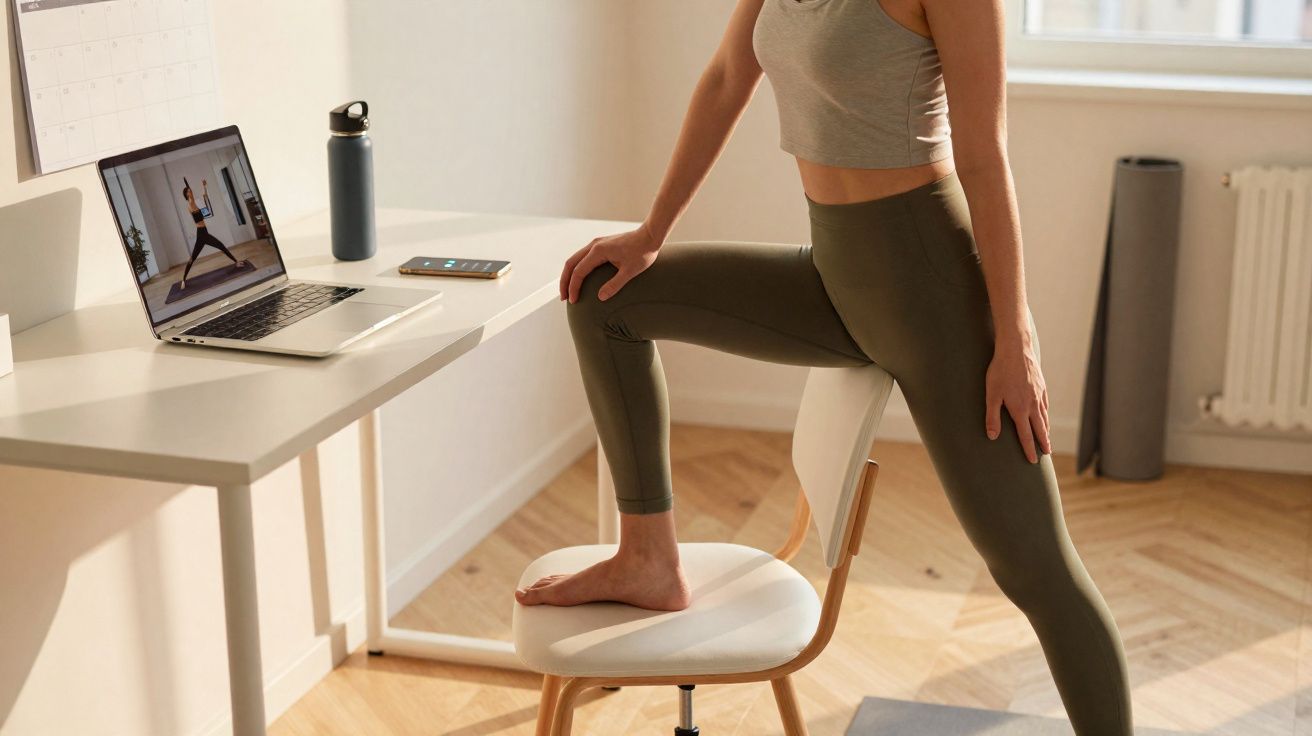
Living room instead of studio: how to turn your home into a Pilates space
If you don’t want to attend a class, coaches say you can manage perfectly well at home with a few basics. A non-slip surface, comfortable clothing, and bare feet are enough to start. For certain variations, everyday items can help:
- Slippery socks or small towels on a smooth floor for gentle sliding movements
- A folded towel to support the head or pelvis
- A yoga bolster or firm cushion for anyone with a sensitive back
If you’re practising on wood flooring or tiles, make sure nothing can slide away. The ideal surface is stable with a little give. And if you feel an unfamiliar sharp pain, stop and seek medical advice if needed.
When you might notice results-and what influences them
Many personal accounts mention about 21 days as a rough guideline for things to feel “different”: your stomach appears flatter in the morning, trousers feel more comfortable, and everyday movement seems easier. However, this timeframe is not a promise.
Results depend on factors such as:
- How often you actually do the exercises
- How consistently you follow breathing and technique cues
- Sleep, stress levels, and diet
- Existing conditions or a long break from exercise
If you train mindfully three times per week, use deep breathing, and avoid practising on a completely full stomach, you have a much better chance of visible changes.
Suitable after 60? What older adults should keep in mind
Pilates is generally considered joint-friendly, which is why it’s often recommended for people over 60. For this age group, coaches tend to emphasise a few clear rules:
- Keep the range of movement smaller-controlled is better than large
- Plan generous rest breaks and keep an eye on breathing and heart rate
- If you have heart or back issues, get medical clearance first
- Stop immediately if you experience dizziness, breathlessness, or sharp pain
Especially later in life, the combination of core strength and improved mobility can help reduce the risk of falls. Many people also report feeling more secure when walking and climbing stairs.
What “deep abdominal muscles” and “Pilates breathing” actually mean
When you begin Pilates, you’ll hear terms that can sound abstract at first. Two come up constantly in the context of a flatter stomach:
- Deep abdominal muscles: above all, the transverse abdominis. It wraps around the trunk like a wide band and helps support the organs and the spine. When it’s activated, the abdomen subtly draws inwards visually.
- Pilates breathing: a breathing pattern where the ribs expand out to the sides and into the back, while the abdomen stays relatively flat. On the exhale, the centre actively narrows, which boosts the training effect.
If you understand and can feel these two ideas, you’ll get far more out of every one of the five exercises. The goal isn’t to exhaust yourself-it’s to intentionally switch on that “inner belt” with every repetition. That’s exactly why this routine appeals to anyone who wants to tighten their stomach without overloading their back.


Comments
No comments yet. Be the first to comment!
Leave a Comment