A faint grey shadow starts to bloom above the sideboard, right where your favourite candle normally sits. You swipe it with your thumb while you’re half-thinking about something else, and it doesn’t quite shift. A fortnight later, it’s darker: a soft rectangle of grime, drawn with surprising accuracy in the spot where the flame has been dancing every evening while you eat, scroll, or unwind.
Then you nudge a picture frame on the wall and spot another one: a pale halo that definitely wasn’t there last year. Same height. Same position. Same quiet culprit. The candle you bought “for ambience” has been steadily re-tinting your home in a shade you never asked for: burn-scar grey.
And eventually you notice the detail nobody mentioned at the till: that untamed, overgrown wick.
When a cosy flame becomes dirty smoke
Watch a candle that hasn’t had its wick trimmed in weeks. The flame swells, wobbles, and stretches taller than it should. It looks romantic-almost theatrical-but it’s working far too hard. A longer wick creates a bigger flame; a bigger flame gulps fuel faster. That’s where the mess begins.
Instead of a clean, steady burn, the wax ends up feeding an oversized fire. The wick tip starts to “mushroom”: it curls, blackens, and builds carbon. Tiny flakes break away. What looks like a moody flicker is usually incomplete combustion-microscopic carbon particles escaping instead of burning off. Those particles are precisely what ends up on your crisp white walls.
That carbon doesn’t disappear. It rises with warm air, hits cooler surfaces, and clings. Paint-especially matt paint-has a slight texture, which soot grips easily. Curtains and lampshades behave like soot magnets as well. The shocking part is how quickly it happens: a few hours of over-burning a large three-wick candle with untrimmed wicks can leave marks that look like years of everyday grime.
The smallest line between candlelight and soot is one-quarter of an inch.
Ask decorators, painters, or landlords dealing with rental homes “made cosy” by tenants armed with jars of vanilla-scented wax, and many will have the same story: “We thought it was damp,” followed by, “No-it was candles.” In some properties, you can practically chart winter evenings by a faint grey ring near the ceiling, right where warm air has carried soot upwards in invisible spirals.
Online, cleaning specialists post before-and-after pictures that look almost edited. Above the sofa: a neat rectangle of restored paint. Around the TV: a ghostly shadow where three candles once sat. The explanation is dull but reliable: when people begin to trim wicks to roughly one-quarter inch (about 6 mm) before each burn, the marks either stop appearing or build up far more slowly.
One renter even filmed herself repainting an entire wall after her landlord spotted a soot pattern above her “self-care corner”. The comments all said the same thing in different ways: trim your wicks first.
The candle wick science behind the “mushroom” tip
When a candle burns, wax travels up the wick, turns into vapour, and feeds the flame. With a short wick, the flame stays smaller and hot enough to burn that fuel almost completely-less waste, less smoke.
With a long wick, more wax gets pulled up than the flame can efficiently handle. The wick tip overheats, carbon builds, and the black “mushroom” forms. That carbon becomes airborne soot, which then settles onto walls, ceilings, lampshades, and even framed prints.
So when you cut the wick down to one-quarter inch-roughly the width of a standard pencil eraser-you’re not being fussy. You’re choosing a cleaner burn over quiet indoor pollution.
The tiny pre-burn ritual that saves your walls
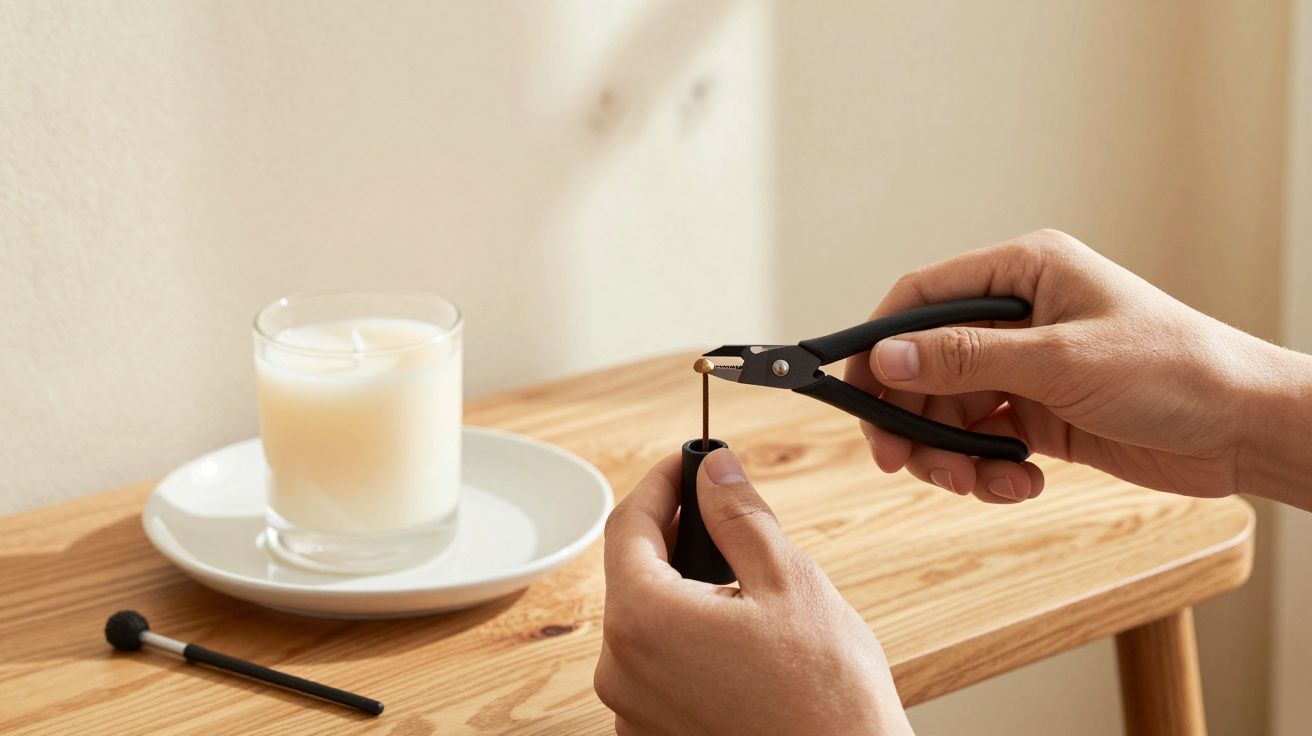
The most effective step happens before a match ever touches the wick. Candle people treat trimming the way they treat brushing their teeth: quick, automatic, non-negotiable. The useful number is one-quarter inch (around 6 mm)-not “about half”, not “short-ish”. For very slim taper candles, slightly shorter can work better.
Use small scissors, nail clippers, or a proper wick trimmer if you like a tool that feels satisfying in the hand. Tilt the candle slightly, snip, and let the excess fall into a tissue or straight into the bin. If the candle has tunnelled and the wick sits deep, slide the trimmer in from above-or, once everything is cold and the wax has set, gently pinch off the charred tip with your fingers. Trim before lighting, not after.
This five-second habit changes how the flame behaves.
Real life, of course, gets in the way. You unwrap a new candle and light it straight from the box. The wick is already long. Nobody is thinking about paint chemistry in that moment. You just want the room to smell like cashmere and sandalwood, not like yesterday’s laundry and leftovers.
Let’s be honest: almost nobody does this perfectly every day. We forget. We let candles burn for five hours. We fall asleep with the last bit of wax glowing in a glass jar. The aim isn’t perfection-it’s a default routine: candle comes out, wick gets checked. If it’s longer than a grain of rice, it gets a quick haircut.
Many people make it effortless by storing a small pair of scissors next to the lighter-same drawer, same tray. That visual cue turns it into muscle memory. After a while you’ll notice the difference: quieter flames, less smoke when you blow them out, and glass jars that don’t develop a black ring at the rim.
“Once clients start trimming wicks to a quarter inch, we almost stop seeing that classic grey halo above sofas and sideboards,” says a London-based decorator I spoke to. “They think I’ve changed their paint. I’ve just changed their flame.”
Two extra habits that make a noticeable difference
Trimming is the big one, but a couple of supporting habits can make soot even less likely. First, keep candles away from draughts: a flame that flickers hard in moving air tends to burn less cleanly, even with a sensible wick length. Second, consider a quick ventilation routine-crack a window for a few minutes after burning, particularly in smaller rooms. It’s not about turning your living room into a wind tunnel; it’s simply about reducing the build-up of particles over time.
Also, how you extinguish matters. Blowing out a candle can send a brief puff of smoke (and soot) into the room. If you have a snuffer, use it. If not, gently dipping the wick into the melted wax and then straightening it can reduce smoke-just do it carefully and only when the container is stable and heat-safe.
There’s also a small checklist that helps you keep candles beautiful without turning it into a chore:
- Keep the wick at ~1/4 inch (about 6 mm) before every burn.
- Burn long enough for the wax pool to reach the edges.
- Stop burning when 1/2 inch (about 12 mm) of wax remains at the bottom.
- Place candles away from draughts and vents.
- Wipe jars and nearby walls gently if you see early soot marks.
Each line sounds simple. Together, they decide whether your candles behave like gentle lamps-or like stealthy little chimneys putting in overtime in your living room.
A cleaner flame, a different way of paying attention
Next time you’re in someone’s “candle house”, you’ll often notice one of two atmospheres. In the first, the air feels slightly heavy, glass jars look cloudy with black rings, and paint above a console table is faintly stained. In the second, the candles are almost boringly well-behaved: modest flames, clear glass, and no halo under the ceiling.
The difference is rarely the brand. It’s the ritual. That tiny decision to snip before lighting acts like a filter on everything that follows. Less soot on walls means fewer deep cleans, fewer repainting jobs, and fewer awkward landlord conversations. It also changes how you use the room: you pay attention for three seconds, then relax properly for three hours.
Most of us have had at least one moment where a small piece of information quietly rewires a long-held habit. Wick length belongs in that category. Once you’ve seen what an overgrown wick can do to plaster and fabric, it’s hard to unsee it.
People start trimming for different reasons: a landlord’s warning, a home inspector pointing out faint soot patterns in a hallway, or a renewed focus on indoor air quality for children or pets. Whatever the trigger, the routine tends to stick because the payoff is so high for such a small effort.
So next time you reach for a match or lighter, pause for that tiny, nearly invisible act of care. Your walls, your lungs, your lampshades, and even your favourite framed print in the hallway all benefit from that one-quarter inch.
| Key point | Detail | Why it matters to you |
|---|---|---|
| Wick length | Trim to about one-quarter inch before every burn | Reduces black soot on walls, ceilings and candle jars |
| Burn behaviour | Shorter wick = smaller, steadier, hotter flame | Cleaner combustion, better scent throw, longer candle life |
| Simple ritual | Keep scissors or a wick trimmer next to the lighter | Makes the habit automatic and easy to maintain day to day |
FAQ
- Do all candles cause soot, even if I trim the wick? Any open flame can produce a little soot, but a properly trimmed wick drastically reduces visible marks on walls and jars.
- How often should I trim the wick of a candle? Before every burn-once the wick is cool and the wax is firm, snip it back to roughly one-quarter inch (about 6 mm).
- Can a long wick be dangerous, or just messy? A long wick can create a larger, unstable flame, increase soot, and in some cases overheat the container.
- What if my candle tunnels and the wick is hard to reach? Use a wick trimmer, long nail clippers, or gently break off the charred tip with your fingers when everything is cold.
- Will trimming the wick make my candle last longer? Yes, because the flame uses wax more efficiently instead of wasting it as smoke and excess heat.


Comments
No comments yet. Be the first to comment!
Leave a Comment