The orchid sits on the windowsill, the leaves look perfectly healthy, yet there are no new flowers in sight. Anyone who keeps orchids will recognise the scenario. Rather than giving up straight away or spending money on pricey specialist feeds, some hobby growers now turn to a surprisingly unconventional helper from the baking cupboard: a dark syrup normally destined for gingerbread and biscuits - and one that can make a noticeable difference in a pot.
Why many orchids lose momentum after the first flowering
Phalaenopsis and similar orchids have a reputation for being tough, but they still rely on a fairly exact mix of light, moisture and nutrients. After the generous flowering in the first year, the growing medium is often depleted. The plant has poured a great deal of energy into flower spikes, buds and blooms.
From the outside, it can still look fine: the leaves stay green and sometimes even produce new growth. The real issue is usually hidden in the pot. The roots slow down because particular minerals are missing. Tap water on its own rarely provides enough, and many owners worry about overdoing it with fertiliser.
That is exactly where the baking-ingredient trick comes in. It supplies targeted nutrients without overwhelming the plant with an aggressive chemical mix - as long as you stick to the right dilution.
The secret baking ingredient for orchids: what makes molasses so useful
The syrup in question is molasses - a by-product of sugar production that some kitchens use for rich cakes, spiced loaves or marinades. For plant enthusiasts, its appeal is that it offers far more than sugar alone.
"Molasses provides potassium, magnesium and trace elements and activates micro-organisms in the growing medium - right where the roots do their work."
Potassium helps the plant form sturdy flower spikes and supports overall structure. Magnesium plays a central role in energy production in the leaves. Orchids need both if they are to set new flowers rather than simply producing more foliage.
There is also a second benefit: the sugars in molasses act as food for bacteria and fungi in the pot. These micro-organisms help release nutrients within the growing medium and make them easier for roots to access. Put simply, the roots “wake up”, work more actively, and take up water and minerals more efficiently.
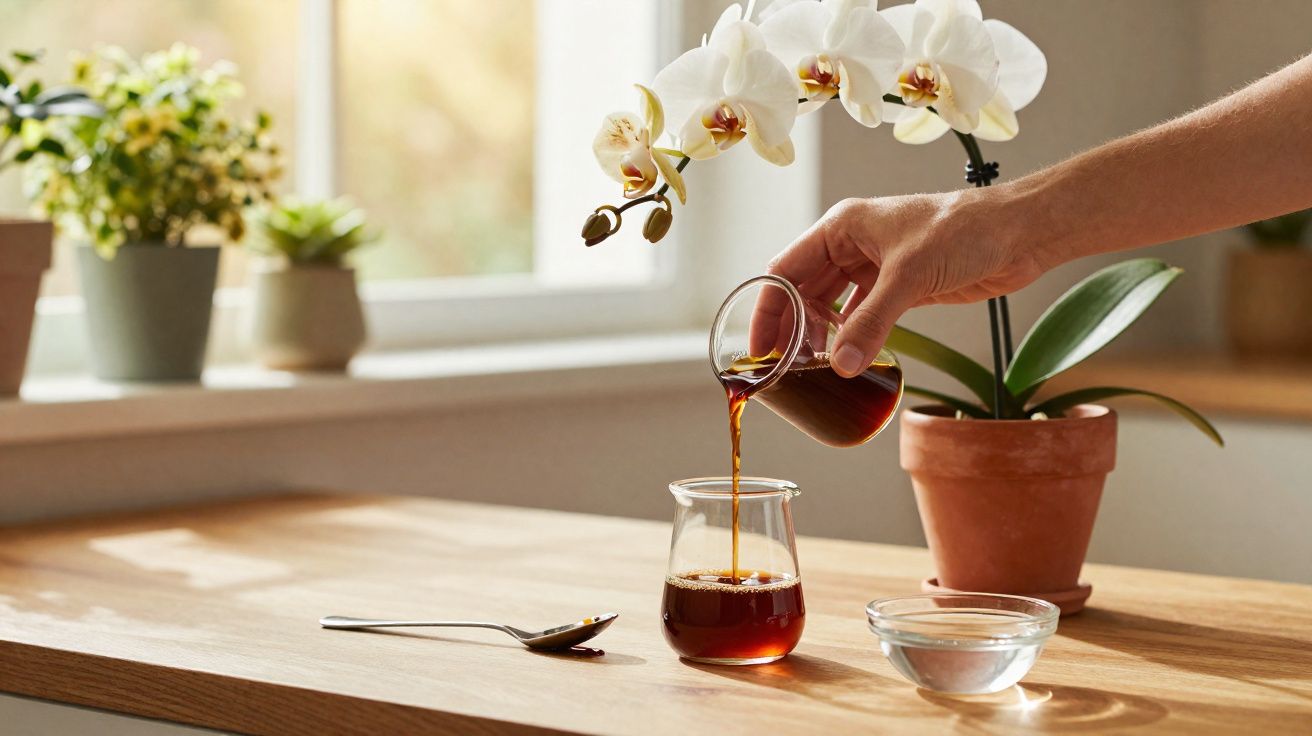
Turning molasses into a gentle orchid feed
You do not need a lab or any special kit to try this. A measuring spoon and either a spray bottle or a small watering can are enough. What matters most is how strongly you dilute the syrup.
Step-by-step guide to mixing molasses for orchids
- Pour about 240 millilitres of room-temperature water into a clean spray bottle or a small watering container.
- Add a small amount of molasses - roughly the tip of half a teaspoon (use it liquid, or warm it slightly so it dissolves more easily).
- Shake thoroughly until the syrup is largely dispersed through the water.
- Apply the solution directly to the orchid’s growing medium, not into the leaf joints.
- Moisten lightly rather than soaking - the roots should not end up sitting in a “sugar swamp”.
Many hobby growers also work with a ratio of one teaspoon of molasses per litre of water. The key point remains the same: keep the mix very weak. The thicker the syrup compared with the water, the higher the risk of mould and root trouble.
How often an orchid can handle the syrup
Think of molasses as an occasional extra, not a daily staple. Once a month is more than enough to gently stimulate the roots and strengthen the plant over time.
"One molasses watering per month is enough - more can burn the roots instead of strengthening them."
Between molasses applications, water only with plain water or a heavily diluted specialist orchid fertiliser. If you reach for the syrup mix too often, it is easy to overfeed and end up with salt build-up in the growing medium.
Warning signs: when an orchid is getting too much
Because molasses contains sugar, overdoing it can attract unwanted visitors. Small flies, ants, as well as bacteria and fungi, are all drawn to a sweet environment.
Common signs of overfeeding with molasses
- a fine, whitish coating on the surface of the growing medium
- a stale, fermenting or slightly rotten smell coming from the pot
- sticky bark pieces or a slimy film on the surface
- a sudden increase in fungus gnats or ants around the pot
- roots that look mushy, turn dark, or snap easily
If any of these appear, the only fix is a small “reset”. Hold the pot carefully under lukewarm water and flush the growing medium thoroughly to wash out excess sugary solution and fertiliser residues. Then allow it to drain well, and water only with plain water for a few weeks.
Other kitchen leftovers orchids may occasionally tolerate
Molasses is not the only kitchen item people repurpose. Many household scraps contain minerals that plants can use. If you like experimenting, dose cautiously and never throw several home remedies together at random.
| Kitchen ingredient | Contents / effect | How to use |
|---|---|---|
| Eggshells | Calcium, supports cell structure | dry thoroughly and grind very finely; mix into the growing medium extremely sparingly |
| Water from cooked rice | traces of starch and minerals | dilute heavily, cool completely; no more than once a month |
| Banana skins | potassium, a little phosphorus | do not place directly in the pot; better as briefly boiled, strained “banana water” |
| Tea bags (no flavourings) | tannins, small amounts of nutrients | do not press into the growing medium; instead dilute tea strongly and water only rarely |
These home remedies have circulated in forums for years. Molasses has a practical advantage: you can measure it precisely, it is bottled hygienically, and it disperses quickly in water. A small bottle easily lasts for many plants and many months.
How orchids respond when the molasses treatment is working
If you watch your plants closely, you will usually notice improvements not overnight but over several weeks to months. Leaves often look a little plumper at first, and the colour can appear richer. At the same time, healthy roots more frequently produce new pale-green tips - a sign the plant is actively growing.
After a short delay, you may then see small thickened sections on older flower spikes or fresh shoots forming at the base. These can develop into new flower spikes. The actual flowering period depends heavily on light levels and temperature, but a well-nourished orchid reacts far faster when conditions are favourable.
When the trick will not help - and what to do instead
This syrup is not a miracle cure. If the growing medium has fully broken down, the roots are rotten, or the pot has not been refreshed for years, a nutrient boost will not be enough. In those cases, repotting comes first: remove old, crumbling bark, cut away rotten roots, and place the plant into fresh, airy orchid compost.
Position matters too. If the orchid lives permanently in a dark hallway or in harsh midday sun, extra nutrients may cause stress rather than support. The best spot is bright with plenty of indirect light - for example an east- or west-facing window - at room temperature and away from cold draughts.
How to build molasses into an orchid care routine
Molasses tends to work best when it is part of a consistent watering plan. Many plant lovers do well with this simple pattern:
- Week 1: Water with plain, stood tap water.
- Week 2: No watering; increase humidity only (for example, a bowl of water nearby).
- Week 3: Very heavily diluted orchid fertiliser.
- Week 4: A single molasses mix, applied sparingly to the growing medium.
You can adjust this rhythm depending on your indoor climate and pot size. If you tend to water frequently, schedule longer breaks. Dry spells are important in bark-based media so the roots get enough air.
Beginners are best off trialling it on one plant first. If, after two or three months, it shows stronger growth and starts producing new flower spikes, you can cautiously extend the method to your other orchids. That keeps the risk low and turns the baking-cupboard trick into a small but effective part of orchid care.


Comments
No comments yet. Be the first to comment!
Leave a Comment