How does this treatment work, step by step?
Straight teeth without visible wires, speaking normally, eating, working-the promise of “invisible” correction is understandably appealing. What sits behind the trend is a mix of high‑precision digital workflows, custom-made plastic trays and a clearly staged treatment plan. If you’re considering it, it helps to know what actually happens in a specialist orthodontic practice, how long it usually takes and how much self-discipline you’ll need.
First consultation: are invisible aligners actually right for me?
Treatment always begins with a thorough discussion at an orthodontic practice. The specialist orthodontist will assess whether transparent aligners are a sensible option for you, or whether conventional braces (brackets) would achieve a more predictable result.
Typical steps include:
- a clinical examination of teeth, jaws and gums
- X‑rays to evaluate tooth roots and bone levels
- photographs of your face and teeth for records and comparison
- a discussion of your goals: a small “cosmetic tweak” or a more complex misalignment?
Using these findings, your orthodontist will set out what changes are realistic, give a rough estimate of treatment duration and explain the likely costs. For many adults, work commitments matter too: anyone who speaks a lot or presents in public often prioritises a particularly discreet option.
The first consultation is where you find out whether invisible aligners truly suit your bite and your day-to-day routine.
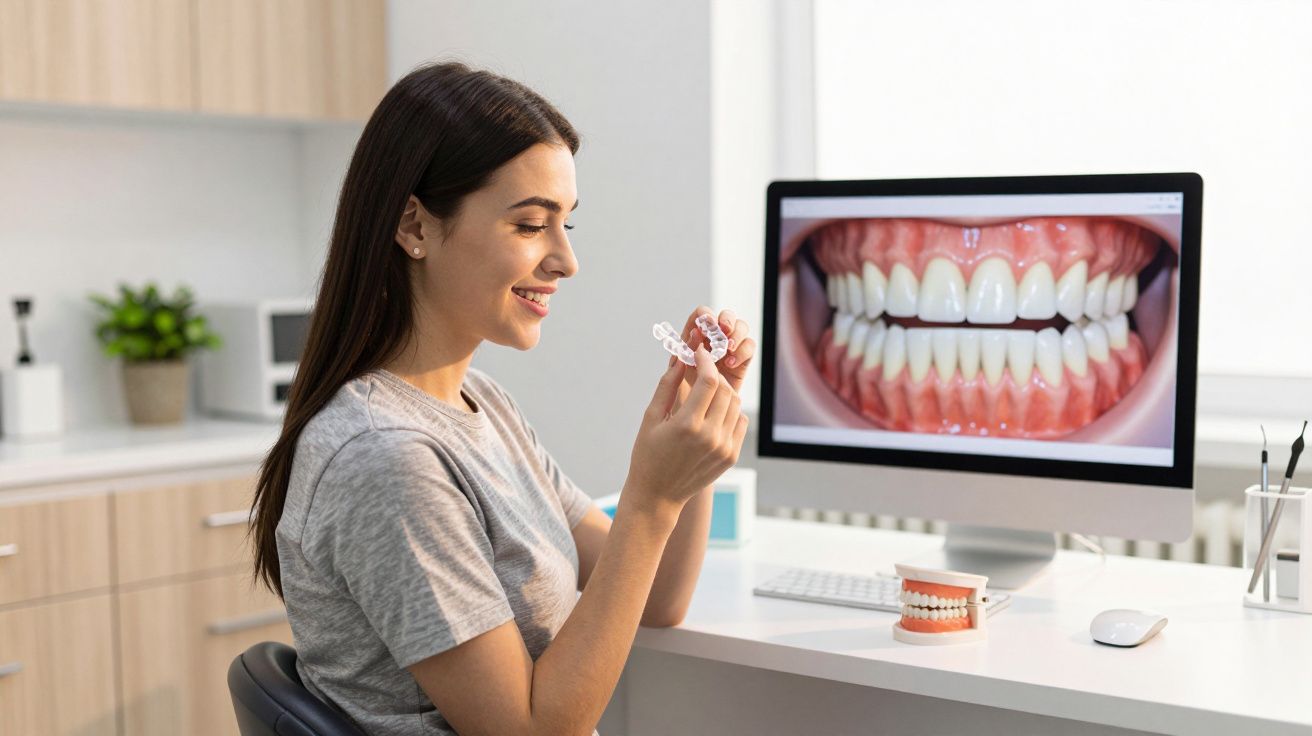
Digital scan instead of messy impressions
In the past, “taking impressions” meant bulky trays, thick impression material and a strong gag reflex-followed by plaster models. Most modern systems now use a 3D intraoral scanner. A small handheld device is guided over your teeth to create a precise digital model.
This usually takes only a few minutes and is typically painless. Many people find scanning far more comfortable than traditional impressions. Another key benefit is speed and accuracy: the orthodontist can check the scan immediately on screen and, if needed, capture extra detail on the spot-without putting impression material back in your mouth.
On the monitor, the clinician can show you exactly where teeth are tilted, where gaps exist, or where the bite doesn’t meet properly. Often, an early simulation of the expected result can be displayed, which many patients find highly motivating.
Computer planning: how your transparent aligners are designed (invisible braces keyword)
Once the digital model is ready, the orthodontist plans the tooth movements. Specialist software maps out the changes in small, controlled steps, shifting each tooth towards its target position. Each stage corresponds to a separate invisible aligner.
How the virtual plan is built
For every tooth, the plan specifies:
- the direction it needs to move
- how much it may tip or rotate
- the pace of movement that’s safe for the roots and supporting tissues
The result is effectively a “treatment film” showing the journey from start to finish. From that plan, the lab calculates how many aligners you’ll need. Minor corrections may take around 10–12 sets, while more significant misalignments can require many more.
Manufacturing the transparent aligners
After planning, a specialist laboratory produces a bespoke plastic tray for each phase. Each aligner is clear, smooth and closely fitted around your teeth. Small areas of intentional mismatch are part of the design-they generate the gentle pressure that moves teeth.
Each aligner moves teeth only fractionally; together, those small steps can create an entirely new bite.
When production is complete, patients are often given several sets at once, along with a clear schedule explaining exactly when to switch from one aligner to the next.
Extra steps you may need: attachments and enamel reshaping
Many plans also include small tooth-coloured “attachments” (tiny composite bumps) bonded to certain teeth. These provide extra grip so the aligners can rotate or control teeth more effectively-especially for more difficult movements.
In some cases, the orthodontist will recommend a small amount of interproximal reduction (IPR), which means carefully polishing a fraction of a millimetre between selected teeth to create space. Done correctly, it’s conservative and controlled, and it can prevent the need for more invasive options while improving the final alignment.
Fitting into everyday life: wear time and check-ups
At the first fitting, your orthodontist will show you how the invisible aligners should sit, how to insert and remove them, and what to watch out for day to day. A near-universal rule applies: aligners must be worn for around 20 to 22 hours per day.
You remove them only for eating, for drinking strongly staining drinks, and for brushing your teeth. If you regularly fall short on wear time, teeth may not track as planned-later aligners can then feel tight, fit poorly or stop fitting altogether.
Review appointments are usually scheduled every 4 to 8 weeks. At these visits, the orthodontist checks whether teeth are reaching the intended positions, looks for pressure points or pain, and decides whether adjustments are needed. Sometimes the plan can be refined mid-course if your teeth respond differently than predicted.
Stabilisation phase: why it doesn’t end when teeth look straight
Once the desired position has been achieved, teeth have a natural tendency to drift back. That’s why a stabilisation phase-known as retention-is essential.
Retention: removable retainers and fixed wires
Many practices use a combination of:
- a fixed retainer wire bonded behind the front teeth in the upper and/or lower jaw
- an additional night-time retainer that feels like a thin aligner
The wire sits discreetly on the inner surfaces of your teeth and isn’t visible from the outside. The removable retainer is mainly worn at night. How long retention lasts depends on the original problem, but many clinicians advise keeping a fixed retainer in place long-term to protect the result.
Oral hygiene during treatment
Because transparent aligners fit closely around the teeth, hygiene needs to be meticulous. Otherwise, food debris and plaque can become trapped between tooth and plastic, increasing the risk of decay.
Good practice includes:
- rinsing aligners first with cold water to remove larger particles
- cleaning them with lukewarm water and a mild, non-abrasive cleanser or soap
- using a soft toothbrush to reduce scratching
- avoiding harsh cleaners and alcohol, which can cloud the plastic
Alongside this, thorough brushing after every meal and daily flossing remain non-negotiable. That’s how the plastic stays clear and your teeth stay healthy.
Straight teeth are of little value if decay develops under the aligners-hygiene is the real foundation of success.
Who is invisible tooth correction suitable for-and where are the limits?
Transparent aligners are a strong option for many adults and teenagers with mild to moderate misalignment. Common reasons include crowding, small gaps, or front teeth that have shifted-issues that can affect appearance and also make cleaning more difficult.
For very complex bite problems, severely rotated teeth, or for children whose jaws are still developing, orthodontists often recommend conventional braces instead. Likewise, anyone who knows they struggle to follow instructions may do better with a fixed system that can’t be removed.
Risks, discomfort and real-life expectations
Mild pressure during the first few days of each new aligner is normal-it’s a sign the teeth are moving. Severe pain or sore spots should be raised promptly with the practice; small adjustments to the edge of an aligner can often resolve irritation.
A practical advantage is that you can eat whatever your own teeth can cope with, because there’s no wire in the way. Some people notice minor speech changes, especially at the beginning, which usually settle after a few days. If you do a lot of phone work, teaching or presenting, it’s wise to allow time for that brief adjustment period.
Problems tend to arise when wear time drops significantly or aligners are lost and not reported. In those situations, the planned movements and the actual movement can diverge. Some practices support compliance with apps or digital reminders, and some offer remote monitoring to spot tracking issues early.
Costs, duration and practical examples
Fees vary widely. A small correction involving only a few front teeth can cost a low four-figure sum, while more comprehensive cases cost significantly more. In the UK, the NHS generally does not cover adult orthodontics except in limited, clinically severe situations; private medical insurance or dental plans may contribute depending on the policy, so it’s worth checking the small print.
Treatment length ranges from a few months for minor shifts to around 18 months or longer for more involved cases. Typically, each aligner is worn for 1 to 2 weeks before moving on to the next. With consistent wear, many people start noticing visible changes within a few weeks.
A typical example: a 30‑year‑old patient with crowded lower incisors and an upper midline that doesn’t align neatly is prescribed a plan with 20 pairs of aligners. By sticking closely to wear time and following through with retention, she achieves a noticeably more balanced smile in roughly 12 months-without colleagues at the office realising she was in treatment.
If you’re interested in invisible tooth correction, don’t rely solely on marketing claims. A face-to-face assessment with a qualified orthodontic practice is the only reliable way to judge whether transparent aligners are appropriate for your teeth, your routine and your budget.


Comments
No comments yet. Be the first to comment!
Leave a Comment