Gardeners across Europe have been sharing a straightforward propagation hack that can turn one rosemary plant into several sturdy new bushes - without sowing seed and without the usual fuss of inserting traditional cuttings into compost.
Why it’s worth multiplying your own rosemary (Salvia rosmarinus)
Rosemary (Salvia rosmarinus) is one of those kitchen staples that always seems to run out at the worst moment. Sprigs vanish into a Sunday roast, traybakes, focaccia and even cocktails, and replacing a “fresh” pot every few weeks soon adds up - not to mention the extra plastic packaging.
Once you start propagating your own rosemary, the equation changes. By trimming a handful of stems from a single healthy shrub, you can build a reliable pipeline of new plants for a patio, balcony or allotment. You keep the flavour profile you already enjoy, and you avoid the long lead time that comes with raising rosemary from seed.
Home-grown rosemary means a familiar aroma, reduced spending and fresh sprigs only a few steps from the hob.
There’s a practical resilience benefit too: if your main plant is knocked back by frost, heat or simple forgetfulness, having several younger “spares” ensures you don’t lose the particular rosemary you like growing.
The simple water-rooting trick behind the method
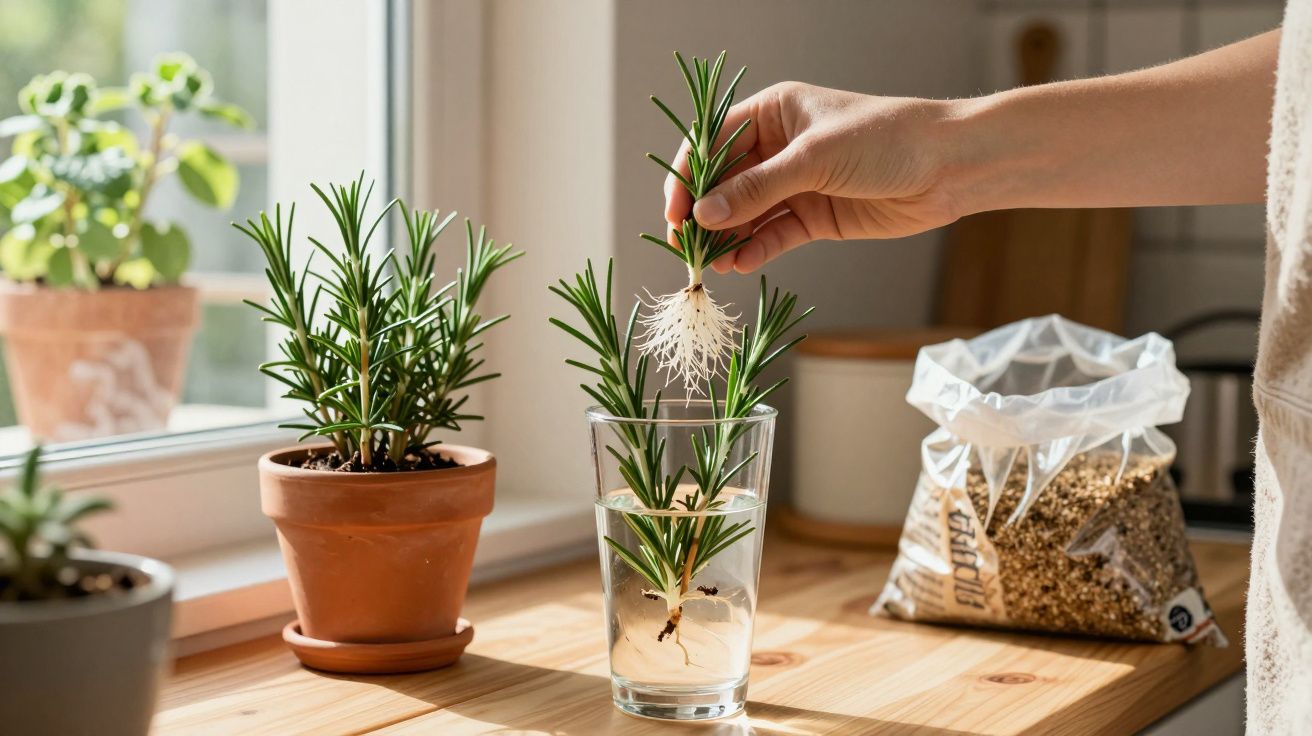
The technique doing the rounds sounds almost too easy: use a glass of water as a mini nursery and let the plant handle the hard work. No rooting hormone, no propagator lid, and no heated mat.
Step 1: select the right stems for rosemary water-rooting
Rather than sowing or pushing woody cuttings straight into soil, this approach relies on soft, green growth from an established rosemary plant. Look for fresh shoots roughly 10–15 cm long that will flex a little instead of snapping cleanly.
- Choose vigorous green stems without yellowing or browned tips.
- Skip flowering shoots; energy is going into blooms rather than root formation.
- Take material from a strong, well-lit rosemary plant - not an exhausted supermarket pot that’s already struggling.
After you cut the stems, remove the needles from the lower third. That exposed section is the area where roots are most likely to form.
Step 2: root rosemary in lukewarm water (not compost)
Instead of inserting the stems into compost, stand them in a glass or jar of slightly warm (lukewarm) water. Keep the stripped, needle-free portion under the waterline, while the leafy top stays above the surface so the cutting can continue photosynthesising.
Keep the jar in bright shade rather than full sun, and swap the water every two days to reduce the risk of rot.
In the same stream of “you might also like” links, readers were pointed to:
- Goodbye balayage: “melting”, the new colouring technique that makes grey hair almost unnoticeable
- Short haircut for fine hair debate explodes over these 4 so-called volume hairstyles that some experts say only expose your thinning hair more
- No vinegar, no wax: the simple home trick that makes hardwood floors shine like new
- This deadly invasive fish species in the Mediterranean is alarming experts
- Engineers are building the world’s longest high-speed underwater train, designed to run beneath the ocean and link two continents in minutes
- Neither tap water nor vinegar: the right way to wash strawberries to remove pesticides
- At a blistering 603 km/h, this new maglev officially becomes the fastest train ever built
- How a single selfie sparked a bitter legal war between an influencer and a plastic surgeon over botched lips and broken promises
This detail is where many people slip up. Hot, direct sunshine warms the water and puts the cutting under stress. Cooler, indirect light encourages the stem to invest in making roots rather than coping with scorch.
Step 3: wait for the “root beard”
Within about 4–8 weeks, fine white roots usually start appearing along the submerged section. They often show up as a soft “beard” of multiple roots rather than one chunky root. At that point, the stems have moved beyond being simple twigs - they’re effectively new plants.
When the roots reach roughly 1–2 cm long, it’s time to pot up. If you leave rosemary in water too long, the roots can become delicate and are more prone to snapping during planting.
From glass to pot: planting water-rooted rosemary successfully
The transfer from water to soil is where many losses happen - not because water-rooting doesn’t work, but because the change is too sudden or the compost stays wet for too long.
Choose a free-draining compost mix
Rosemary is adapted to Mediterranean conditions and resents sitting in waterlogged soil. What you’re aiming for is an airy, gritty blend. A simple, effective mix is:
- 1 part standard potting compost or garden soil
- 1 part sharp sand or horticultural grit
Use containers that are at least 15 cm deep so the roots have room to develop, and make sure there are proper drainage holes (this is essential, not optional).
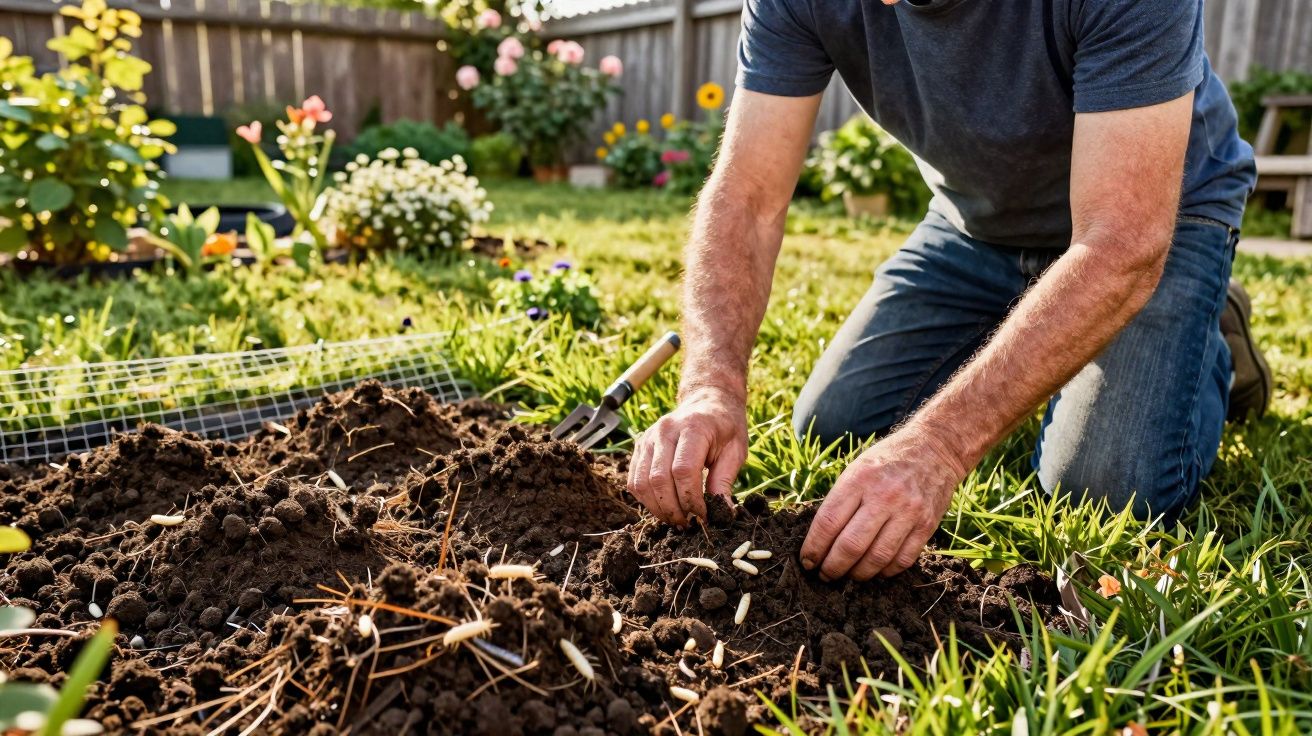
Planting and care during the first few weeks
Use a pencil or small stick to make a planting hole in the compost. Lower the rooted stem in carefully, taking care not to squash or tear the new roots. Then gently firm the compost around the stem so it stands upright.
Put the pots somewhere bright with about 6–8 hours of light, but for the first week in soil protect them from the harshest midday glare.
Water well once immediately after potting, then wait until the top of the compost dries out before watering again. Permanently soggy compost is one of the quickest ways to lose young rosemary.
Extra tip to improve success (added): keep the number of stems per jar sensible. Overcrowding reduces oxygen in the water and increases the chance of mould. A few cuttings per glass is plenty.
Five reasons gardeners are switching to this rosemary propagation trick
Aside from the enjoyment of doing it yourself, this method comes with clear day-to-day benefits:
- Lower cost: a single established rosemary plant can generate dozens of new plants, cutting down on repeated shop purchases.
- Consistent flavour: as clones, the new plants tend to keep the mother plant’s aroma and essential oil profile.
- Faster harvest: water-rooted stems typically reach “usable leaf” stage sooner than seedlings.
- Flexible timing: you can root stems on a windowsill during winter, then pot them up when conditions improve.
- Less waste: fewer plastic pots, labels and transport miles than buying fresh plants year after year.
Long-term care: keeping new rosemary plants thriving
Once your propagated rosemary plants have settled in, they behave much like any established rosemary. A few simple habits help keep them compact, leafy and productive over the long term.
Pruning without weakening rosemary
Frequent trimming encourages bushier growth, but there’s a sensible limit: try not to remove more than a third of the foliage in one go. Also avoid cutting hard back into old, brown wood, as those sections may not reshoot and can remain bare.
It’s better to take small snips regularly than to strip big handfuls every few months - and those kitchen trimmings can become the next batch of propagation material.
Feeding and recognising stress early
Young rosemary benefits from occasional light feeding. In spring, a modest dressing of organic fertiliser - compost, worm castings or well-rotted manure - scattered around the base is usually enough.
If a young plant starts yellowing or shedding needles, treat it as a warning sign. Common causes and fixes include:
| Symptom | Likely cause | Action |
|---|---|---|
| Yellow needles, wet compost | Waterlogged roots | Improve drainage, water less |
| Brown, crispy tips | Drought or intense direct sun after potting | Water deeply, provide light shade for a few days |
| Soft, collapsing stems | Rot in water or soil | Discard and restart with fresh stems |
Seasonal note (added): if you’re rooting in winter, keep cuttings away from cold draughts on windowsills at night. Stable, mild indoor temperatures help prevent stalled rooting and reduce stress.
Common mistakes with the rosemary water method
Even a low-tech technique can go wrong in predictable ways. These are the three issues people most often run into when rooting rosemary in water.
Letting the water get too cold or too hot
Very cold tap water, or a jar left baking in strong sunshine, slows root production and puts the cutting under strain. Aim for room-temperature to slightly lukewarm water, and site the jar in a bright but shaded spot.
Forgetting to change the water
Old water encourages bacteria and mould. Replacing the water every two days helps maintain higher oxygen levels around the cut stem, which supports root development.
Moving to compost too early - or too late
Potting up before the roots are properly formed often results in cuttings that wilt and never recover. At the other extreme, leaving the cutting in water for too long can produce soft roots that break easily. Using the 1–2 cm root length as your cue is a sensible middle ground.
How rosemary water-rooting fits into a broader herb-growing plan
Once you’ve tried this approach with rosemary, it often becomes a useful template. Other woody herbs - including thyme, sage and lavender - can sometimes be coaxed to root in water too, although some varieties perform better when placed straight into compost instead.
In small urban gardens, the method lends itself to a simple rotation: keep one or two mature “mother” rosemary plants in larger containers, then regularly root side shoots indoors in jars. The newer plants can replace older ones that become woody, leggy or damaged by sudden cold snaps.
There’s a food-waste angle as well. The lower portion of a supermarket rosemary bunch - often discarded - can occasionally be rescued for propagation if the stems remain green and flexible. It won’t work every time, but it costs almost nothing to attempt.
It also helps to distinguish two terms as you experiment. A “cutting” usually refers to a stem inserted directly into a compost mix, often with rooting hormone. The water method produces a kind of “pre-rooted” cutting, where you can see the roots before the stem ever touches soil. Both depend on the plant’s natural ability to regenerate; the difference is simply where the root-building takes place.
Used with a bit of care, this one technique can turn a single mid-priced rosemary plant into a low hedge along a path, a line of pots on a balcony rail, or a set of hardy gifts for neighbours. It’s a modest, almost old-fashioned trick - yet it fits neatly with modern concerns about the cost of living, waste reduction and everyday self-sufficiency, all beginning with a glass of water and a few green sprigs.


Comments
No comments yet. Be the first to comment!
Leave a Comment