Between empty tin cans, used coffee grounds and packaging waste, there is often far more potential than you notice in day-to-day life. One hobby gardener took exactly that kind of “rubbish” and turned it into a straightforward watering system that helps plants through dry spells - with no pricey kit, no electricity and very little effort.
Why our gardens are struggling more often in summer
Heatwaves, weeks with little to no rainfall, hosepipe bans: the familiar summer shower that used to rescue everything just doesn’t show up as reliably anymore. Many home gardeners know the scene all too well - drooping leaves, limp lettuce, flowers crisping at the edges. If you look after a vegetable patch, rose beds or container plants at home, the same question comes up every year: how do you keep plants alive without sending the water meter into overdrive?
The common approaches sound simple enough at first. Turn on the hose, spray everything thoroughly - job done. In reality, it often means:
- Spending evenings watering instead of sitting out on the patio
- Water running off the surface rather than getting down to the roots
- Wild swings in soil moisture - from bone-dry to waterlogged
- Plants under stress because they never get the steady conditions needed to build a strong root system
Then there’s the problem of being away. Leave for a weekend during hot weather and it’s easy to come back to a half-scorched garden. Automatic systems with timers can quickly get expensive and they’re not everyone’s cup of tea.
The real challenge in summer isn’t “watering a lot”, it’s “watering consistently and precisely”.
The lightbulb moment: an empty tin can doesn’t have to go in the recycling
The turning point happens in a surprisingly ordinary place: the kitchen, right over the recycling bin. A can of beans or ravioli is empty, quickly rinsed - normally it goes straight out for recycling. This time, it doesn’t.
Why a tin can, of all things?
At first glance, it’s the ultimate disposable item: food gone, label soggy, into the container. Look closer, though, and it has exactly the qualities you want. A tin can is:
- sturdy and hard-wearing
- waterproof and leak-tight
- easy to set into soil
- something most households have on hand all the time
Those traits make it a perfect mini water reservoir in the ground. Once the label and any greasy residue are removed, you’re left with a plain metal cylinder that can be repurposed without fuss.
From waste to a watering reservoir
Instead of ending up in the metal recycling, the can heads to the tool drawer. With just a few quick steps, it becomes a simple drip irrigation set-up that releases water exactly where plants need it most: right by the roots.
The idea is brutally simple: a small reservoir in the soil that empties slowly, steadily and with minimal waste.
How to build drip irrigation from a tin can
You don’t need a workshop or expensive equipment for this. Most of what you need is already around the house.
Materials for the DIY system
- 1 empty tin can (400–800 g capacity)
- 1 hammer
- 1 sturdy nail or sharp metal point
- work gloves to protect against sharp edges
Step 1: Prepare the can
Start by cleaning it properly. Tip out any remaining bits, rinse thoroughly and peel off the label. If the top rim has any sharp edges, carefully bend them down or smooth them with a file. That reduces the risk of cuts when you install it in a bed.
Step 2: Make holes for dripping
Now the can becomes the dispenser. Using a hammer and nail, punch five to ten small holes across the base. The key point: several tiny holes are better than a few large ones. That way the water releases more slowly and more evenly.
Small holes mean slow dripping and stable soil moisture - roots get what they need without being drowned.
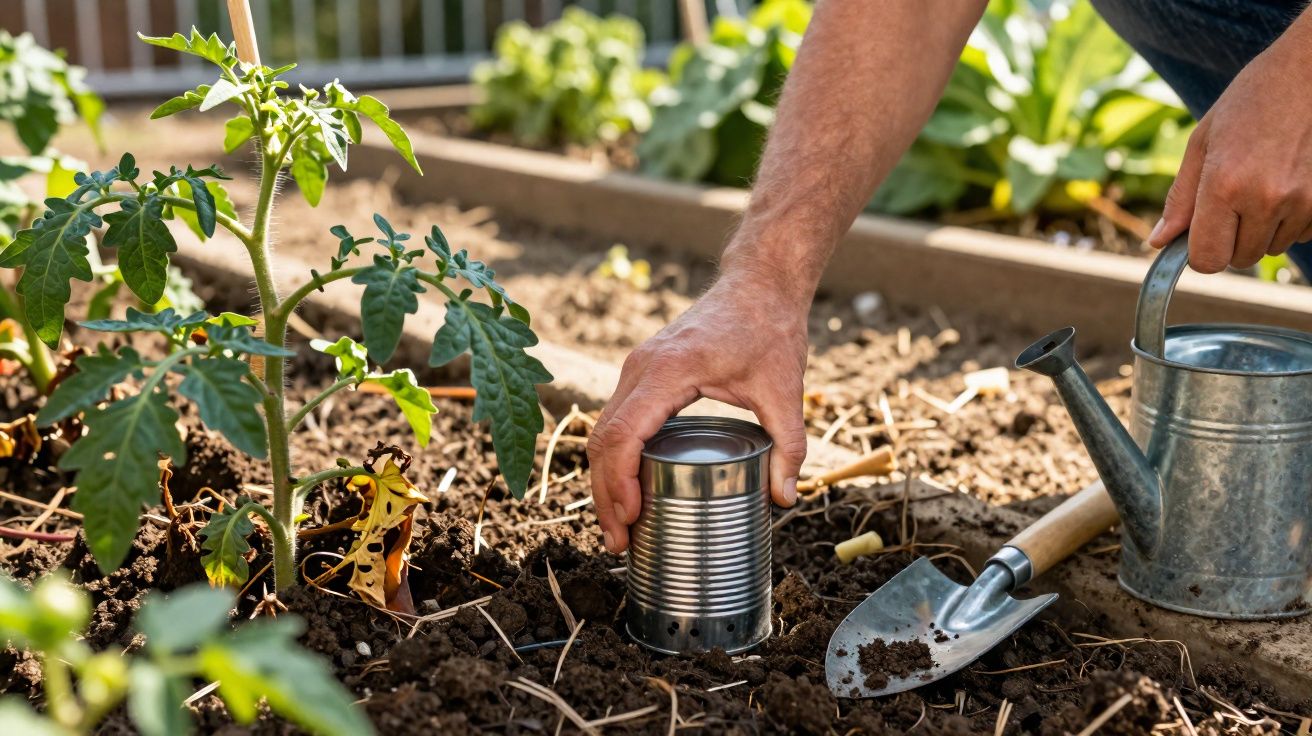
Step 3: Place it correctly in the bed
Next, dig a hole in the bed or pot for the can. A distance of about 15 to 25 centimetres from the plant’s stem works well. Bury the can vertically with the pierced base facing down. Leave only the top rim visible so you can refill it easily.
Press the surrounding soil down firmly so there aren’t large air gaps between can and ground. That helps the water move directly into the root zone.
Step 4: Test and fine-tune
For a trial run, fill the can up to the rim with water. Over the next few hours, watch how quickly the water level drops. If it empties too fast, the holes are too large or there are too many. If it still looks almost full after a day, add a few more holes on the next can.
What happens underground: steady moisture instead of heat shock
Once buried, the can quietly does its job. Water seeps out slowly through the holes in the base and filters straight into deeper layers of soil. That brings several benefits for plants.
More strength at the roots, less stress at the surface
Leaves are less likely to slump in the afternoon because the plant isn’t constantly switching between “too dry” and “too wet”. Roots focus on growing downwards, towards where the moisture arrives. Many gardeners report noticeably firmer leaves and longer-lasting flowers after just a few days.
Used alongside a mulch layer of grass clippings, bark mulch or straw, the soil surface is shaded as well. That makes evaporation visibly lower again.
A buffer of several days - ideal for heat and short breaks
Depending on the size of the can, the soil type and the number of holes, plants can benefit for two to three days from a single fill. Before a long weekend away, you can top up all the cans in the bed. If you spread several around the vegetable patch, you effectively create a close-knit network of small water depots.
Why this trick is good for more than just the garden
The tin-can method tackles several issues at once: drought stress, lack of time and wasted resources.
Less plastic, less tech, lower cost
Instead of buying expensive hoses, plastic tanks or electronic systems, you put metal containers you already have into the ground. That saves money and avoids a lot of new materials. In a zero-waste spirit, a so-called disposable item gets a second, genuinely useful life.
If you use tinned food regularly, you can gradually build an entire watering network - from tomato beds to raised beds and large pots on the patio.
Noticeably lower water use
With traditional watering using a hose or watering can, it’s easy to pour 10 to 15 litres per square metre. Some of that evaporates before it ever reaches the soil, and some simply runs off a dry surface. With the can solution, most of the water ends up in the root area with far fewer losses.
Targeted watering instead of a soaking spree: if you feed your plants from below, you’ll notice the relief on the water bill too.
How the trick evolves in everyday gardening
At first, a bed dotted with buried cans can earn a few puzzled looks over the fence. Before long, it turns into a conversation about what’s going on - and why the tomatoes next door suddenly look so good.
Variations for different plants
Over time, people develop their own versions. Some gardeners use larger cans for courgettes and pumpkins because they’re especially thirsty. Others place smaller cans in balcony planters. Combinations work too:
- two cans per particularly large plant
- a row of cans between densely planted beds
- cans positioned along the edges of raised beds
That way, you can tune the water release more and more precisely to what each plant actually needs.
What to watch out for
A few details are worth keeping in mind so the system works well long term:
- Rust: the metal will corrode over time. When it does, simply swap the can for a new one - again from household waste.
- Blockages: soil or limescale can clog the holes. Every so often, flush through with water, or lift the can out briefly and clean it.
- Safety: always bend down or smooth sharp edges before installing, especially in gardens where children play.
What this trick reveals about modern gardening
This simple idea is more than a money-saving hack. It shows how much thinking in the garden is changing - away from piling on technology, towards practical solutions using materials that are already there.
Once you’ve seen how a handful of opened cans can keep tomatoes, peppers or roses reliably watered through an entire summer, you start viewing everyday objects differently. Some people even choose tinned goods over glass - not only for what’s inside, but because of how the container can be used later in the bed.
While it may still be frosty and drizzly outside, you can already plan for the next growing season. If you start collecting empty cans now, you’ll be ready at planting time in spring with a small arsenal of homemade drip irrigators - and you’ll head into the next hot summer feeling far more relaxed.


Comments
No comments yet. Be the first to comment!
Leave a Comment