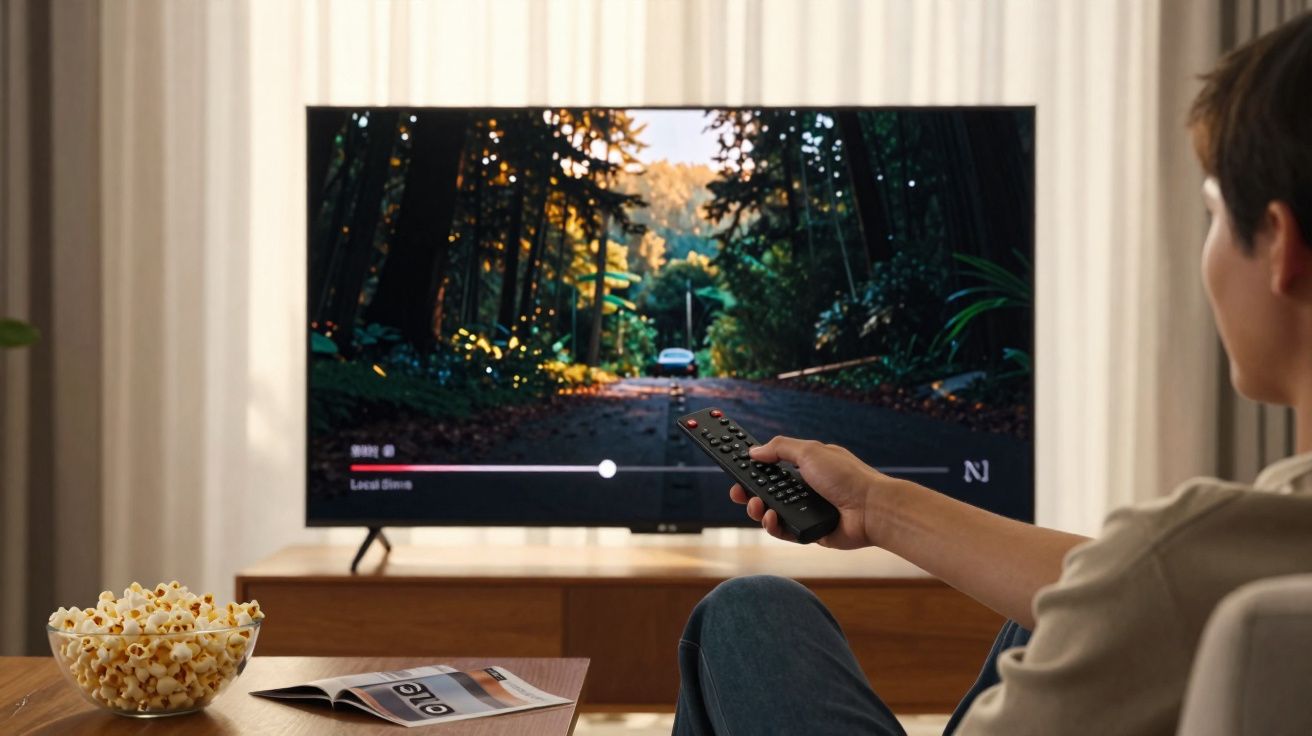
The setup is nearly always identical: a gleaming 4K TV, a freshly bought streaming subscription, and the film you’ve been holding back for “when everything looks perfect”.
You press play, the studio logos roll, and… it doesn’t quite land. Yes, the picture is crisp, but it also seems lifeless - slightly faded, as though a thin grey haze has been laid over the panel. Instinctively, you reach for the remote and dive into resolution, assuming more pixels must mean a better image. The specs check out: 4K. HDR. All the right labels. So why does it still feel a bit… underwhelming?
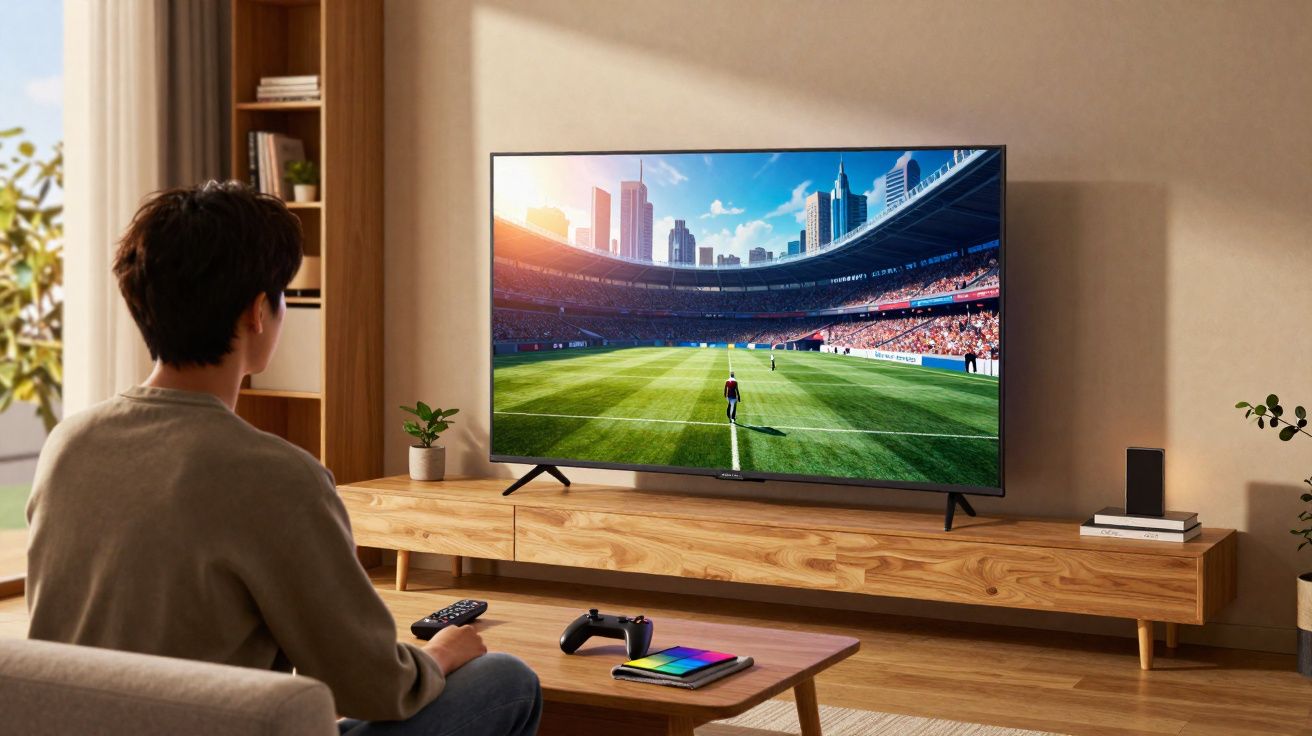
Later, someone else casually grabs the remote, taps a single option in the settings, and the whole picture transforms. Blacks suddenly look richer, colours open up, and details appear where there used to be murk. The resolution hasn’t changed at all - yet it feels like you’ve upgraded the television. One small toggle, buried behind technical language, has finally delivered what you thought you paid for on day one. It seems like a trick. It isn’t.
The quiet TV setting that changes everything: contrast and local dimming
Most people assume image quality begins and ends with resolution: 1080p, 4K, 8K, plus HDR badges shining in shop displays. In reality, what shapes the picture moment by moment is something far fewer people touch: your TV’s contrast controls and its local dimming settings. This is where the set decides how deep blacks should be, how intense highlights can get, and how wide it dares to stretch the gap between them. That gap is what makes an image feel alive.
Step into a supermarket TV aisle and you’ll find screens running at maximum brightness, almost always in the same retina-searing Vivid or Dynamic mode. It looks impressive for half a minute. Then you start to spot the downsides: skin tones shifting orange, shadow detail collapsing into grey mush, and the overall image resembling a display window rather than cinema. At home, plenty of TVs remain in that kind of mode by default. So yes, the panel is “4K” - but the picture is effectively running a demo profile, not a serious one.
The real leap isn’t simply moving from 1080p to 4K. It’s allowing your TV to manage light properly. That usually means enabling (or fine-tuning) local dimming where available, and setting contrast so dark scenes stay convincingly dark while small bright elements still stand out. Your eyes interpret contrast almost the way they interpret focus. When contrast is off, your brain quietly categorises the image as “cheap” or “fake”, even if the pixel count is cutting-edge. The overlooked switch isn’t more pixels - it’s better light control.
How to improve picture quality without changing resolution
Pick a calm moment - remote in hand, no time pressure. Start with the simplest win: your picture preset. Ignore Vivid. Switch to Cinema, Movie, or Filmmaker Mode if your TV offers it. Often, you’ll immediately notice the brightness settle, colours stop looking fluorescent, and blacks appear more solid. That alone tends to look more “filmic” than any resolution tweak on its own.
Then go looking for local dimming and contrast enhancement options. Samsung often places this under “Backlight Control” or “Local Dimming”. LG typically labels it “Local Dimming” or “LED Local Dimming”. Sony frequently calls it “X‑tended Dynamic Range” or “Local Dimming”. Begin with Medium. High can be striking in a dark room, but on some models it can also create halos around bright objects. The effect is easiest to see in a night scene with street lamps or candlelight: once local dimming is working well, the black surrounding those highlights stops looking like it’s glowing.
On many mid-range and premium sets, this one change can improve film viewing more than switching from 4K streaming to a 4K Blu‑ray. Not because Blu‑ray isn’t superior, but because your TV may not have been using its full light range at all. When local dimming engages, it reduces or switches off parts of the backlight behind darker regions of the image. The outcome is straightforward: blacks stop resembling foggy grey, colours gain impact, and the picture gains a sense of depth. From the sofa, it feels like a genuine upgrade - not a minor menu adjustment.
Practical tweaks, real-world improvements
A sensible approach is: choose a natural-looking mode first, then nudge contrast until it suits your eyes. After selecting Movie or Cinema, open the advanced picture options and find three key controls: Backlight (or OLED Light), Contrast, and Brightness. Think of backlight as the room’s lamp, contrast as the separation between light and dark, and brightness as the baseline level of black.
Backlight is a common pitfall. Many people push it to maximum because “brighter must be better”. It isn’t. In a dim room, reduce backlight until dark scenes stop glowing at the edges. Then increase contrast until bright elements (subtitles, reflections, highlights on faces) look bright enough without wiping out detail. If faces start to resemble flat masks with no gentle shading, contrast is likely too high. If everything feels tired and muted, it’s probably too low. This is about what looks right to you, not what wins a lab test.
Now for the most revealing step: put on a dark scene you know well - an episode you’ve rewatched, or a film you can almost recite. If you’re using a modern LCD TV with local dimming, pause the scene and toggle local dimming off and on. Off: the screen tends to look evenly lit, like a large phone display. On: the background drops away, brighter parts separate from the dark, and depth and shape become easier to perceive. OLED owners experience this differently because each pixel emits its own light, but even then, adjusting contrast and tone mapping can uncover gentle gradients you didn’t realise had been missing.
Common mistakes - and small fixes you’ll actually stick with
The biggest human mistake is trying to recreate the “shop demo” look at home. We quickly adapt to exaggerated images: whites that sting slightly, colours that shout. It seems impressive in a bright living room at first glance. Watch an entire film like that, though, and you can end up with a headache - and the nagging feeling that it all looked artificial. Real life rarely looks neon.
Another trap is the “set it once and never touch it again” habit. You make a few adjustments when you unbox the TV and assume that’s the end of it. But your environment changes: curtains, lamps, seasons, even where you sit. Settings that felt perfect on a bright August afternoon can look bland on dark January evenings. Let’s be honest: nobody actually tweaks this daily. Still, revisiting contrast and local dimming once or twice a year can make a noticeable difference.
There’s also a quieter mistake: turning up sharpness in the hope of getting more detail. In practice, many TVs start adding artificial edge halos once sharpness rises above a low level. It can look “detailed” for a moment, then quickly becomes harsh and noisy. Try this instead: reduce sharpness close to zero, then increase it slowly until edges stop looking smeared but don’t glow. That “sweet spot” is usually far lower than the default. The image will look calmer and more natural - and better contrast will allow genuine detail to show through, rather than relying on fake outlines.
When professionals talk, they always come back to contrast
“If I had to choose between extra resolution or better contrast control on a TV, I’d take contrast every time. Your eyes forgive missing pixels; they don’t forgive muddy blacks.”
That comes from a seasoned calibrator who spends his working life buried in TV menus. The message is simple: our eyes crave contrast. We decide whether something looks “high quality” mainly by how believable the light and shadow feel, long before we ever start thinking about pixel counts. That’s why an older 1080p plasma or OLED, properly set up for contrast, can feel more cinematic than a budget 4K set locked in torch mode. Resolution is maths. Contrast is emotion.
A few actions are worth keeping as a mental checklist:
- Move out of Vivid/Dynamic and into Movie/Cinema/Filmmaker.
- On LCD TVs, set local dimming or dynamic contrast to Medium.
- Reduce sharpness until halos disappear, then nudge it slightly upwards.
- Set backlight for your room, not for a shop floor.
- Revisit these settings when seasons change or your lighting setup shifts.
None of this requires perfection or specialist tools. You don’t need a calibration disc or a colourimeter. You just need ten quiet minutes and the confidence to trust what you’re seeing. If faces look like real faces and night feels like real night, you’re already most of the way there.
Why this tiny setting reveals something about how we watch
Once you’ve done this small tuning routine, something slightly strange can happen: you start noticing picture quality on other people’s TVs. At a friend’s house, you’ll spot lifted blacks or over-sharpened edges and immediately understand why. It’s a bit like hearing headphones after a proper EQ - suddenly, tinny café speakers stand out as flat and aggressive. You can’t fully unlearn it.
What’s more interesting is what this overlooked setting says about how we think about technology. We often equate progress with bigger numbers: more pixels, more Hertz, more nits. Yet enjoyment frequently comes from subtler choices: properly handled contrast, calmer colour, and a picture that stops shouting and starts breathing. That’s when you sink into the film, rather than feeling as though the screen is constantly performing at you.
We’ve all experienced a scene that lands harder than expected: a face lit by candlelight, a rain-soaked city at night, a close-up so textured you can almost feel the air in the room. Those moments are rarely created by resolution alone. They come from light and dark being treated with care. And if one nearly hidden setting can make your existing TV look closer to what the director saw in the grading suite, it raises a quiet question: how many other “upgrades” are already sitting in a menu - already paid for - just waiting to be turned on?
| Key point | Detail | Why it matters to you |
|---|---|---|
| Choosing the picture mode | Switch from Vivid/Dynamic to Movie/Cinema/Filmmaker | A more natural image without buying a new TV |
| Local dimming and contrast | Enable or adjust light control to deepen blacks | More perceived depth, a “new TV” feeling |
| Regular adjustments | Match backlight and contrast to seasons and ambient light | Keep the picture comfortable and immersive all year |
FAQ
- What is local dimming on a TV, in simple terms? It’s a feature that lets the TV dim or brighten different zones of the backlight independently, so dark areas can stay dark while bright parts pop more.
- Can I improve picture quality on a cheap TV with these settings? Yes, you won’t turn it into a high‑end model, but better contrast, a calmer mode, and lower sharpness can still make a big visual difference.
- Is 4K really less important than contrast? You need decent resolution, but once you’re at 1080p or 4K, contrast and light control usually affect what you feel far more than pixel count.
- Should I copy calibration settings I find online? They can be a good starting point, but every room and unit is different. Use them as a guide, then fine‑tune by eye in your own lighting.
- Do I need professional calibration for a good result? No, professional calibration is great for perfectionists, but a few careful adjustments of mode, contrast, and brightness already get most people 80% of the way there.


Comments
No comments yet. Be the first to comment!
Leave a Comment