Many pairs of trousers end up unworn in the wardrobe because the waistband suddenly feels tight around the stomach, even though the seat and legs still fit perfectly. That is exactly where a straightforward sewing fix comes in: it lets you widen the waistband in a targeted way without the trousers losing their shape - and without an expensive replacement from the high street.
Why so many trousers suddenly feel too tight
Nearly everyone knows the situation: in the morning the jeans waistband only just fits, and by evening it digs in painfully. A couple of extra kilos, hormonal changes, a bloated stomach after eating, or a wash that was too hot - and the button is the first thing to give up. All too often, the trousers then get shoved to the back of the wardrobe in frustration.
That is a shame, because the rest of the cut often still looks great. Textile repair specialists say that in countless cases, a small tweak at the waistband is all it takes. Done properly, you can increase the measurement around the stomach by up to roughly five centimetres, while the fit at the hips and legs stays unchanged.
"With a targeted alteration to the trouser waistband, the circumference can often be increased by around five centimetres - in under half an hour."
France’s environmental agency ADEME has been highlighting for years how much repairs and upcycling can reduce the ecological footprint of clothing. Every saved jeans waistband means less textile waste, fewer new purchases, and more money left in your own pocket.
The waistband is the key lever
On classic trousers, the waistband is made from a firm strip of fabric. It is cut on the straight grain, which makes it structured and almost non-stretch. When the stomach expands, the fabric barely gives - so the strain shifts to the button and zip. That is why the waistband pinches while the rest of the trousers still fit.
To change that, you need a small “comfort zone” exactly where the tension is highest. In practical terms, you open a seam at the side or at the centre back. Into that gap, you add an insert that is stretchy or gently flexible. This spreads the pull more evenly, so the waistband gives a little without looking misshapen.
The trick for trousers and jeans: an elastic gusset instead of buying new
The quickest method uses a stretchy insert - a small wedge-shaped gusset that is sewn into the waistband and into the side seam or centre-back seam. Many tailors refer to this as a "Soufflet"; you can think of it as a small fabric wedge that gives the waistband a bit of breathing room.
A flat elastic at least three centimetres wide works well, as does a firm stretch fabric. When inserted correctly, this gusset provides the missing centimetres - and, under a jumper, shirt or blouse, it is practically invisible.
Step by step: widening the waistband by up to 5 cm
If you are comfortable handling needle and thread, you can do this adjustment yourself. The instructions below use a side seam, but the same approach works in a similar way at the centre back.
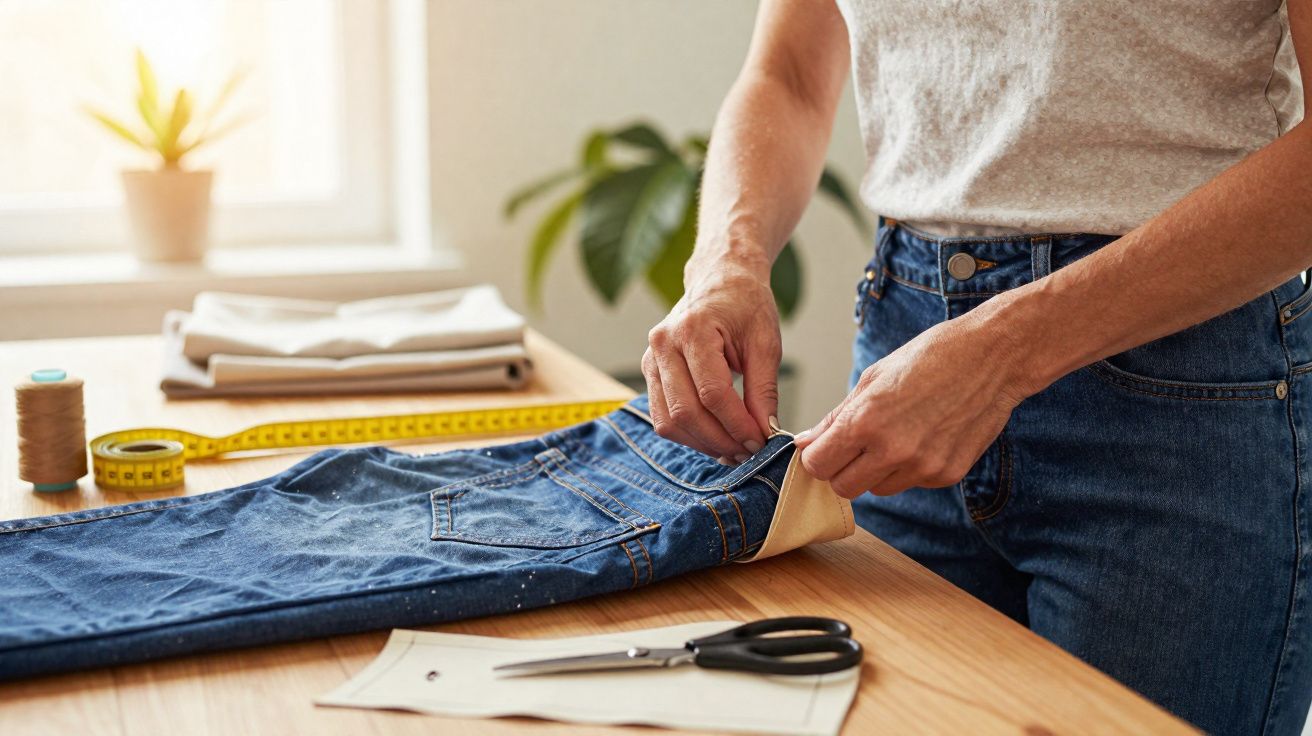
- Turn the trousers inside out and lay them flat.
- Using a seam ripper, open the side seam for about four to five centimetres.
- In the same area, unpick the waistband exactly along the seam line.
- Cut two small triangles from sturdy elastic or stretch fabric.
- Place the wide edge of each triangle at the waistband opening, with the point facing down towards the hip/leg.
- Pin in place and quickly try the trousers on to test the width.
- If the fit is right, sew in place with a zigzag stitch so the insert can still stretch.
- Press the seams flat, trim loose threads, and turn the trousers right side out again.
Depending on how wide you cut the triangles, you can gain up to about five centimetres around the stomach. You notice this extra room most when sitting down or after a meal - exactly when many waistbands would otherwise dig in relentlessly.
For sewing beginners: the tools you’ll need
You do not need advanced equipment. A basic home sewing machine is enough, and in a pinch you can even do it by hand with strong stitching. A small, useful kit includes:
| Tool | What it’s used for |
|---|---|
| Seam ripper | For neatly opening the waistband and side seam |
| Pins or clips | For holding the gussets in place before trying on |
| Scissors | For cutting fabric or elastic |
| Sewing machine with zigzag stitch | For stretchy, durable seams |
| Flat elastic or stretch fabric | Forms the stretchy insert itself |
If you do not have a machine, you can hand-stitch the gusset in with small, closely spaced stitches. In that case, use a robust sewing thread and secure the seams twice for durability.
Alternative without synthetics: widening the waistband with a bias cut
Some people deliberately avoid synthetic fibres or find elastic bands irritating on the skin. For them, there is a second option: triangles cut from ordinary woven fabric on the bias. Textile professionals call this a “bias cut”. The material remains a woven textile, but the angled cut gives it noticeably more give.
An old garment in a similar colour works well for this - for example, a retired pair of trousers or a skirt. You can unpick suitable fabric from it, cut the gussets, and stitch them into the opened seam in the same way as the elastic insert. That keeps everything fully textile, while still making the original waistband a little more forgiving.
Typical problem: your favourite jeans after midlife
Many women find that around the menopause, the midsection becomes softer while legs and seat stay much the same. That is when a long-worn favourite pair of jeans can suddenly feel like a torture device. Throwing them away feels wrong when the cut and wash are perfect.
This is where the two-insert approach works especially well. Add a small gusset on each side in the waistband area. Under a jumper, hoodie or T-shirt, nobody will notice - but the change is clear: the button closes again without stress, and even when sitting down the waistband no longer bites in painfully.
"Especially with hormonal changes, a widened waistband can make everyday life noticeably more comfortable - without changing your entire wardrobe."
Why repairing pays off more than once
Adjusting trousers instead of replacing them has several advantages at once. First, it extends the life of a loved item - and good denim or a high-quality fabric finally gets the wear it deserves. Second, it reduces the pressure to keep buying new sizes whenever your weight fluctuates slightly.
There is also the environmental benefit: jeans and trousers are among the garments that typically require relatively high resources. Water, chemicals, energy - all of that is already invested in the piece you own. Each repair therefore shows up not only in your finances, but also in your personal climate impact.
When is it better to go to an alterations tailor?
Not every pair of trousers is equally suited to a quick waistband-gusset fix. With suit trousers made from very fine cloth, or styles with elaborate topstitching along the sides, a DIY repair can look obvious. Very thin or slippery fabrics also demand a steady hand.
In those cases, an alterations tailor is worth it. Many shops offer fixed prices for waistband adjustments. If you take several pairs at once, the cost often works out better overall. Either way, the labour charge is almost always far below the price of a new branded pair.
It is also telling that more and more studios are actively promoting repair services - a sign that resource-saving is gaining ground in the fashion industry. The waistband trick fits neatly into that shift: it is simple, discreet, and brings real day-to-day comfort.


Comments
No comments yet. Be the first to comment!
Leave a Comment