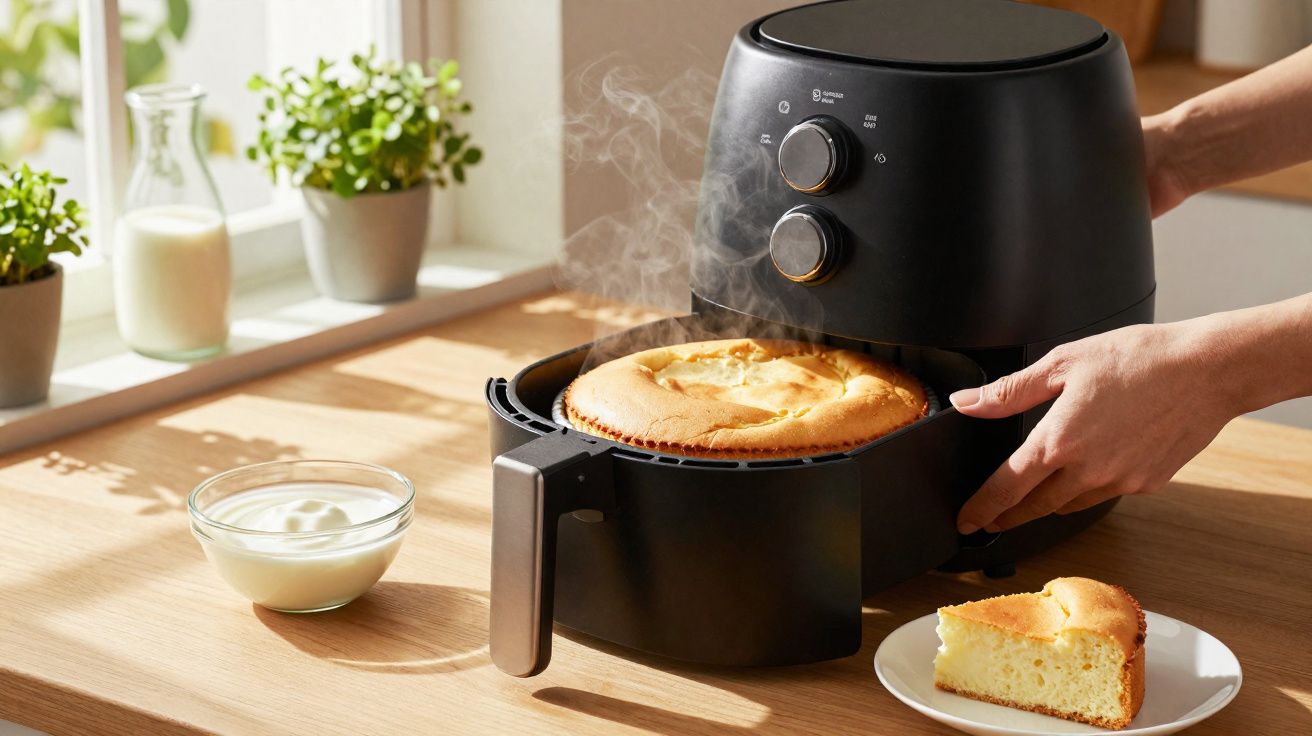
The air fryer has long since moved on from being just a chips machine and has effectively become a mini oven. A classic yoghurt cake, in particular, turns out surprisingly well in it - provided you stick to a few key rules. Many people’s first attempt ends in disaster: burnt on top, runny in the middle, and the kitchen smelling of scorched sugar. With the right settings and a sensible recipe, that frustrating first bake becomes a light, moist cake that doesn’t need a full-size oven at all.
Why cake so often goes wrong in an air fryer
In a conventional oven, a standard yoghurt cake is usually straightforward: around 180 °C, a good half hour, done. In an air fryer, relying on that same routine almost guarantees problems. The reason is simple: hot air in an air fryer hits the batter far more directly and intensely.
The top can darken quickly into a thick crust while the centre stays undercooked. From the outside it looks finished, but the skewer test reveals the unpleasant surprise. Sometimes the batter rises high, reaches the heating element, burns in spots, and leaves a bitter taste behind.
There’s also a second common issue: using the wrong tin and filling it too high. If you fill the tin right to the brim, you risk overflow and contact with the heating coil. And if the tin sits too close to the wall of the cooking chamber, air can’t circulate properly - the edges dry out while the middle stays dense and slightly stodgy.
"For a yoghurt cake to work in an air fryer, temperature, time, tin choice, and air circulation all need to align."
The best setup for a light air fryer yoghurt cake
Practical testing across air fryers from different brands points to a remarkably consistent “gold standard” for yoghurt cake.
The key combination of temperature and time
Experience shows that about 160 °C and roughly 25 minutes works very reliably for a yoghurt cake baked in a 16–18 cm tin - as long as you only fill the tin to two thirds.
- Temperature: about 160 °C instead of the oven’s typical 180 °C
- Cooking time: around 25 minutes as a guide
- Tin size: 16–18 cm diameter
- Fill level: no more than two thirds of the tin
If you set the temperature higher, the cake browns far too fast. The reduced heat gives the centre enough time to cook through before the surface becomes overly dark.
Choosing the right tin and placing it correctly in the basket
A silicone cake tin or a small springform tin works best, positioned on the rack or insert so it doesn’t completely block the base. Hot air needs to reach the batter from the sides and from underneath.
Leave about 1–2 cm of space between the tin and the wall of the cooking basket. That gap prevents heat build-up and helps the cake bake more evenly.
"The tin should never be wedged in an air fryer. A small air gap all the way round is essential."
A simple trick to prevent an over-dark crust
To stop the top setting and browning too early, use an easy workaround: for the first 15 minutes, loosely place a piece of baking parchment over the tin. The paper shields the surface from direct heat. For the remaining time, continue baking uncovered.
At the end of the 25 minutes, do the usual check with a thin knife or wooden skewer: insert it into the centre - if hardly any batter clings to it, the texture is right. If it needs another 1–2 minutes, a short extension is usually enough; there’s rarely any need to turn up the temperature.
An easy air fryer yoghurt cake recipe
The batter stays as simple as the classic “pot cake” approach: you use the yoghurt pot as the measuring cup, so you don’t need kitchen scales.
Basic yoghurt batter
For a small tin (16–18 cm), you’ll need:
- 1 pot natural yoghurt (about 125 g)
- 3 pots plain flour
- 2 pots sugar
- 1/2 pot neutral vegetable oil
- 1/2 sachet baking powder
- 2 eggs
- finely grated zest of 1 unwaxed lemon
Mix everything briefly but thoroughly until there are no pockets of flour left. The batter should be thick yet still easy to pour. Transfer it into the prepared tin, filling to no more than two thirds, then place it into the preheated air fryer.
Lighter or vegan option
If you want something a bit easier to digest, swap the dairy yoghurt for soya yoghurt. For a fully plant-based version, replace the two eggs with 100 grams of unsweetened apple purée. All other quantities remain the same.
"Soya yoghurt plus apple purée makes a surprisingly moist vegan yoghurt cake with a delicate crumb."
Converting oven baking times to the air fryer
Many people already have a favourite oven cake recipe and want to adapt it to an air fryer without doing much maths. A rough rule of thumb makes it easier to get close:
| Parameter | Oven | Air fryer |
|---|---|---|
| Temperature | e.g. 180 °C | about 20 °C less |
| Baking time | e.g. 35 minutes | 20–30 % shorter |
| Checking | towards the end | after two thirds of the time |
So if your oven recipe uses 180 °C for 35 minutes, start in the air fryer at roughly 160 °C for just under 25 minutes. After about 18–20 minutes, it’s worth taking a first look and doing a skewer test.
Storage and reheating: keeping the cake moist
A well-made yoghurt cake keeps surprisingly well if stored properly. At room temperature, it stays fresh for two to three days in an airtight tin. In the fridge, it can last up to five days, though the crumb will firm up slightly.
For longer storage, freeze it in slices for around three months. To defrost, leave pieces at room temperature first, then refresh them for three to five minutes at about 160 °C in the air fryer. This brings back a lightly crisp surface while the middle turns warm and soft again.
Why an air fryer is often more efficient for baking
One detail that’s easy to overlook: many air fryers run at around 1500 to 2000 watts, while traditional ovens are often closer to about 3000 watts. Add the much smaller cooking chamber - which heats up faster - and the result is clear. If you’re baking a small cake, an air fryer can save noticeable energy and, above all, time.
This is especially worthwhile for single-person households or small kitchens. Instead of heating a full-size oven for a tiny tin, the compact basket does the job, and after just a short preheat you can begin.
Practical tips for reliable baking in an air fryer
A few everyday tweaks make air fryer baking more relaxed:
- Lightly grease the tin or dust it with a little flour before filling, so the cake releases cleanly.
- After pouring in the batter, let it sit briefly so large air bubbles can escape.
- Don’t keep opening the basket during the first half of baking, as the temperature will drop.
- If it browns too much near the end, reduce the temperature slightly and bake for a few minutes longer.
- Pour leftover batter into silicone muffin moulds and bake small cakes alongside - shorten the time for these.
For variations, small ingredient changes are often enough: fold in chocolate pieces, replace part of the flour with ground almonds, or use vanilla instead of lemon zest. The core rules for temperature, tin choice, and timing stay the same, although the cooking time may shift slightly.
Many people who have only used their air fryer for chips or chicken wings are surprised by how versatile it is for baking. If you start with a simple yoghurt cake and make small adjustments to temperature and time, you quickly learn how your particular air fryer behaves. From there, it’s an easy step into other cakes, small loaves, or desserts - without switching on the big oven every time.


Comments
No comments yet. Be the first to comment!
Leave a Comment