A familiar scene for many home gardeners: the orchid that once looked full of promise is now sitting on the windowsill with bare, tired-looking stems. You water half-heartedly, hope for a miracle, and it’s not far from ending up in the food waste caddy. Yet one specific kitchen leftover-used correctly at the roots-can help the plant regain momentum surprisingly quickly.
Bare Phalaenopsis orchid: dead, or simply taking a break?
Before reaching for any home remedy, it pays to take an honest look inside the pot. Not every orchid without flowers is finished. Phalaenopsis varieties often take a recovery period after a long flowering spell, during which they show no buds at all.
Check for these signs:
- Healthy roots: green or silvery, firm, with no mushy sections
- Leaves: still flexible, even if they look a little limp
- Smell: neutral to lightly earthy-never sour or rotten
If that’s what you’re seeing, the plant is resting rather than failing. In that case, better conditions plus gentle support are usually enough.
It becomes serious when the roots are brown, soft and slimy, and the pot smells of rot. Then the only sensible route is to cut back to healthy root tissue and repot into fresh bark-based substrate-otherwise even the best fertiliser is money down the drain.
Humidity, light and a day–night drop: set the home climate properly
Phalaenopsis orchids come from tropical climates and often grow on tree trunks rather than in soil. They prefer an airy substrate and humidity levels that most living rooms don’t naturally provide. Professionals typically recommend around 50–70% relative humidity, while many UK homes-especially with winter heating-drop to well below 40%.
A simple set-up can make a noticeable difference:
- Place the pot on a saucer filled with expanded clay pellets or gravel.
- Add a little water to the saucer, ensuring the base of the pot stays dry.
- Choose a bright spot with plenty of daylight, but avoid harsh midday sun.
As the water evaporates, humidity rises around the plant while the roots remain well ventilated.
Phalaenopsis also responds well to a modest temperature contrast: about 18–22 °C in the day, and 4–8 °C cooler at night. That small “temperature nudge” is often the signal the plant needs to start forming new flower spikes.
Watering correctly: soak rather than splash
Many orchids struggle not because they’re too dry, but because they’re kept too wet-especially when water is left sitting inside a decorative outer pot. A reliable method is soaking:
- Stand the clear inner pot in lukewarm water.
- Leave for around 10 minutes so the roots can drink properly.
- Drain thoroughly, then return it to the outer pot only once dripping has stopped.
For most homes, this is usually sufficient every 10–15 days. Between waterings, the substrate should return to a more airy, lightly dry state.
Water quality can also play a part. If your tap water is very hard, limescale can build up on roots and within the bark over time. Using rainwater (where safe and clean), filtered water, or leaving tap water to stand can reduce mineral stress-particularly helpful when you’re trying to encourage fresh root tips.
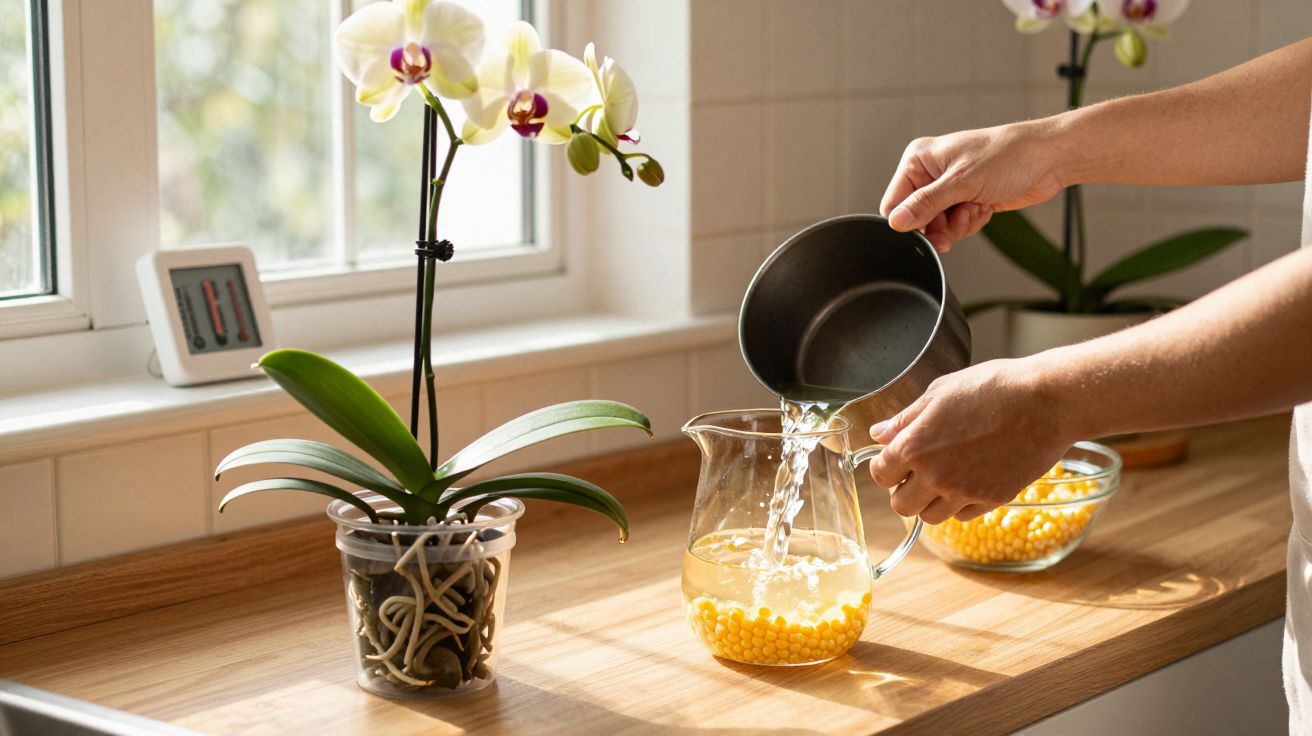
Cooked corn as a gentle root booster for orchids
When it comes to feeding, some growers prefer a mild, kitchen-based approach rather than strong synthetic products. One option that turns up surprisingly often is cooked corn and its unsalted cooking water.
The starch in corn feeds micro-organisms in the substrate, which can in turn support the orchid-creating a gentle cycle that encourages root activity.
In bark-based substrate there are countless micro-organisms, including mycorrhiza fungi. These form associations with roots, improving nutrient uptake and helping stabilise the plant. The carbohydrates in corn provide a food source for these micro-organisms, along with trace minerals such as magnesium, phosphorus and potassium.
The effect is similar to the widely discussed “rice water method” found in many gardening communities. In both cases, broken-down starch and small amounts of nutrients offer a mild push without scorching sensitive roots-one of the common risks with over-strong, poorly measured fertilisers.
Limits of this home remedy (and when it won’t help)
Despite the hype, corn is not a miracle cure. It may support a well-cared-for orchid, but it cannot compensate for:
- the wrong location,
- months of waterlogging,
- or roots that are already completely rotten.
If you keep watering in low light while the room is warm and dry from heating, you shouldn’t expect a sudden burst of blooms-corn or no corn.
The order matters: fix the light, watering habits and humidity first, then use the kitchen trick. Used at the right time, the method is far more reliable.
How to make homemade corn fertiliser safely
The preparation is straightforward; what matters is cleanliness and restraint. Small mistakes can overload the substrate or invite mould.
| Step | What to do |
|---|---|
| 1. Prepare the base | Let about 100 g of cooked, unseasoned corn cool. |
| 2. Blend | Purée with 1 litre of lukewarm water until smooth. |
| 3. Filter | Strain through a very fine sieve or cloth so no solids end up in the substrate. |
| 4. Store | Keep in a clean bottle in the fridge for no more than 24–48 hours. |
| 5. Discard | Tip it away immediately if it turns cloudy or smells sour. |
For a standard-sized pot, 1–2 teaspoons of the liquid is enough, applied every 3–4 weeks during the active growth phase. Important: lightly moisten the substrate first so the corn solution disperses evenly and doesn’t sit in one concentrated patch against the roots.
Unsalted corn cooking water can also be added in very small amounts to soaking water once or twice a month-but only if you are not using other fertilisers at the same time, so the overall nutrient load doesn’t creep up.
Common mistakes that stop an orchid from flowering
If you want to understand why your plant is refusing to bloom, it helps to scrutinise everyday care. The same issues come up again and again:
- Too little light: north-facing windows, heavy curtains, or large trees outside can leave the plant short on energy.
- Constant wetness: water stands in the outer pot, bark begins to break down, roots die off.
- Old, decomposed substrate: dusty, compacted material replaces airy bark, starving roots of oxygen.
- No temperature difference: day and night stay the same, so the plant gets no cue to set buds.
- Overfeeding: doses too frequent or too strong, leading to scorched root tips.
When these basics are under control, the corn approach is more likely to create a visible lift rather than simply easing your conscience.
Risks and sensible combinations with other fertilisers
Home remedies are often gentler than mineral feeds, but they come with their own downsides. A corn solution that’s too strong can:
- make the substrate sticky,
- attract bacteria and mould,
- and stress delicate roots.
In poorly ventilated pots with limited drainage, an unpleasant microclimate can develop quickly.
A sensible option is to combine approaches carefully: use a liquid fertiliser formulated for orchids, very heavily diluted in soaking water-perhaps every four weeks at the minimum dose. In between, you can offer a small amount of filtered corn solution every few weeks. This creates a two-pronged strategy: targeted minerals plus an organic nudge for the substrate’s micro-organisms.
Why Phalaenopsis orchids react to small changes
Phalaenopsis roots contain a specialised tissue called velamen-a spongy layer that rapidly absorbs water and then dries again. It thrives on fluctuating moisture but hates standing water. If too much organic material is added and drying slows down, the velamen can lose structure quickly.
That’s precisely why a finely filtered and very sparingly dosed corn solution makes more sense than thicker mixtures. It feeds helpful bacteria and fungal partners without dramatically changing the substrate’s texture.
As a practical rule of thumb: if, within a few weeks, your orchid produces fresh, pale-green root tips and new leaf growth, you’re moving in the right direction. Flowers often arrive later-sometimes months afterwards. With orchids, patience matters just as much as a careful eye on light, air, and a few spoonfuls of well-judged kitchen “magic”.
Extra support: repotting timing and quick health checks
If your Phalaenopsis is in old bark that crumbles into fines, repotting can be the turning point. The best time is typically when new roots are beginning-often after flowering-because the plant can anchor into fresh bark quickly. Choose a pot with plenty of ventilation and avoid over-sizing; orchids generally prefer a snug fit.
Finally, don’t overlook pests and stress signals. Sticky residue, pale speckling, or cottony clusters can indicate sap-sucking insects that quietly weaken growth and flowering. If the plant’s environment and roots are sound but progress stalls, a simple inspection of leaf joints, undersides, and the crown can save weeks of guesswork.


Comments
No comments yet. Be the first to comment!
Leave a Comment