The morning starts innocently enough: you only mean to wash your hands quickly, press the soap dispenser, and it responds with an irritated little “pfft”, coughs out a thin jet and then-nothing. You twist the bottle open, hold it up to the light, and there it is: a stubborn, milky sludge clinging to the bottom. Part liquid, part slime; a bit grim, yet somehow too wasteful to just pour away. You shake it, you tap it, you top it up with water. The result is a bubbly, watery mix that manages everything except proper cleaning.
And that’s where the everyday odyssey begins: how do you actually get a soap dispenser bottle properly clean on the inside-no residue, no greasy ring, no lingering film? It sounds like a trivial question. It isn’t.
Why soap residue clings on-and irritates us more than we admit
Anyone who has tried to empty a clear soap dispenser down to the very last drop will recognise the quiet frustration. Whether it sits in the bathroom, the kitchen, or the guest loo, the same thing happens sooner or later: streaky leftovers form a thin ring at the bottom. You tilt the bottle and the soap shifts reluctantly, stretching into long strings and sticking to the sides. This is what daily life looks like when marketing promises meet reality.
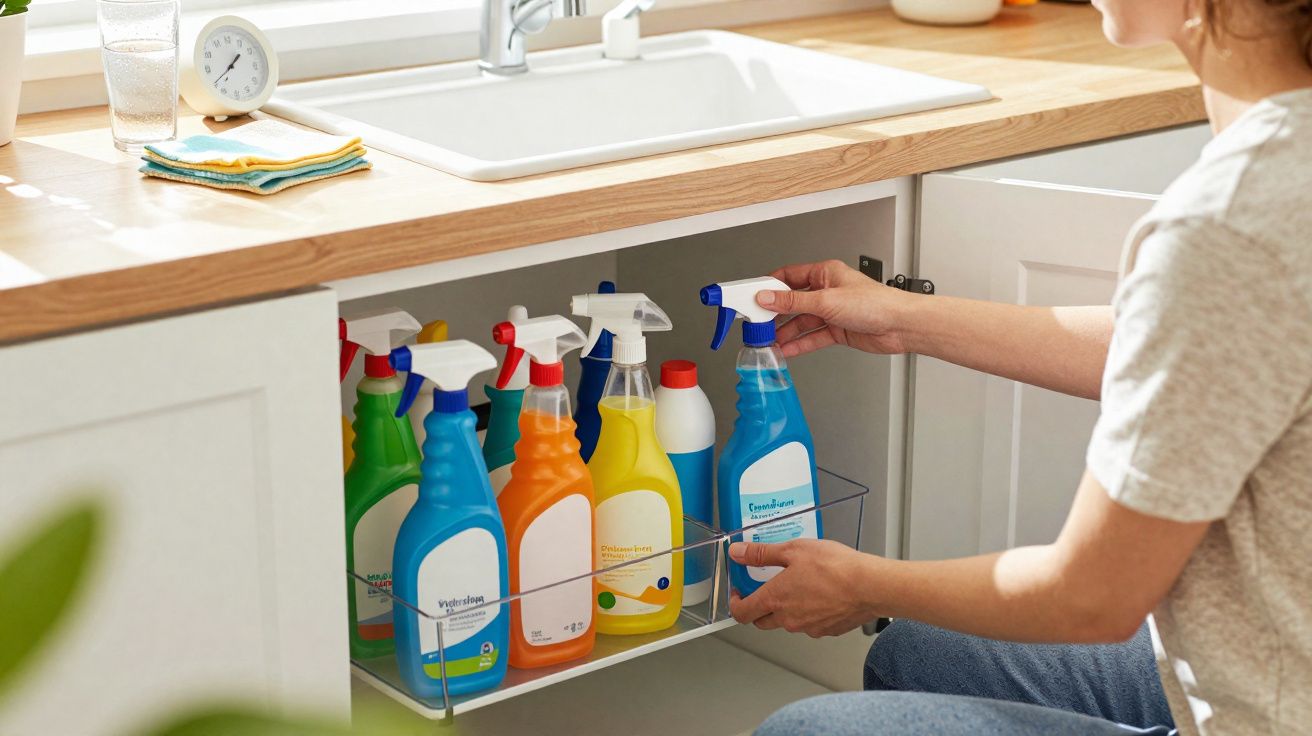
This isn’t a “luxury problem”; it’s that small, repeated thought: “Why can’t I just use all of what I paid for?” At the same time, the sustainability voice pipes up. Throw it away? Refill straight on top of the remains? Neither option feels quite right. So half-used bottles end up in the cupboard, the cleaning caddy, or the drawer under the sink.
Look closely and soap dispensers become tiny stages for our routines. Take the guest bathroom in a family of four: according to a small survey by the North Rhine–Westphalia consumer advice centre, liquid soaps are often “stretched” with water up to three times before the dispenser is thrown away or properly cleaned. The downside isn’t just limp soap that hardly cleans-it’s also that familiar grey ring on the bottom. One mum told me she eventually stopped counting how many half-full bottles she’d replaced simply because it felt easier.
Then there’s the dispenser in the office kitchenette. No one owns it; everyone presses it; no one cleans it. The soap gets thinner, the dispenser turns tacky, and the pump head clogs. Eventually a new bottle appears beside it, while the old one sits behind like a sad, milky block. We’ve all seen these little scenes-in other people’s spaces and our own. And they quietly say: someone gave up.
What’s happening behind the residue is a fairly plain mix of chemistry and convenience. Liquid soaps contain surfactants, fats and sometimes glycerine-ingredients that bind water and cling enthusiastically to plastic walls. Each time you add water, the ratio changes. The soap may look more fluid, but the remaining concentrate often becomes stickier and more tenacious. Before long, you get a thin, gel-like layer that doesn’t really dissolve anymore-it just sticks.
And, honestly, the human factor matters. Hardly anyone deep-cleans their soap dispenser after every emptying, including the pump mechanism and the base layer. We top up, we shake, we hope. That combination of “it’ll do” and “I’ll sort it properly later” builds, over weeks and months, exactly the unsightly, stubborn film we can’t stand. The good news: with the right method, it’s far easier to beat than it looks.
The soap dispenser deep-clean method: how to remove soap residue properly
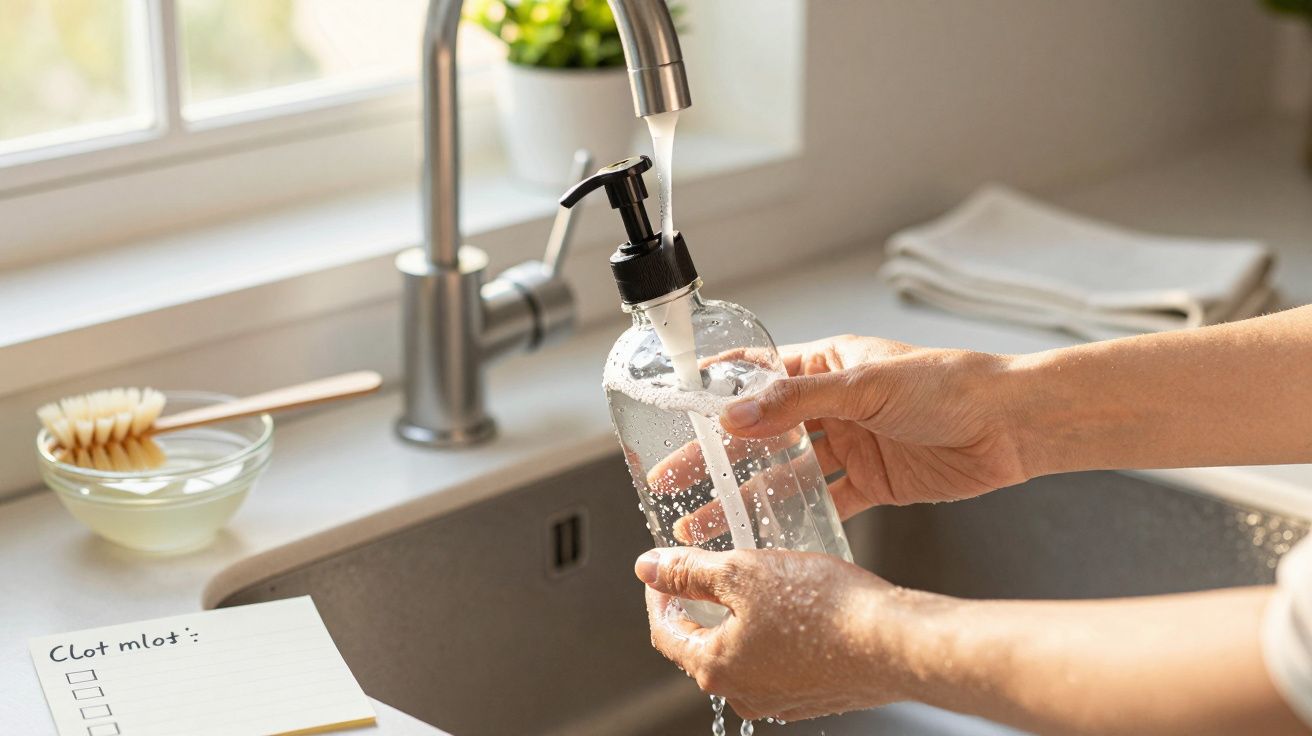
The first step is unglamorous but essential: get out everything that’s still even slightly pourable. Decant the leftovers into an old jar or cup-don’t tip them straight down the sink. Then rinse the bottle several times with warm water, shaking well each time, until you no longer see fresh foam forming. Now the real problem becomes obvious: the sticky film at the bottom and along the pump tube. That’s where you focus.
Fill the bottle to about one third with very warm water. Add a splash of white household vinegar and-oddly enough-one or two drops of fresh washing-up liquid. Screw the pump head back on and shake hard, as if you’re mixing a cocktail. The vinegar helps loosen limescale and dried-on residue; the washing-up liquid helps emulsify the old soap film. Leave it to sit briefly, shake again, then rinse out thoroughly.
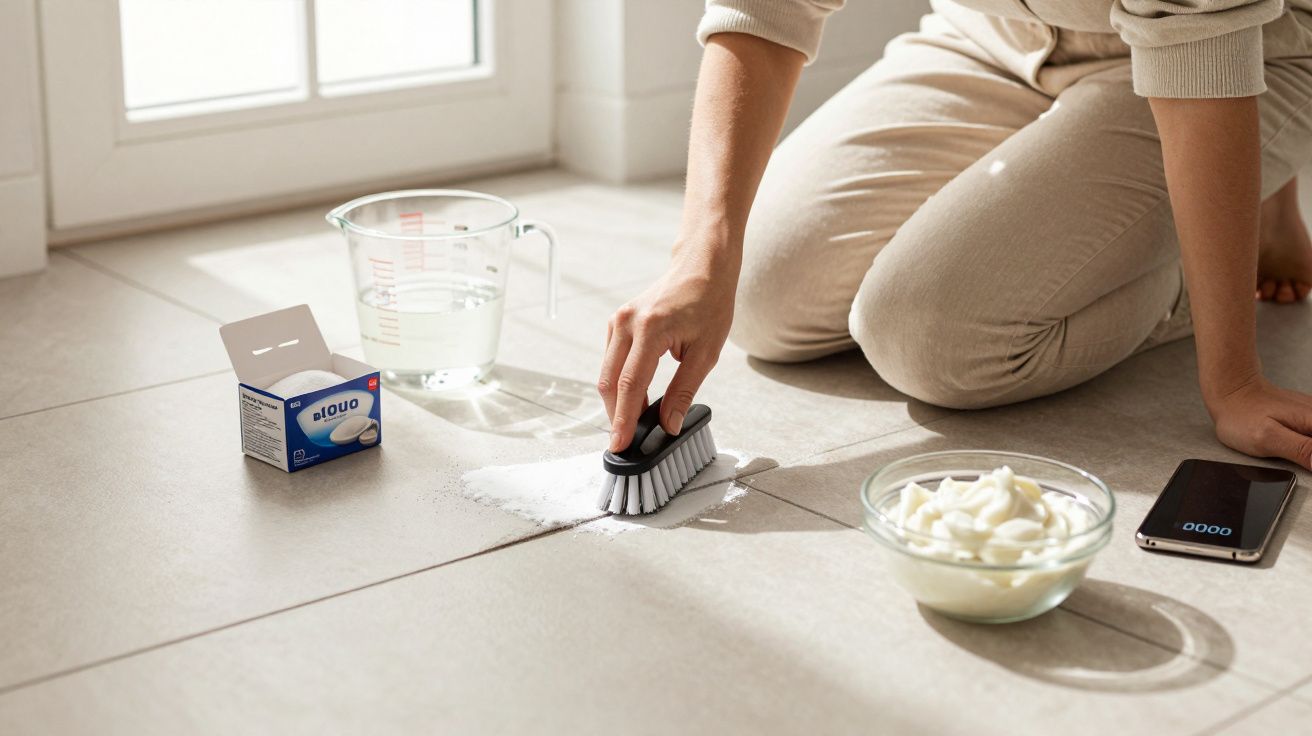
Many people stop here-and later wonder why there’s still a faint film or smell. The second pass is the one most people skip, even though it often does the most. Use warm water again, this time without vinegar, and bring in a simple tool: a slim bottle brush, or an old straw wrapped in a cloth. Work deliberately over the base and the lower edges. You’ll feel the last deposits give way and cloud the water. Tip all of that out, then refill with clean water and swish repeatedly until there’s no foam at all.
The pump head is the bit that’s most often forgotten. Unscrew it, place it in a bowl of warm water with a small splash of vinegar, and pump a few times while it’s submerged so the solution runs through the internal channels. After five to ten minutes, rinse everything with clean water and leave it to air-dry. That simple step stops old residue being pushed straight back into your freshly cleaned bottle.
“Most soap dispensers don’t look neglected because people are dirty; they look neglected because everyday life always wins when the fix takes longer than two minutes,” a professional home helper once told me.
A quick prevention checklist for cleaner soap dispensers (and fewer clogs)
- Don’t keep diluting indefinitely: after two rounds of “watering down”, fully clean the dispenser.
- Once a month, flush the pump head through with warm water-especially in hard-water areas where limescale builds quickly.
- Don’t pour residues straight down the drain; collect them in a container and dispose of them separately.
- When using refill pouches, stick to the same or a very similar soap type so formulations don’t clash.
- It’s better to schedule a quick clean than to repeatedly jab at a half-blocked dispenser in frustration.
Two extra habits that keep a soap dispenser cleaner for longer
If you often “stretch” soap with water, hygiene is worth a brief mention. Diluting can reduce preservative effectiveness in some products, and a dispenser that stays damp inside can become a better home for unwanted microbes than you’d expect. Letting the bottle and pump head dry completely (separately) before refilling is a small, practical habit that helps.
It also pays to look at the container itself. Glass soap dispensers tend to hold fewer odours and release soap film more easily, while plastic is safer if it’s likely to be knocked over but can cling to residue more stubbornly. Whichever you choose, a wide neck makes cleaning dramatically simpler because brushes can actually reach the bottom edges.
What clean soap dispensers say about us-and why it’s not about perfection
Once you start noticing these small details, it becomes clear that a clean soap dispenser is more than a tidy bathroom accessory. It’s a quiet signal about how we treat resources. What do we do with things that don’t look new anymore but could still work perfectly well? Do we bin them, shove them aside, or spend a few minutes bringing them back into good order?
This isn’t about sterile perfection, or a bathroom that’s always ready for a glossy magazine shoot. It’s more about the feeling that your home isn’t working against you. A dispenser that pumps smoothly, has clear edges, and doesn’t feel sticky every time you touch it sends a gentle message: things are looked after-within the limits of real life. No one does this every day. It’s enough not to leave it until disgust finally takes over.
There’s also a side effect you can’t really measure but you can feel. When the small things in the kitchen or bathroom “work”, your mind relaxes a fraction. No irritated glance at the half-blocked pump, no guilt about chucking a half-full plastic bottle. You might even mention over coffee that you’ve finally worked out how to get soap dispensers genuinely clean-and get that familiar smile back: yes, they fight with that too. Tiny details, but oddly connecting.
| Key point | Detail | Benefit to the reader |
|---|---|---|
| Empty thoroughly and collect separately | Pour soap leftovers into a jar, not directly into the sink | Kinder to pipes and the environment; more mindful use of what’s left |
| Cleaning in two passes | First vinegar + washing-up liquid mix, then mechanical scrubbing with a brush | Soap film lifts fully; the bottle looks and works like new |
| Don’t forget the pump head | Soak the pump mechanism in warm water and pump the solution through | Prevents blockages; extends the dispenser’s lifespan |
FAQ
- Can I just mix old soap remnants with new soap?
You can, technically-but it often leads to streaky, overly thin, unevenly foaming soap. It’s better to clean the bottle properly once, then refill from fresh.- Does hot water alone remove soap residue?
It helps with newer residue, but for stubborn sludge at the bottom, the combination of warm water, vinegar and mechanical rubbing is far more reliable.- How often should I clean my soap dispenser?
A sensible rhythm is every second refill, or roughly every six to eight weeks-depending on use and water hardness.- Can I use dishwasher tablets to clean it?
Yes. A small tablet, or a piece of one, dissolved in warm water can help with heavy build-up. Rinse extremely well afterwards with clean water.- Are glass soap dispensers better than plastic?
Glass absorbs fewer smells and is usually easier to free from soap film. Plastic is more shatter-resistant but tends to hold onto stubborn internal build-up more readily.


Comments
No comments yet. Be the first to comment!
Leave a Comment