Last Saturday morning I saw my neighbour, Steve, step out of his garage clutching a roll of painter’s tape so long it could have passed for a fishing rod. He then devoted the next couple of hours carefully sticking it along every edge, corner and bit of trim in his living room. When the painting finally began, the finish was… underwhelming. In several places the tape had let paint creep underneath, leaving those dreaded wavy borders that instantly look like “DIY gone wrong”. Over the road, Maria was wrapping up her bedroom using nothing more than a decent angled brush and a steady touch. Her cut lines were so crisp they looked machine-made. Sometimes the traditional method really does come out on top.
Why ditching the tape actually makes sense on interior walls
On most interior walls, professional painters rarely rely on tape, and it isn’t stubbornness or bravado-there are practical reasons. Tape creates a false sense of security, which often encourages rushed brushwork and overly heavy paint build-up right where accuracy matters most. When you trust the adhesive to do the hard part, it’s easy to stop paying attention to control.
Research shared by the Professional Painting Contractors Association reported that 73% of paint bleeding problems show up specifically along tape lines. The usual cause is simple: paint gets pushed under even good painter’s tape when it’s applied too generously, particularly at corners and over small bumps in the surface. Then there’s removal timing: pull tape while the paint is still wet and you risk smears; leave it too long and you can end up with torn edges and peeling.
The reality is more straightforward than it looks. Your hand is steadier than you expect, and a quality angled brush can be more precise than any tape. Learning proper cutting-in technique takes roughly the same amount of time as taping a room, but the benefit keeps compounding-each project builds the muscle memory that makes the next one easier and cleaner.
Cutting-in technique with an angled brush: the brush method that changes everything
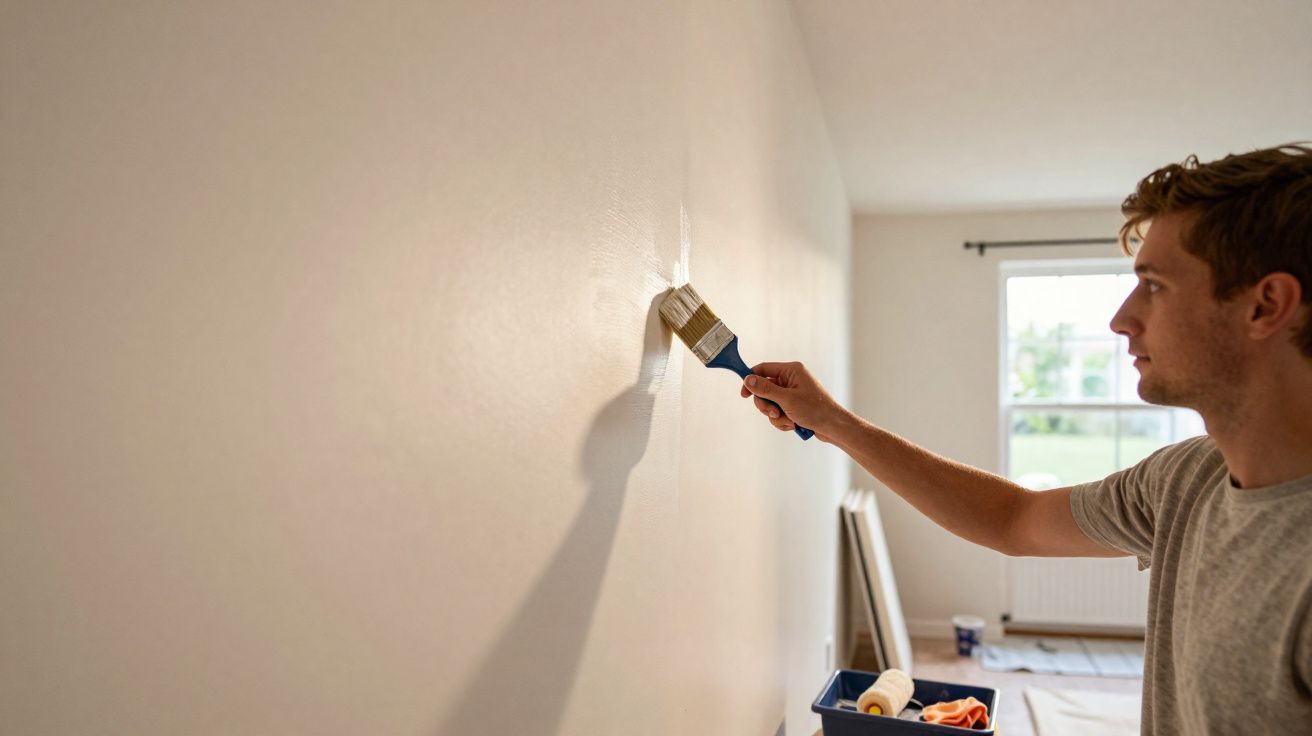
Begin with a 6.5 cm angled brush and good-quality paint that levels nicely and doesn’t drag. Dip and load the brush so the paint reaches roughly one-third of the bristle length-enough to flow, not so much that it floods the edge. The secret lies in the wrist movement: aim for the natural, confident motion you’d use to sign your name, not the stiff control you’d use to draw a line with a ruler.
Nearly everyone recognises the scenario: you’re bent over, trying to paint a perfect line, and your hand starts trembling as if you’re defusing a bomb. What actually helps is adjusting your stance and your grip. Stand comfortably, keep your elbow relaxed, and allow your whole arm to guide the brush. Many people squeeze the handle too hard and creep along too slowly, which is exactly how those tell-tale wobbles appear.
“The best painters I know treat their brush like a dance partner, not a tool. You lead, it follows, and together you create something beautiful.” – Master painter Roberto Martinez, 30 years experience
- Hold the brush like a pencil, not a hammer
- Work in about 1 metre sections, keeping a wet edge (wet into wet)
- Keep a damp rag nearby so you can fix tiny slips immediately
- If you feel unsure, practise first on a piece of cardboard
Set yourself up for cleaner edges (before you even pick up the brush)
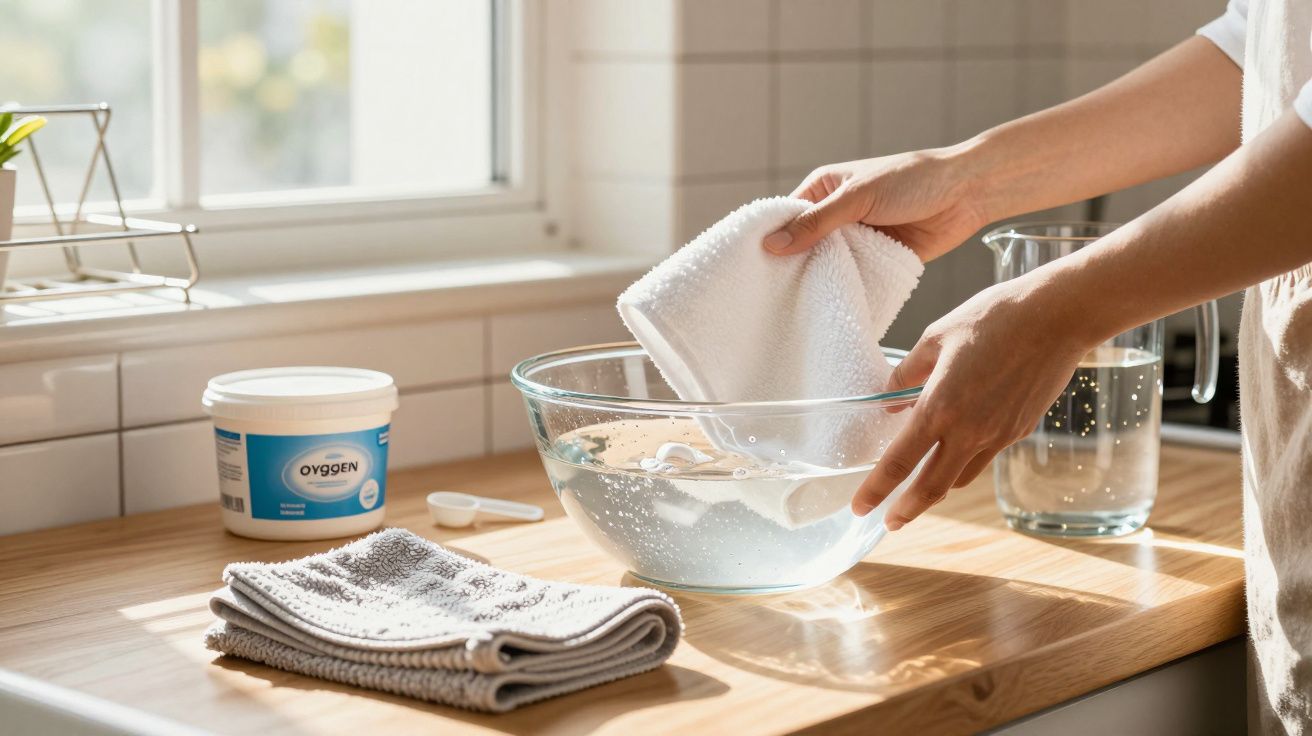
Even with a solid cutting-in technique, preparation can make the difference between “neat enough” and truly sharp. Wipe down dusty walls and trim so paint bonds properly, and fill small dents or gaps where paint would otherwise pool and feather. If you’re painting near bare plaster, fresh filler, or stained areas, a suitable primer helps prevent patchiness and reduces the temptation to overload the brush along edges.
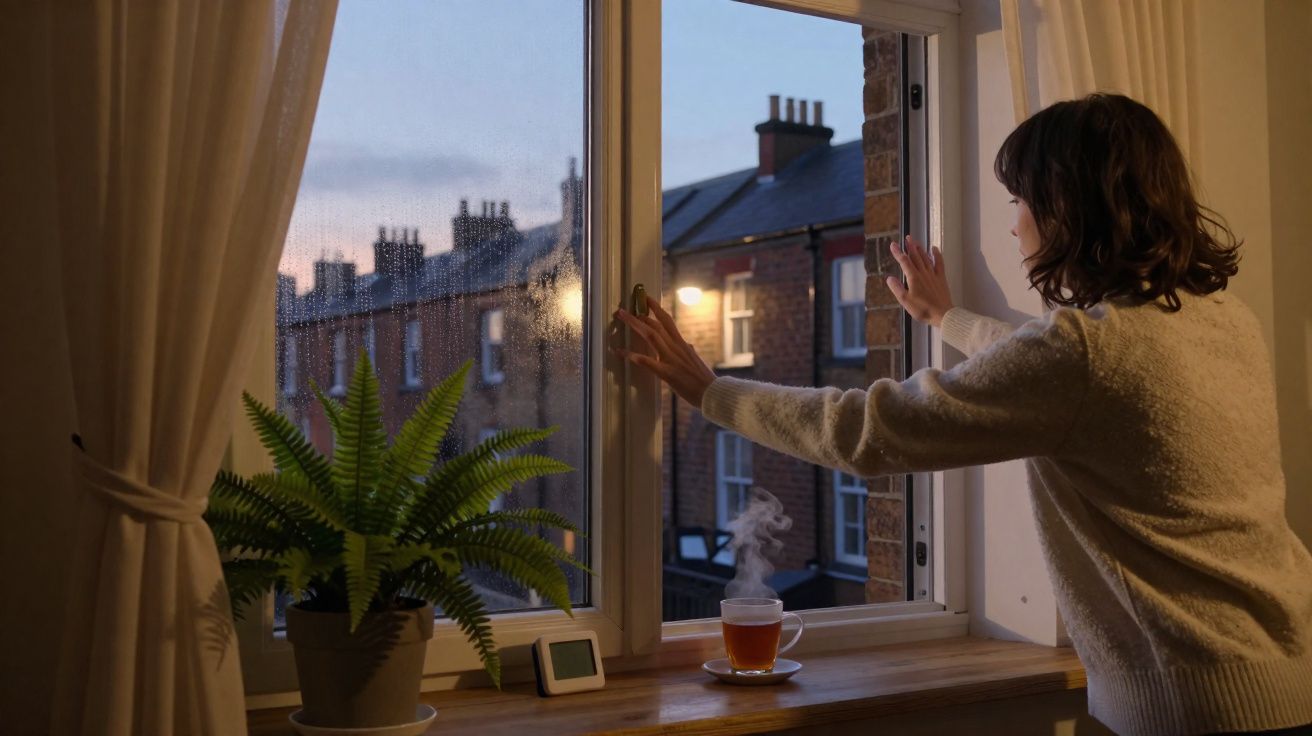
Lighting also matters more than people expect. If possible, position a bright lamp to rake light across the wall and trim while you cut in; it reveals skips and wobbles early, when they’re easy to correct. Choosing the right paint sheen helps too: flatter finishes hide minor imperfections, while higher sheen can highlight uneven lines-particularly on woodwork.
The confidence factor nobody talks about
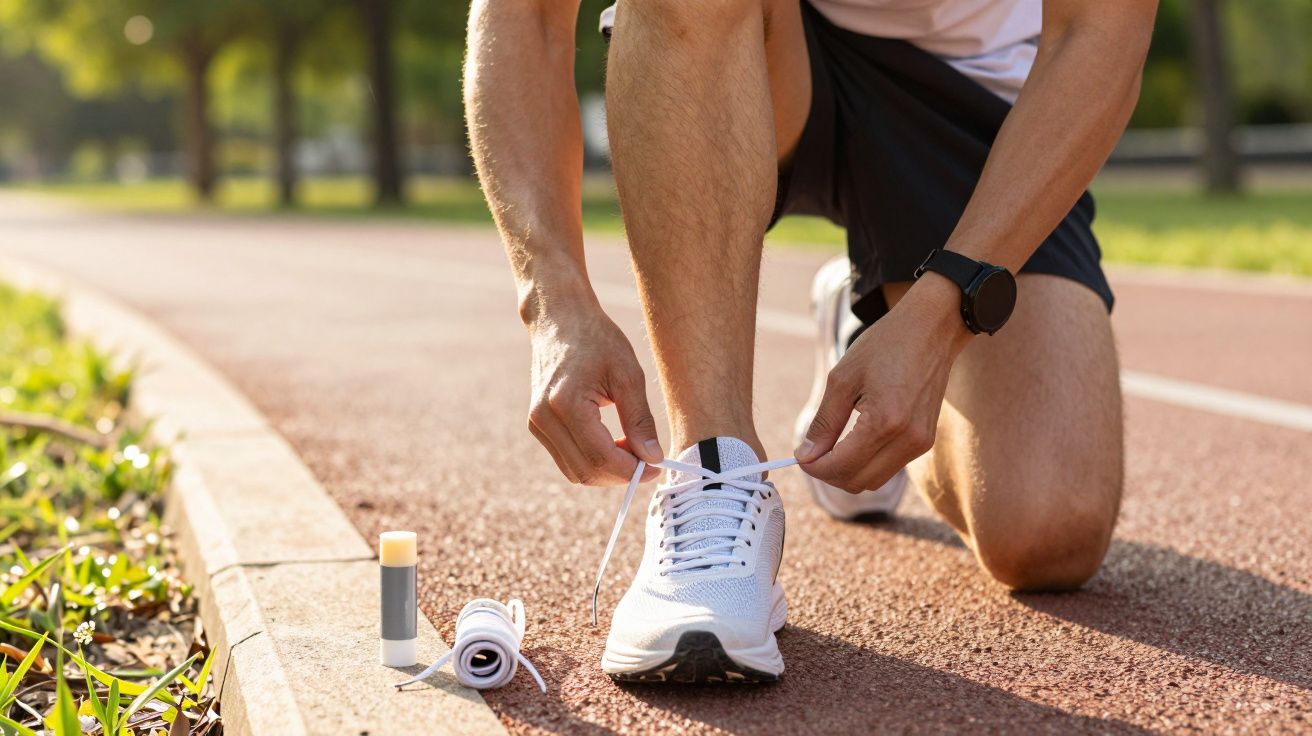
Let’s be honest: the biggest obstacle to straight paint lines is rarely skill-it’s nerves. Once you accept that small mistakes are fixable, and that steady confidence beats hesitant perfection every time, your brushwork often improves almost immediately. Painters sometimes describe it as finding a rhythm, similar to learning to ride a bike or mastering parallel parking.
| Key point | Detail | Value for the reader |
|---|---|---|
| Proper brush loading | 1/3 bristle depth, smooth paint consistency | Cuts drips and gives more even coverage |
| Body positioning | Relaxed stance, loose elbow, full arm movement | Produces steadier lines than wrist-only technique |
| Paint quality matters | Premium paint flows better and self-levels | Naturally reduces visible brush marks |
FAQ:
What if I mess up a line while cutting in?
Keep a damp artist’s brush nearby to tidy small slips straight away. For bigger errors, let the paint dry fully, sand lightly, then repaint.How do I avoid brush strokes in the main wall area?
Use a high-quality roller with the right nap for your wall texture, and maintain a wet edge by rolling in W-patterns before filling in.Can this technique work with textured walls?
Yes, though a slightly larger angled brush can help, and you’ll usually need to move more slowly. The texture can actually disguise minor imperfections in your cutting-in technique.What’s the best brush for beginners?
A 6.5 cm angled brush with soft synthetic bristles. Skip bargain brushes-they shed, drag, and make clean lines far harder.How long does it take to master this technique?
Most people notice a big improvement after completing one room. By the third room, you’ll likely wonder why you ever bothered with painter’s tape.


Comments
No comments yet. Be the first to comment!
Leave a Comment