Limescale can cling stubbornly to glass shower screens, leaving them dull and seemingly beyond saving. A simple home-made recipe has been doing the rounds on social media: a DIY gel cleaner made from three everyday cupboard staples that loosens deposits without scratching the glass or filling the bathroom with harsh chemical fumes.
Why a shower screen turns cloudy so quickly
Anyone living in a hard-water area will recognise the pattern: after only a few showers, pale dots, streaks and a matt film appear on the glass. This is not “dirt” in the usual sense, but a small combination of minerals and soap residue.
Warm tap water contains, in particular, calcium and magnesium compounds. When water slowly dries on the glass, these minerals remain behind as a fine coating. With every shower, another layer builds up.
"Over time, thin, barely visible veils become hard crusts that seem to bite into the glass."
If you then attack the problem with the abrasive side of a washing-up sponge or scouring cream, it can quickly make things worse. Tiny scratches in the glass give fresh limescale even more to grip on to. The result is a shower screen that looks permanently hazy, even straight after cleaning.
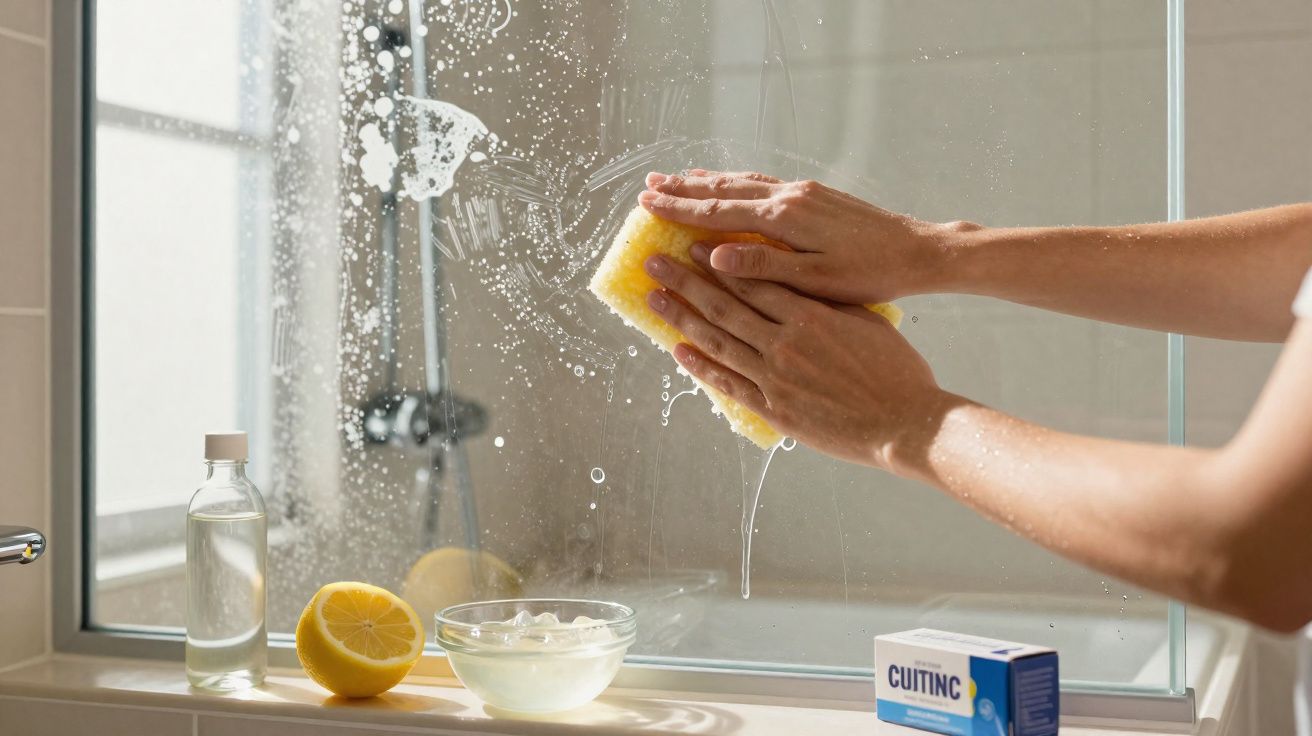
The DIY anti-limescale gel trick for shower screens (straight from the kitchen cupboard)
Rather than scrubbing, scraping and swearing, the current social-media favourite relies on the opposite approach: mild acids, time, and a gel texture that stays put on the glass. One of the biggest drawbacks of many liquid cleaners is that they immediately run down the surface, leaving little contact time for tackling limescale.
The answer is a thick gel cleaner that clings to the screen, softens mineral deposits and then releases them gently. It uses three ingredients many people already have at home:
- Household vinegar (clear, around 8% acidity) – dissolves limescale without attacking the glass
- Citric acid – boosts the effect and works especially well on stubborn deposits
- Cornflour – thickens the liquid into a gel that adheres to the surface
The finished mixture feels more like a cosmetic exfoliating gel than a traditional bathroom cleaner, yet it can be surprisingly powerful against limescale marks.
How to make the anti-limescale gel cleaner yourself
Preparation takes only a few minutes and costs far less than a branded cleaner from the supermarket. This quantity is plenty for a standard shower screen:
- Mix the thickener: Stir 1 tablespoon of cornflour into about 300 ml of cold water until no lumps remain.
- Heat gently: Warm the mixture over a low heat on the hob, stirring constantly, until it thickens and becomes slightly translucent.
- Remove from the heat: As soon as it turns into a gel-like paste, take the pan off the hob.
- Stir in the acids: Add 1 tablespoon of citric acid powder and around 100 ml of clear household vinegar, then mix thoroughly.
- Let it cool: Allow the gel to cool completely, then transfer it to a screw-top jar or an empty bottle.
"For around 50p, you get the amount that often costs several pounds in the shops."
If you dislike the smell of vinegar, you can stir in a few drops of essential oil (for example lemon or orange) - use it sparingly so the cleaning performance does not suffer.
Using it properly: how to get your shower screen clear again
For the home-made cleaner to deliver its full effect on the shower screen, the order of steps matters. Otherwise, heavily soapy glass can simply smear and spread grime around.
Preparing the glass
- Rinse the shower screen briefly with warm water to remove soap residue and dust.
- Remove heavy droplets with a squeegee or cloth so the gel can cling better.
- Put on rubber gloves to protect your skin from the acids.
Applying and leaving it to work
Use a soft sponge, a silicone spatula, or your hand (with gloves) to apply the gel to the affected areas. Key point: do not scrub - spread it on like a cream.
Then it’s a matter of patience. Depending on how heavy the limescale is, leave the gel:
- for at least 15 minutes,
- for 30 minutes if deposits are clearly visible and older,
- in extreme cases, for up to 1 hour on the surface.
The gel layer dries only slowly and keeps the acids directly on the limescale, allowing minerals to loosen gradually. Only then should you wipe the area gently using a soft, non-abrasive sponge or a microfibre cloth.
Aftercare: rinse and dry
As a final step, rinse the shower screen thoroughly with clean water until no gel residue remains. Then dry with a microfibre cloth or a squeegee. The glass should look noticeably clearer and feel smoother.
"If you repeat the process once or twice, you can visibly rescue even heavily limescaled screens - without risking a single scratch."
Special materials: where you need to be careful
Not every shower enclosure is made from plain glass. Depending on the material, surfaces need slightly different treatment so the trick doesn’t backfire.
| Material | Recommendation |
|---|---|
| Clear toughened safety glass | Use the gel as described, use soft sponges, no scouring pads. |
| Glass with an anti-limescale coating | Test first in an inconspicuous corner, dilute the gel with water if needed, follow the manufacturer’s guidance. |
| Plastic / acrylic | Use only a strongly diluted version, never use the abrasive side of a sponge. |
| Stone (marble, granite) | No acid! Use only pH-neutral specialist cleaners. |
How to slow new limescale build-up over the long term
Unfortunately, a freshly cleaned shower screen will not stay clear on its own. A few habits can reduce the effort significantly:
- Squeegee after every shower: Pull water off glass and tiles with a simple rubber squeegee.
- Quick dry-down: In very hard-water areas, a fast wipe with a towel or microfibre cloth is worth it.
- Regular gel treatment: Use the gel method about once a month, before thick layers can form.
- Check your water hardness: If your water is extremely hard, you might consider a softener or a shower filter.
The smoother and more scratch-free the glass surface stays, the harder it is for new limescale to adhere. That is why harsh sponges and scouring powders become a real long-term issue in bathrooms: they may make surfaces look “clean” in the short term, but they gradually damage the surface.
What’s really going on with limescale, acids and glass
The home remedy works because of a fairly straightforward chemical principle: limescale is made up of salts that are difficult to dissolve. Mild acids such as vinegar and citric acid convert these compounds into soluble forms that can then be rinsed away with water. The cornflour is not doing the cleaning - it is there for grip. Without that sticking effect, the acid would simply run off.
Many modern shower screens have an ultra-thin coating designed to reduce how easily water droplets cling. This is exactly where overly aggressive products can cause problems: if the coating is stripped away, limescale can start forming far more quickly again. That is why it is sensible to try home remedies first in a small, diluted amount on an inconspicuous spot.
If you avoid heavy-duty chemical cleaners in everyday use, you also reduce strain on your airways and the environment. In small bathrooms without good ventilation, that can be particularly noticeable. The gel trick combines a comparatively gentle recipe with strong effectiveness - showing that glass surfaces do not automatically require expensive specialist products.


Comments
No comments yet. Be the first to comment!
Leave a Comment