Plenty of orchids end up in a quiet plant exile after their first flush of flowers – even though a straightforward kitchen trick can bring them back to real, show-stopping blooms.
Buy a moth orchid (Phalaenopsis) and it often feels like a small miracle: the flowers glow for weeks, then they drop – and nothing else seems to happen. The leaves stay green, the roots look healthy, yet fresh flower spikes never appear. This is exactly where an eye-catching tip, shared in gardening forums and among hobby growers, comes in: one particular baking-cupboard ingredient is said to give orchids fresh vigour and encourage a stronger, more intense bloom.
Why so many orchids “stall” after the first flowering
Orchids – especially Phalaenopsis – have a reputation for being delicate, but in practice they are more like creatures of habit. If the light, temperature and watering routine are roughly right, they usually cope just fine. What many plants are missing is not a lack of skill, but simply the energy reserves needed for the next flowering cycle.
In shops, orchids are kept in high-performance substrates and fed precisely measured professional fertiliser. At home, they often get little more than tap water and, perhaps, an occasional dose of liquid feed. The result is predictable: the plant survives, but it does not bank enough reserves to push out new flower spikes. That is where an ingredient you would sooner expect in gingerbread mix than in a plant pot suddenly becomes relevant.
The “secret” baking ingredient: what molasses does for orchids and Phalaenopsis
The key ingredient is molasses – a dark syrup from sugar production, used in baking for its deep, rich flavour. For orchids, it can act as a surprising nutrient boost.
"Molasses provides potassium, magnesium, trace elements and sugar – a package that strengthens the roots and stimulates the formation of new flowering shoots."
What that means in practice:
- Potassium supports sturdy stems and strong flower spikes.
- Magnesium helps with chlorophyll formation and therefore energy production in the leaves.
- Trace elements such as iron, copper and manganese help keep metabolism balanced.
- Sugar feeds microorganisms in the substrate, which can make roots more active and better able to absorb nutrients.
In the bark-based mixes most orchids grow in, many beneficial microbes are already present. When those organisms get a little “food”, they break down organic residues more effectively and release nutrients. The roots benefit twice over: they become more robust and can take up more water and minerals.
How to use molasses correctly: the simple monthly routine
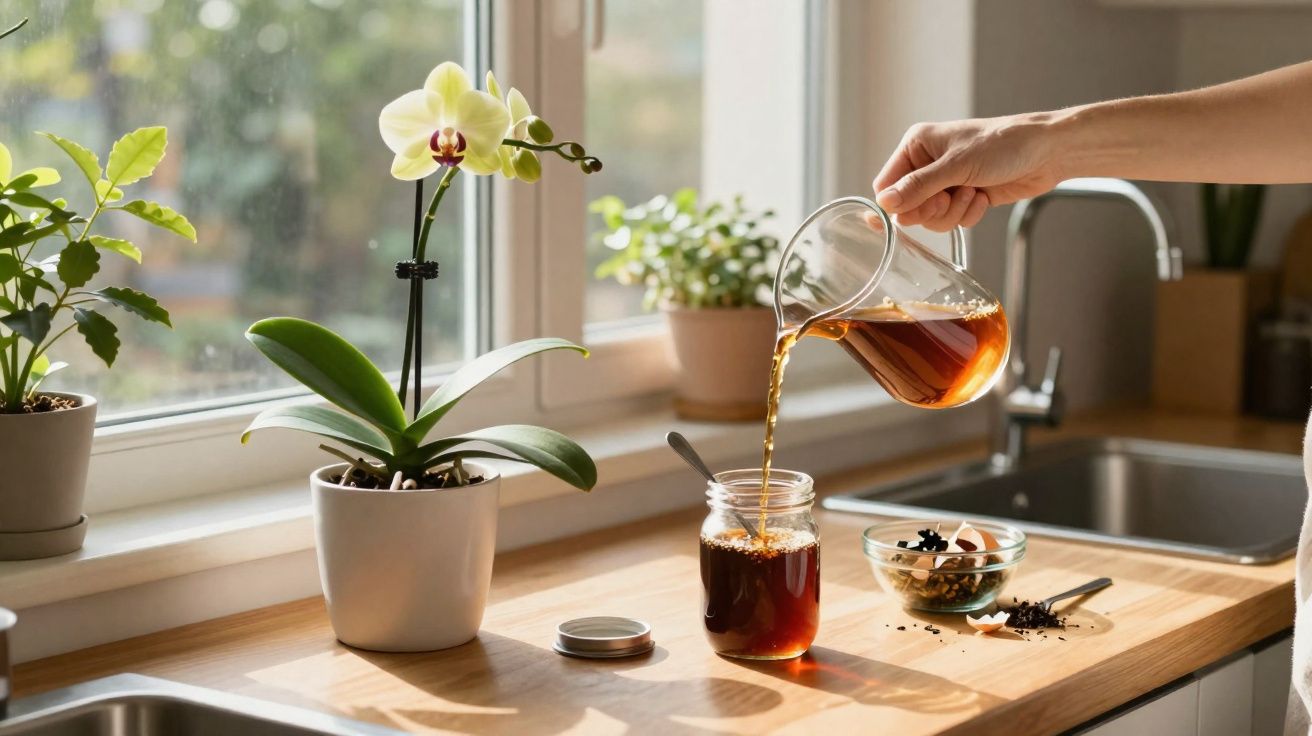
The method is almost disarmingly simple: once a month, water with a molasses mix. That is it. The crucial point is dilution.
Step-by-step: mixing molasses watering solution
For a normal household amount, a tiny measure is enough:
- Pour about 240 millilitres of lukewarm water into a watering can or spray bottle.
- Add a scant 1/2 teaspoon of molasses.
- Shake or stir vigorously until the molasses is well dispersed.
- Apply the solution directly to the substrate, not to the leaves.
- Use only enough to moisten the medium thoroughly, and do not leave water standing in the saucer.
If you have several orchids, you can scale the ratio easily: roughly 1 teaspoon of molasses per 1 litre of water is sufficient for multiple pots.
"Once a month is completely enough – molasses works like an energy kick, not like an everyday fertiliser."
How often makes sense – and where is the limit?
With nutrients, the rule is often: less is better. Orchids can be sensitive to overfeeding, especially when grown in coarse bark.
A practical guideline for molasses:
- Frequency: at most one molasses watering per month.
- In between: water normally with plain water, or use very weakly dosed orchid fertiliser.
- Combining feeds: molasses does not replace a specialist fertiliser; it complements it.
Reaching for the syrup too often risks a build-up of nutrients around the roots. That can show up as burnt root tips, yellowing leaves, or sudden growth that grinds to a halt.
Warning signs: when molasses is harming your orchid
Molasses is still a sugar-rich syrup – and sugar attracts not only helpful microbes, but also unwanted visitors. If the dose is too high or applications are too frequent, problems can follow.
Typical warning signs include:
- small flies or clouds of gnats around the pot
- ants appearing in and around the plant
- white, cottony patches on the surface of the substrate
- a sweet, fermenting smell coming from the pot
- substrate that feels sticky
If any of these signs appear, the plant needs a kind of “reset”:
- Flush the pot thoroughly with lukewarm water.
- Let all water drain away completely; avoid waterlogging.
- Use only plain water for a few weeks.
- Resume feeding sparingly only when the substrate looks healthy again.
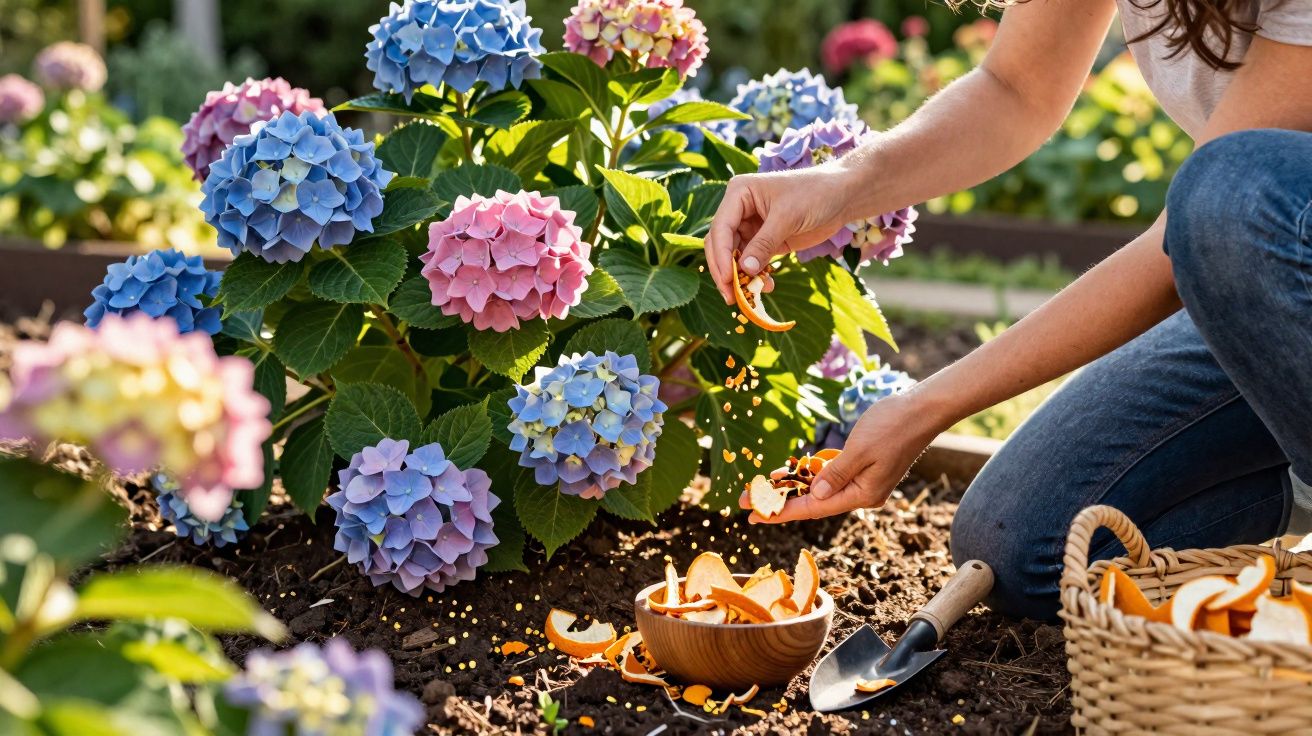
Other kitchen leftovers as gentle orchid fertiliser
Molasses is not the only kitchen item that can suit orchids. A few household leftovers can also provide nutrients when used very diluted.
| Kitchen ingredient | Effect | How to use it |
|---|---|---|
| Banana peel | Source of potassium; supports flower formation | Only as a brief cold-water soak, heavily diluted |
| Eggshells | Calcium; helps strengthen cell walls | Dried and finely ground, in very small amounts |
| Rice water | Traces of starch and minerals | Only unsalted cooking water; use quickly |
Compared with these leftovers, molasses has practical advantages: it is ready-bottled, keeps for a long time, can be dosed accurately, and is less likely to cause odour issues as long as you stay conservative.
How quickly can you expect new flowers?
If you start treating your orchid to molasses water now, do not expect overnight miracles. Plants usually rebuild reserves first, strengthen roots, and only then push new flowering growth.
A typical pattern with good overall care:
- After a few weeks: deeper leaf colour and firmer leaves.
- After one to three months: first new flower spikes or side shoots on older stems.
- Later: more densely set flower sprays with blooms that last longer.
"Molasses cannot save a dead plant, but it can give a weakened orchid the decisive push to start growing actively again."
What still matters alongside molasses
Syrup alone does not create a bloom explosion. The classic orchid basics remain decisive:
- a bright position without harsh midday sun
- a modest day–night temperature difference of a few degrees
- water when the substrate is almost dry – not every day
- no standing water in the outer pot
That small day–night temperature shift, in particular, acts like a natural signal for new flower spikes. Combine it with a nutrient lift from molasses, and you give the plant its best chance of producing a generous second or third display.
Practical examples and risks for beginners
If you tend to water generously, it is easy to become generous with feeding as well – and for orchids that is a risky combination. Beginners should therefore start with an even weaker dose, for example 1/4 teaspoon in 500 millilitres of water, then watch the plant’s response over several weeks.
Plants with roots that are still silvery-green and firm are the most likely to cope well with the addition. If an orchid is sitting in old substrate that has already started to break down, it is worth repotting into fresh bark before the first use of molasses. In fresh medium, the “fed” microorganisms can play to their strengths far more effectively.
Anyone combining several approaches – molasses, a little orchid fertiliser, occasional rice water – should keep a simple “plant calendar”. Notes on the date, what was applied and what changed help prevent accidental overfeeding. That way, molasses stays what it is meant to be: a small but effective trick that turns a windowsill back into a shelf of flowers.


Comments
No comments yet. Be the first to comment!
Leave a Comment