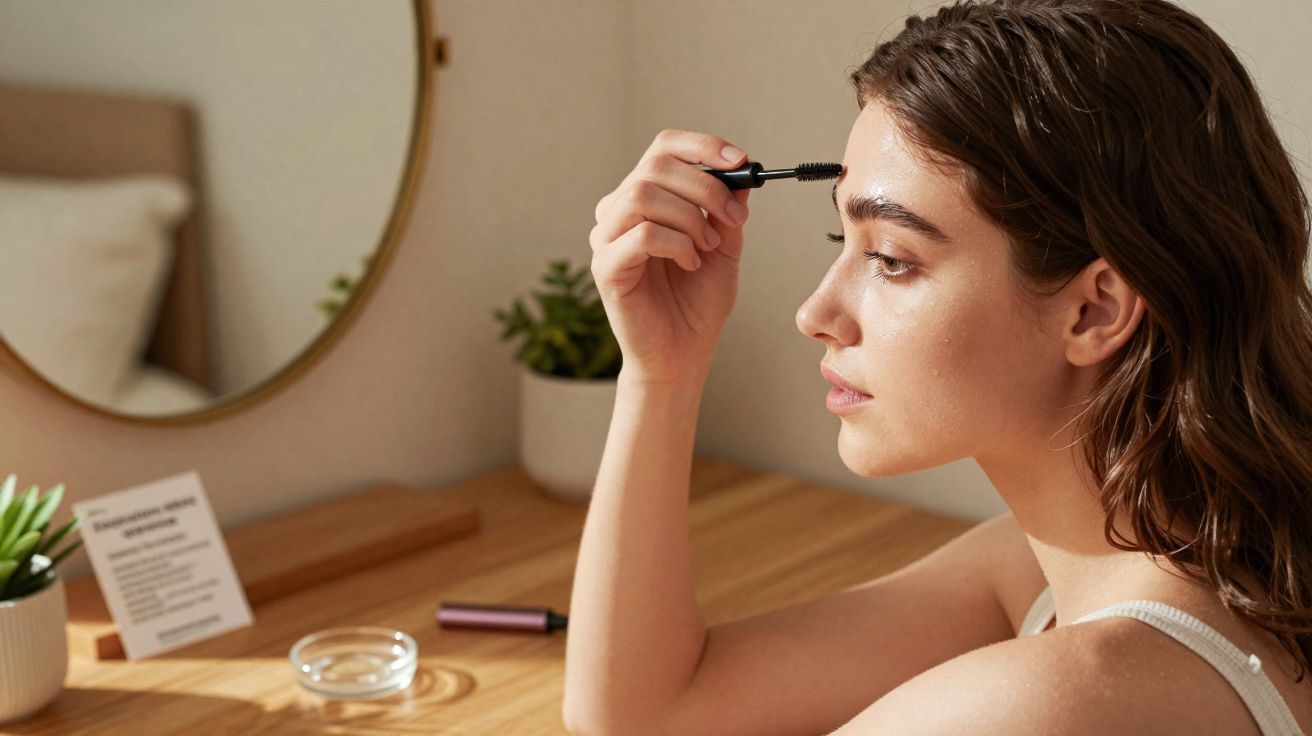
You usually clock brow lamination for the first time on someone else. A colleague in the lift. A woman in the coffee queue. Brows lifted into neat, feathery strokes that somehow make the whole face look brighter, tidier, more awake. You look a beat too long, trying to work out whether it’s microblading, a filter, or simply the genetics you missed out on. Then she shrugs and says, “It’s just lamination - I had it done,” and you immediately remember what you’ve seen online: the price tag, the sharp chemical salon scent, and that slightly uncomfortable 45 minutes of staring at your own reflection under harsh lights.
So later, you end up doom-scrolling brow videos at midnight - half certain it’s far too fiddly to attempt yourself, half sold on the promise of fuller, thicker brows.
And somewhere between scepticism and curiosity, the idea lands:
What if the “salon” was just your bathroom mirror?
Why brow lamination feels like a quiet revolution
Brows changed the moment they stopped being thin, pencilled-in lines and started taking up space. Fuller, brushed-up, slightly unruly arches shifted the way faces read in selfies, on Teams calls, and even under unforgiving bathroom lighting. They don’t shout, “I spent ages doing my makeup.” They suggest, “This is still me - just more polished.”
Brow lamination arrived right in the middle of that change. Rather than adding pigment or drawing hairs that aren’t there, it simply repositions the hairs you already have, one by one. No needles. No ink. Just your own brow hair, persuaded into a more flattering direction.
For something so small, it can feel oddly game-changing.
Spend five minutes on TikTok or Instagram Reels and you’ll see the same satisfying rhythm: a “before” with brows that sit downwards or look uneven, followed by an “after” with airy, vertical strokes that wouldn’t look out of place in an advert. Creators lean right into the lens, lifting and wiggling their brows to prove it’s real. And plenty of those clips are shot at home - bedroom backgrounds, slightly skew-whiff ring lights, real-life mess included.
One London-based creator even did a direct comparison: salon lamination on one brow and a DIY kit on the other, then asked viewers to vote on which looked more professional. The comment section was chaos, but the takeaway was obvious - most people chose the wrong side.
That little experiment hits a nerve: if a £60 finish can be mistaken for a £15 kit, what are you actually paying for?
At its core, brow lamination is built on a simple principle: brow hairs hold a kind of “memory”, and that memory can be reset. The lotions used in lamination temporarily soften the bonds in the hair and then fix them again in a new shape - similar to a perm in concept, but flatter, subtler, and far more controlled. When you brush the hairs up and out, each strand suddenly does more work visually, creating the look of added volume.
Sparse patches appear less bare because surrounding hairs are lifted to cover more skin. Short hairs you never noticed start contributing to the overall shape. That’s why lamination can create the illusion of thicker, fuller brows without adding a single pencil stroke.
Once you see it as hair direction - not mysterious “beauty magic” - it stops feeling like something only a salon can do.
The simplest DIY brow lamination routine (that still looks professional)
A solid at-home routine is more approachable than most people expect. Begin by picking a gentle brow lamination kit clearly labelled for home use. Before you open anything, read the instructions all the way through once - not to memorise them, but to understand the order, the timing, and what each step is meant to do.
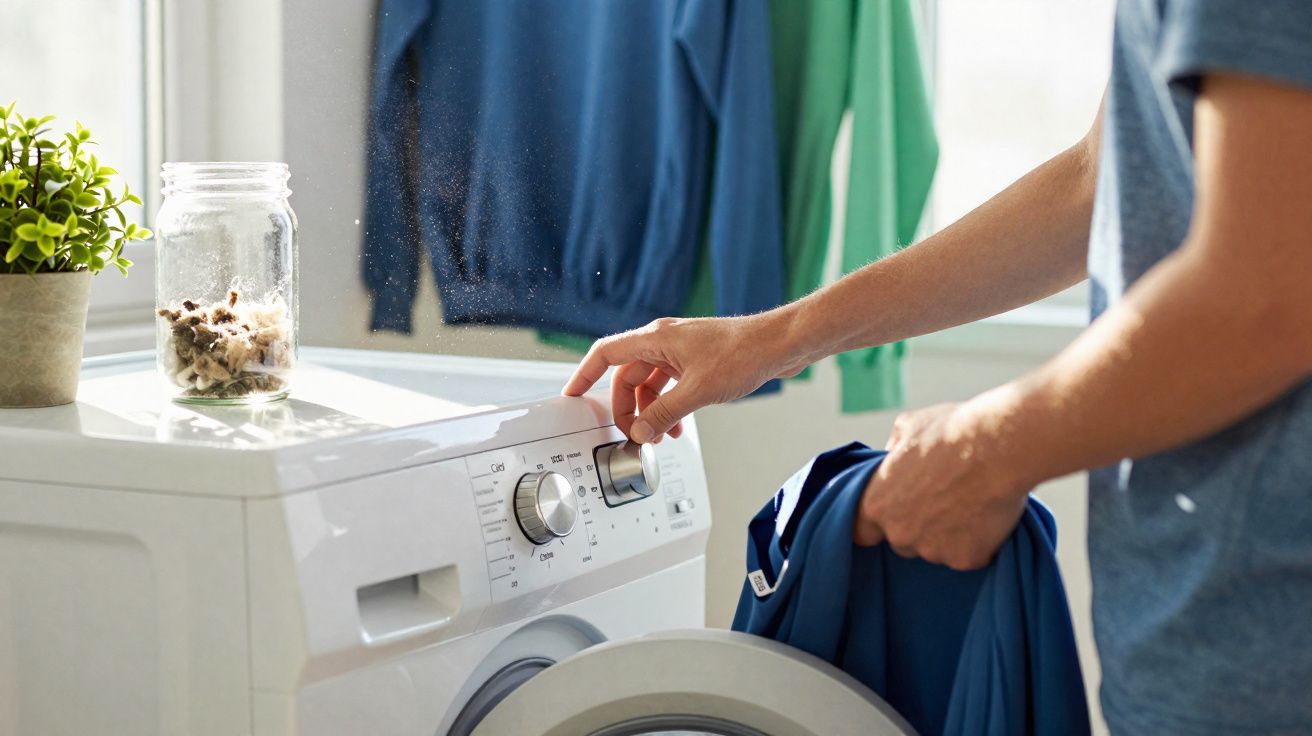
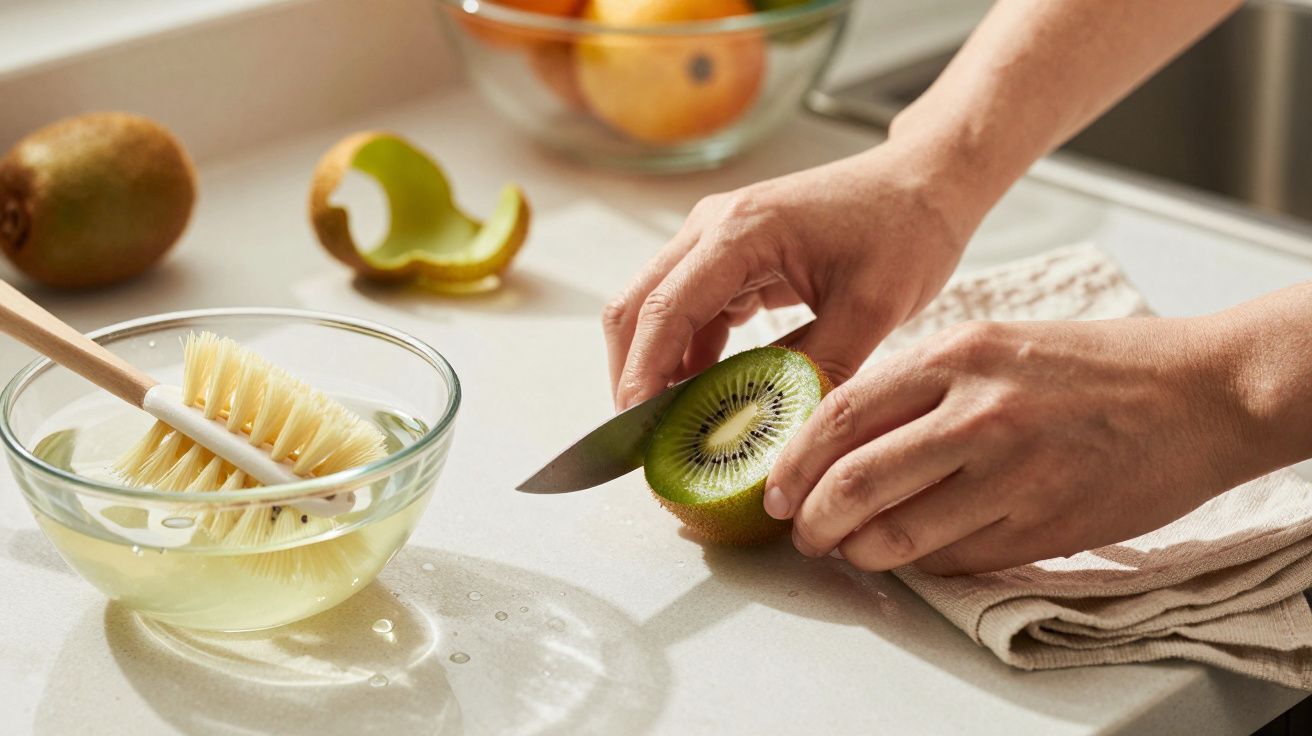
Next, wash your brows with a mild, oil-free cleanser and dry them thoroughly. Any leftover oil or residue will reduce staying power and can make the results patchy.
Apply the first lotion using a small applicator, keeping it on the hairs rather than rubbing it into the skin. Move slowly and comb as you go with a spoolie, guiding the hairs upwards and slightly outwards so they sit like a soft fan. That fan shape is what creates a lifted, fluffy look - without tipping into “antennae”.
Leave it on for exactly the amount of time stated in your kit, then remove gently. Apply the second solution and repeat the brushing in the same direction. More than the label on the bottle, it’s your timing and your brushing that determine whether the final result looks expensive or messy.
This is the part that tends to make people tense up: symmetry, timing, and the fear of going too far. In reality, the most common issue isn’t “too strong” - it’s “too rushed”. When people hurry the brushing, brows can end up uneven or harshly spiked instead of soft and full. Give yourself an extra half-minute to smooth the arch, coax the tail into place, and press down any stubborn hairs with the flat side of the spoolie.
We’ve all watched a tutorial at 1.5× speed and then wondered why our version looks like the first draft. Let your pace be slower than the video.
If your skin is sensitive, do a patch test along the side of your face the day before. Mild tingling around the brow area can happen; stinging or burning shouldn’t be ignored. If anything feels wrong, remove the product, pause, and reduce the timing next time rather than trying to push through.
“At first I was scared I’d wreck my brows,” says Léa, 29, who now laminates at home every six weeks. “Then I realised they’re just hairs - they grow back. As soon as I stopped panicking, my results improved.”
A few habits make DIY brow lamination far more predictable:
- Choose a gentle, well-reviewed kit made specifically for brows (not a generic hair perm product).
- Use minimal product and keep it strictly on the hairs - don’t smear it across the skin.
- Brush in three zones: inner brow (straight up), middle (up and slightly out), tail (more outwards than up).
- Follow the timings precisely, even if you’re tempted to add “just two more minutes” for extra hold.
- For the next few nights, apply a nourishing oil or brow serum to keep hairs supple rather than crunchy.
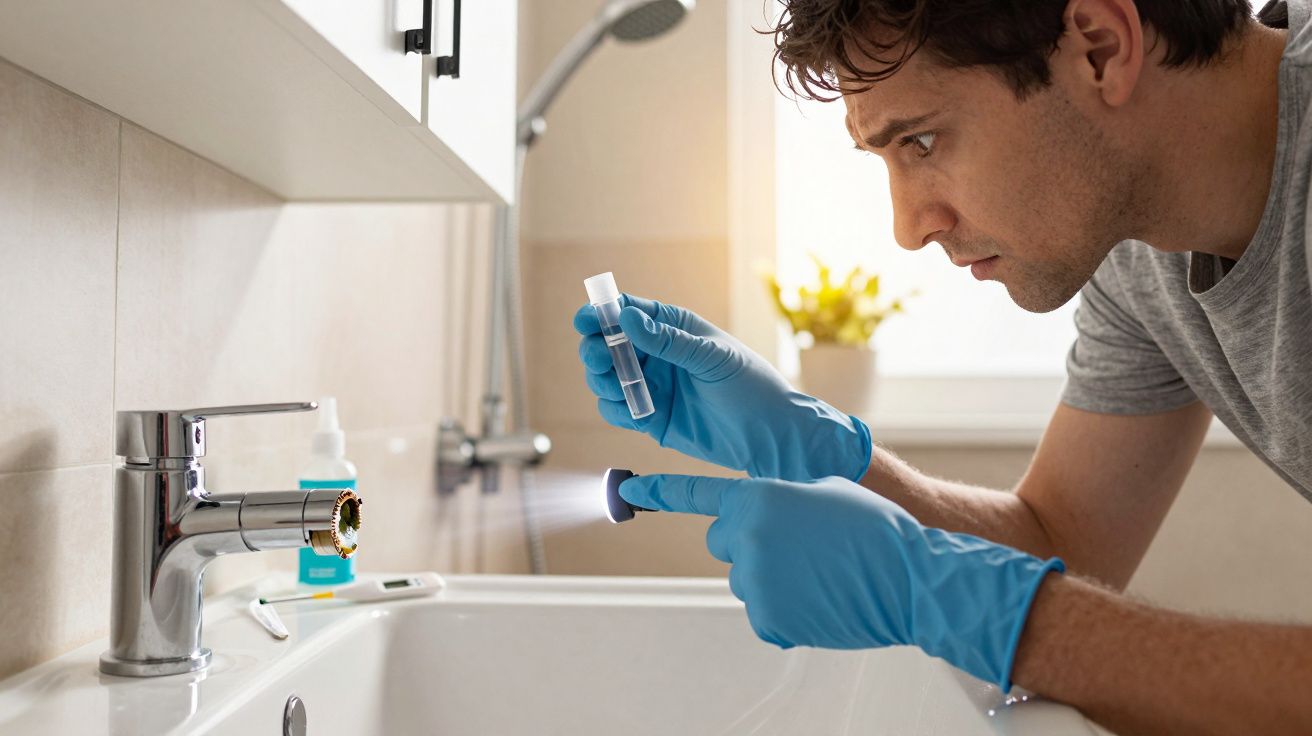
Two extra points that people often overlook at home: keep everything clean, and plan around the first day. Wash your hands, avoid double-dipping applicators, and clean your spoolie between steps - brow products sit close to the eyes, so basic hygiene matters. And for the first 24 hours after brow lamination, try to keep the area as dry and calm as possible; steam, heavy skincare, and lots of rubbing can interfere with how neatly the hairs set.
Living with laminated brows: small changes, big impact
The biggest surprise after brow lamination is how little daily effort it takes. In the morning, a quick brush is often enough. Add clear gel if you like extra hold, and your brows can sit neatly all day - as if you’d spent ages filling, shaping, and cleaning up the edges.
There’s also a quiet psychological boost to it. Catching your reflection and seeing your brows already structured can make you feel more pulled-together, even when everything else is improvised. Brows act a bit like coat hangers for the face: when they’re in place, the rest looks less chaotic.
And honestly, when brows only look “done” if you do them every single morning with patience and precision, most of us don’t keep that up forever when it’s purely makeup.
It also helps to be realistic about scheduling. Giving your brows a break between sessions, and paying attention to dryness or irritation, keeps the look natural rather than over-processed. Laminated brows should still feel like your brows - just better directed.
| Key point | Detail | Value for the reader |
|---|---|---|
| Gentle DIY lamination works | Home kits with clear timings and brow-specific formulas can come close to salon results | Access to fuller, thicker brows without ongoing salon costs |
| Technique beats products | Brushing direction, timing, and light-handed application shape the outcome more than branding | Confidence to get professional-looking brows with affordable tools |
| Care keeps brows healthy | Nourishing oils, breaks between sessions, and listening to your skin help prevent damage | Long-term, natural-looking results that still feel like “your” brows |
FAQ
- Question 1: How long does DIY brow lamination usually last?
- Question 2: Can I laminate my brows if they’re naturally very thin or sparse?
- Question 3: Is brow lamination safe for sensitive skin?
- Question 4: What’s the ideal gap between two lamination sessions?
- Question 5: Do I still need brow makeup after lamination?

Comments
No comments yet. Be the first to comment!
Leave a Comment