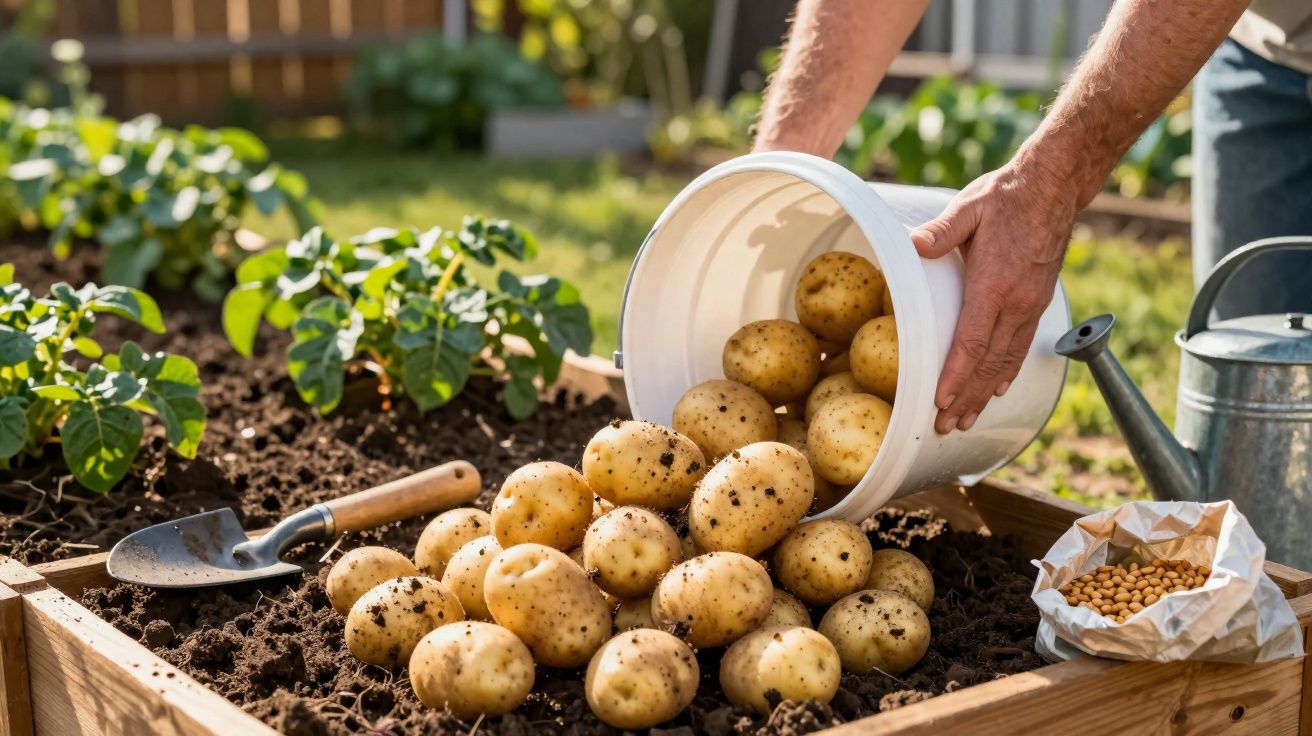
On a balcony, a bright doorstep or even the smallest back yard, an ordinary plastic bucket can become a surprisingly productive little food factory.
From dense city terraces to compact suburban patios, more people are swapping lawn space and long allotment waiting lists for buckets packed with compost and seed potato tubers-largely for the simple satisfaction of turning a container upside down at the end of the season and watching fresh potatoes tumble out.
Growing potatoes in buckets: why the idea has taken off
Container gardening has expanded rapidly, and potatoes in buckets sit right in the middle of the movement. This approach turns awkward, tight spaces into workable mini-beds and gives far more control than planting straight into the ground.
Growing potatoes in buckets reduces soil headaches, makes day-to-day care simpler, and suits modern homes where space is limited.
In traditional plots, compacted soil, poor drainage and difficult access can hold plants back. A bucket, on the other hand, keeps the root zone lighter, more open and better drained. It can also be moved around a courtyard or balcony to find better sun or to avoid extreme midday heat.
A further advantage is cleanliness and order. With buckets, it’s easier to rotate what you grow, refresh or sterilise the compost mix, and keep weeds, mud and general mess in check-especially in small urban corners. For first-time growers, a bucket often feels much less intimidating than digging over a bed with a spade.
Choosing and preparing the right bucket
The container does a lot of the work, so it’s worth getting right. A bucket that’s too small-or one that can’t drain properly-can lead to stunted growth or rotting tubers. Many growers opt for 20–30 litres, which provides enough depth for roots and allows for layering compost as the plants develop.
A simple test: if you wouldn’t keep washing-up water in it, don’t use it to grow food. Choose food-safe, robust plastic or a thoroughly cleaned metal pail.
Basic preparation steps
- Drill several drainage holes in the base and, if possible, around the lower sides as well.
- Add a 3–5 cm layer of coarse material (gravel, broken terracotta, or expanded clay) to help water move through.
- Fill with a light, fertile mix rather than dense garden soil.
The growing medium needs to stay airy and free-draining. Garden centres sell ready-mixed potting composts, but many people blend their own. A common home mix combines loam or topsoil with well-rotted compost and a small amount of coarse sand to keep the structure open.
Organic matter does more than feed the plant. It helps the bucket hold enough moisture between waterings while still letting surplus drain away-crucial for avoiding the waterlogged conditions that encourage rot.
From seed potato to planted bucket
This method revolves around the seed potato. Certified seed tubers tend to give reliable performance and stronger disease resistance, although plenty of gardeners also start with firm supermarket potatoes that have naturally sprouted in the kitchen.
| Stage | What to do | Practical tip |
|---|---|---|
| Selection | Pick firm potatoes with short, sturdy shoots. | Reject any with mould, soft spots or a strong smell. |
| Cutting | If the tubers are large, cut them into pieces, each with at least one sprout. | Leave cut surfaces to dry for a few hours so they seal slightly. |
| First layer | Put 10–15 cm of prepared compost into the bottom of the bucket. | Don’t press it down; keep it loose. |
| Positioning | Set the seed pieces on the compost with shoots facing upwards. | Leave roughly a hand’s width between pieces. |
| Covering | Add 5–10 cm of compost over the potatoes. | Don’t fill the bucket to the rim yet. |
| First watering | Water until evenly moist, not dripping wet. | If water pools beneath the bucket, drainage needs improving. |
That light initial covering protects the sprouting tubers but still allows stems to reach daylight quickly. In warm conditions, green shoots should appear above the surface within a couple of weeks.
A quick note on variety choice (helps plan timing)
Although many varieties will work, it helps to match potatoes to your space and patience. First earlies usually finish sooner and can suit smaller buckets; second earlies often balance speed and yield; maincrops take longer (often closer to the upper end of the season) but can reward you with larger harvests. Whichever you choose, the basic bucket method remains the same.
How “hilling up” in a bucket increases yield
A key technique behind heavier bucket harvests is repeated hilling up-building compost up around the growing stems. When shoots reach about 15–20 cm tall, add more compost, covering much of the stem while keeping the top leaves above the surface.
Each time you add fresh compost along the stem, you create additional potential sites for tubers to form at different levels in the bucket.
This gradual filling does two important jobs. First, it encourages more potatoes to develop along buried sections of stem. Second, it prevents tubers from being exposed to light. Potatoes that sit too close to the surface can turn green, producing solanine-a bitter compound that makes them unsuitable to eat.
You can repeat the mounding several times until the bucket is nearly full. Add compost loosely rather than packing it down: compacted mix restricts fine roots and increases the likelihood of waterlogging.
Light, watering and feeding through the season
Container potatoes do best in a bright spot. A few hours of direct sun each day typically produces sturdier foliage and better yields. Buckets kept in deep shade often grow tall, weak plants with fewer tubers, so on balconies it can be worth repositioning containers as the season changes.
Watering needs consistency. Aim for compost that stays evenly moist without becoming saturated. Extended dry periods can stress plants and lead to small or oddly shaped potatoes, while overly wet compost deprives roots of oxygen and encourages rot.
Use a simple finger test: if the top few centimetres feel dry, give the bucket a thorough watering.
Feeding is more influential in containers than in open ground. A fertiliser higher in potassium and phosphorus than nitrogen usually supports tuber development. Too much nitrogen tends to drive leafy growth at the expense of the crop under the surface.
Airflow around the foliage also matters. Good ventilation helps reduce fungal issues and makes it harder for pests such as aphids and potato beetles to build up. Because each plant is isolated in its own bucket, problems that do arise are often easier to contain before they spread across a whole patio set-up.
Knowing when the bucket is ready to tip out
The final stage rewards patience. Many bucket-grown varieties mature about 90–120 days after planting, although cooler weather and short daylight can stretch that timeframe.
The plant will usually tell you when it’s nearly finished: leaves start to yellow and dry at the edges, and the stems eventually flop and brown off. At that point, many growers reduce watering for 10–14 days. This helps the skins firm up, improving storage and reducing bruising during handling.
Harvesting is pleasingly simple. Tip the bucket onto a clean sheet or tarpaulin, crumble the compost apart by hand, and pick out potatoes of every size. Larger tubers can go straight to the kitchen, while smaller, healthy ones can be kept back as seed for the next round of bucket planting.
After-harvest handling and storage (often overlooked)
For best keeping quality, allow potatoes to dry briefly out of direct sun, then store them somewhere cool, dark and well ventilated. Avoid washing until just before use, as moisture on the skins can shorten storage life. Discard any green, bitter-tasting or badly damaged tubers rather than trying to salvage them.
Risks, rewards and realistic expectations
A single bucket won’t replace a field, but it can still be impressively productive. With careful watering, light and feeding, it’s common for one modest seed potato to produce a few kilograms of usable tubers. That said, weather swings, poor drainage or issues such as late blight can reduce results, so it’s wise to keep expectations practical.
There are a few manageable downsides. Buckets can overheat on sun-baked balconies-especially dark ones-putting roots under stress. Lining the inside with a thin layer of cardboard or shading the exterior can moderate temperatures. Over time, salts from hard water or repeated fertiliser use may build up in the compost, so refreshing or partially replacing the mix each year is a sensible habit.
Practical variations and related ideas
The same approach works in other containers: old paint tubs, food-grade barrels, or even strong shopping bags with drainage holes. The essentials remain unchanged-depth, reliable drainage, and adding compost gradually as the stems grow.
If you like learning by doing, try a simple side-by-side test. In one bucket, plant as normal but don’t add any extra compost after the first cover. In a second bucket, follow a full hilling up routine. Weighing both harvests at the end of the season gives a clear, hands-on demonstration of how burying stems can increase tuber production.
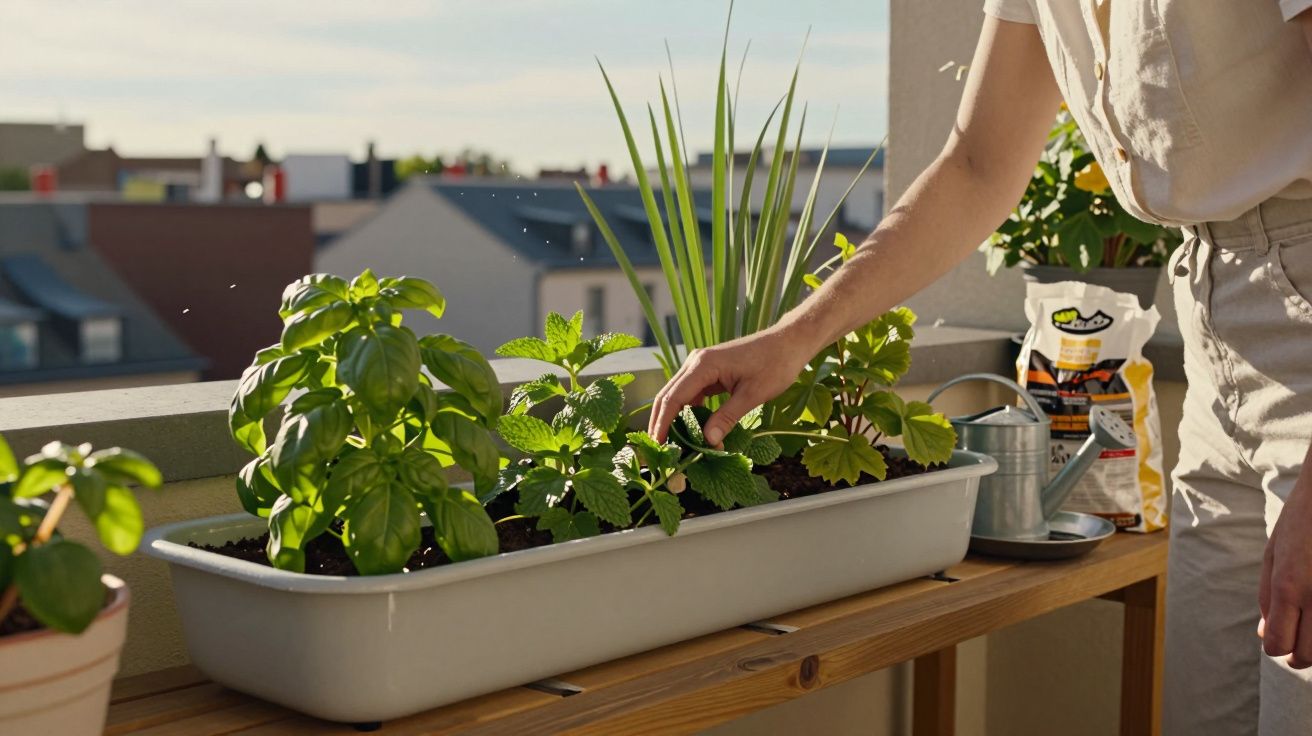
Bucket potatoes also pair neatly with other small-space projects-herbs in window boxes, salad leaves in shallow trays, or even a couple of tomato pots. Together they create a flexible, compact food-growing area that can adapt to rented homes, shifting layouts and unpredictable weather, while the humble bucket quietly fills with potatoes out of sight.


Comments
No comments yet. Be the first to comment!
Leave a Comment